Removing, Installing, and Replacing Components
47
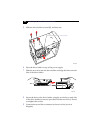
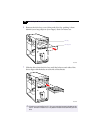
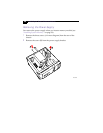
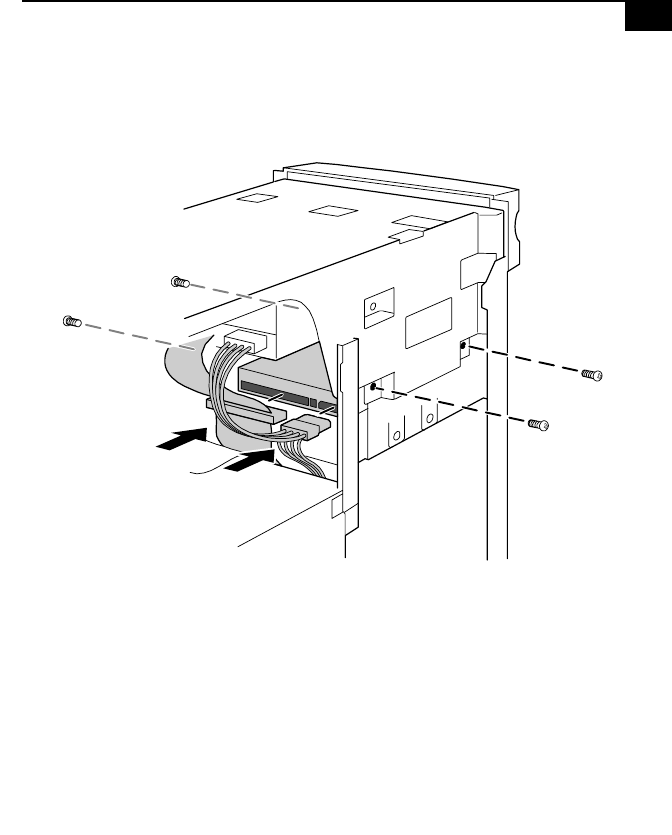
8 Secure the drive with four screws (provided with new drive). Do not
overtighten the screws.
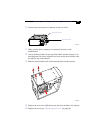
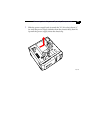
9 Attach the drive connector and power cable to the drive. Make sure
the drive connector is connected securely to the motherboard.
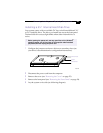
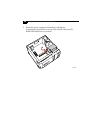
10 Replace the cover (see “Replacing the Cover” on page 26).
11 Replace the front panel (see “Replacing the Front Panel” on page 25).
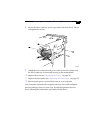
12 Reconnect the power cord and then turn on your computer.
Your computer automatically recognizes the new drive and configures
itself accordingly when you turn it on. Format and partition the new
drive following the instructions provided with the drive.
KY0095.VSD


