


\
INSTALLATION
WARNING THESE PROCEDURES MUST BE FOLLOWED BY QUALIFIED
PERSONNEL OR WARRANTY
WILL BE VOIDED.
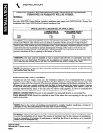
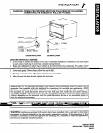
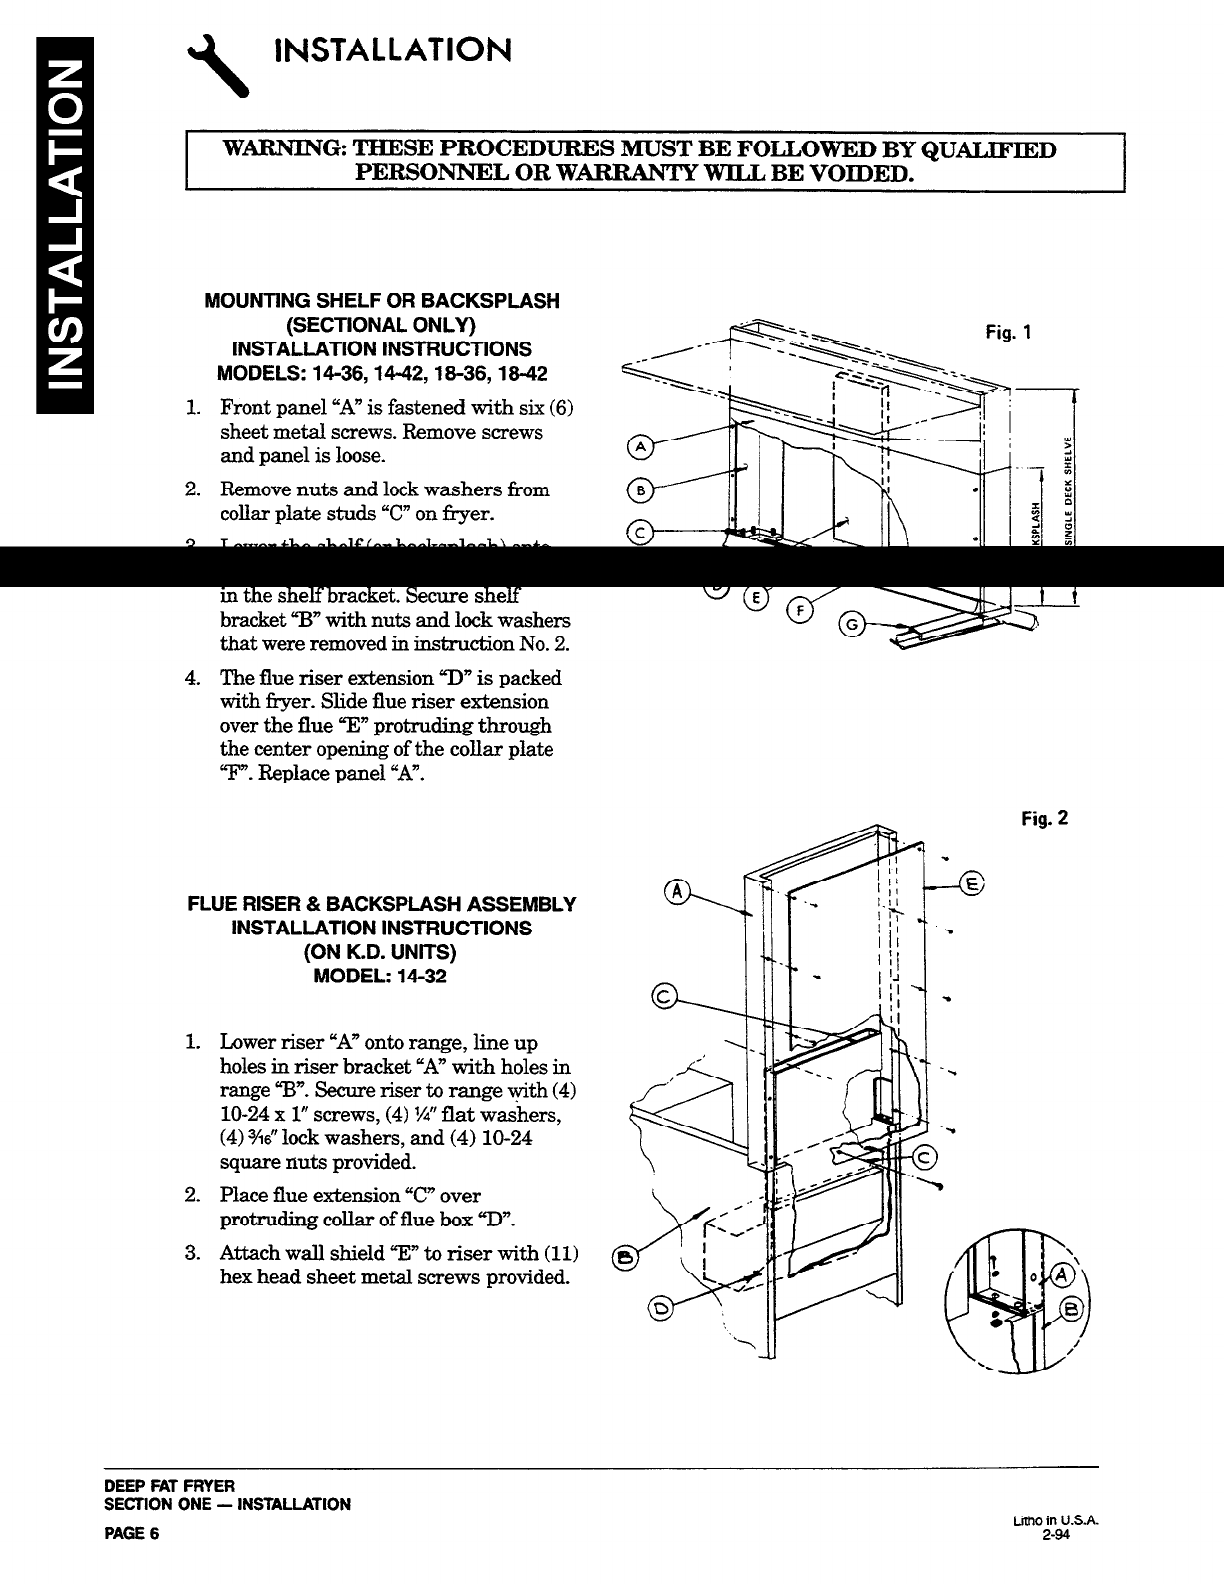
MOUNTlNG SHELF OR BACKSPLASH
1.
2.
3.
4.
(SECTIONAL ONLY)
INSTALLATlON INSTRUCTIONS
MODELS: 14-36,14-42, l&36,16-42
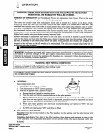
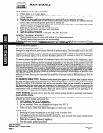
Front panel “A” is fastened with six (6)
sheet metal screws. Remove screws
and panel is loose.
Remove nuts and lock washers from
collar plate studs “C” on fryer.
Lower the shelf (or backsplash) onto
fryer allowing studs “C” to enter holes
in the shelf bracket. Secure shelf
bracket “I? with nuts and lock washers
that were removed in instruction No. 2.
The flue riser extension “II” is packed
with fryer- Slide flue riser extension
over the flue “E” protruding through
the center opening of the collar plate
“F”. Replace panel “A”.
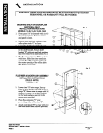
FLUE RISER & BACKSPLASH ASSEMBLY
INSTALLATION INSTRUCTIONS
(ON K.D. UNlTS)
MODEL: 14-32
1.
2.
3.
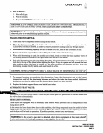
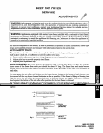
Lower riser “A” onto range, line up
holes in riser bracket “A” with holes in
range TY’. Secure riser to range yith (4)
lo-24 x 1” screws, (4) %” flat washers,
(4) W lock washers, and (4) lo-24
square nuts provided.
Place flue extension “C” over
protruding collar of flue box W”.
Attach wall shield “EY to riser with (11)
hex head sheet metal screws provided.
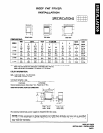
DEEP FAT FRYER
SECTION ONE - INSTALLATION
PAGE 6
Litho in U.S.A.
2-94