16
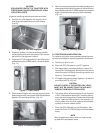
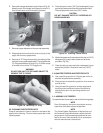
2. Remove the drip tray by gently lifting up to
disengage from the support and pulling out.
Clean behind the drip tray and front of the
freezer with a soap solution.
C. MONTHLY
CAUTION
THE FREEZER HAS AN AIR COOLED CON-
DENSER AND MUST HAVE PROPER AIR CIRCU-
LATION. MAINTAIN 3" OF CLEARANCE AT ALL
LOUVERED PANELS. FAILURE TO CLEAN THE
CONDENSER FILTER ON A REGULAR BASIS MAY
RESULT IN SERIOUS FREEZER DAMAGE AND
COULD VOID FREEZER WARRANTY.
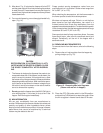
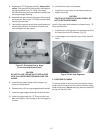
1. Remove the condenser filter by lifting up and pulling
bottom out and down. Then clean with warm soapy
water. Rinse in clean water and shake dry, taking
care not to damage the filter in any way.
2. Replace the condenser filter.
D. SEMI-ANNUALLY
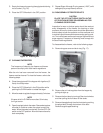
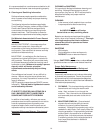
1. Check drive belt for proper tension. Push belt in with
one finger, belt should deflect about 3/8".
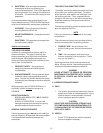
2. Lubricate condenser fan motor with S.A.E. 20 weight
oil. Three to six drops is required.
CAUTION
DO NOT OVER LUBRICATE; RESULTING DAM-
AGE COULD CAUSE MOTOR FAILURE.
3.14 EXTENDED STORAGE
Refer to the following steps for storage of the freezer over
any long period of shutdown time:
A. Turn the OFF-ON switch to the OFF position.
B. Disconnect (unplug) from the electrical supply source.
C. Clean thoroughly with a warm detergent all parts that
come in contact with the mix. Rinse in clean water and
dry parts. Do not sanitize.
NOTE
Do not let the cleaning solution stand in the hopper
or in the freezer barrel during the shutdown period.
D. Remove, disassemble and clean the front door, mix
inlet regulator and auger parts. Place the auger flights
and the front auger support bushing in a plastic bag
with a moist paper towel to prevent them from becom-
ing brittle.


