


6
|
English
OVEN OPERATION
Sabbath
This appliance is certied by Star-K to meet strict religious
regulations in conjunction with specic instructions found
on www.star-k.org.
Sabbath overrides the automatic 12-hour shut off feature.
Sabbath must be reset after a power outage.
Setting controls:
1 Touch , to turn oven light on or off.
2 Touch or . Oven is preset at 175°C.
3 Touch to select preset temperature or use number
pads to change temperature, then touch
.
4 Touch and hold for 5 seconds. ‘SABBATH’ will
appear on the control panel display indicating Sabbath
mode has been initiated.
5 To cancel, touch .
Self-Clean
During self-clean, the oven is heated to an extremely high
temperature to burn off food soil. Remove all oven racks
and rack guides. They will discolor if left in during self-clean.
Oven door will lock and remain locked until self-clean is
complete and oven temperature has cooled below 150°C.
Self-clean times include one hour for cool down.
Setting controls for 3-hour self-clean:
1 Touch .
2 Touch .
Setting controls for 4-hour self-clean:
1 Touch .
2 Touch .
3 Use number pads to increase stop time by 1 hour.
4 Touch twice.
CAUTION
During self-clean, exterior surfaces may get hotter than
usual. Children should be kept away.
Auto Program
TIMED COOK
Timed cook automatically turns the oven off at a specied
time. Oven will begin to heat immediately and will turn off at
desired stop time. Clock must be set to the correct time for
timed cook to function properly. Use in any cooking mode
except broil, convection broil and bake stone.
Setting controls:
1 Touch desired cooking mode.
2 Touch to select preset temperature or use number
pads to change temperature.
3 Touch . Use number pads to set cook time in hours
and minutes.
4 Touch .
DELAYED START
Delayed start automatically turns the oven on and off at
specied times. Oven will remain idle until desired start time
and will turn off at desired stop time. Clock must be set to
the correct time for delayed start to function properly. Use in
any cooking mode except broil, convection broil and bake
stone.
Setting controls:
1 Touch desired cooking mode.
2 Touch to select preset temperature or use number
pads to change temperature. If
is touched, the oven
will begin to heat immediately, but will enter idle mode
once stop time is set.
3 Touch . Use number pads to set cook time in hours
and minutes.
4 Use number pads to set stop time in hours and minutes.
5 Touch .
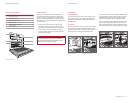
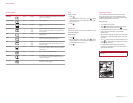
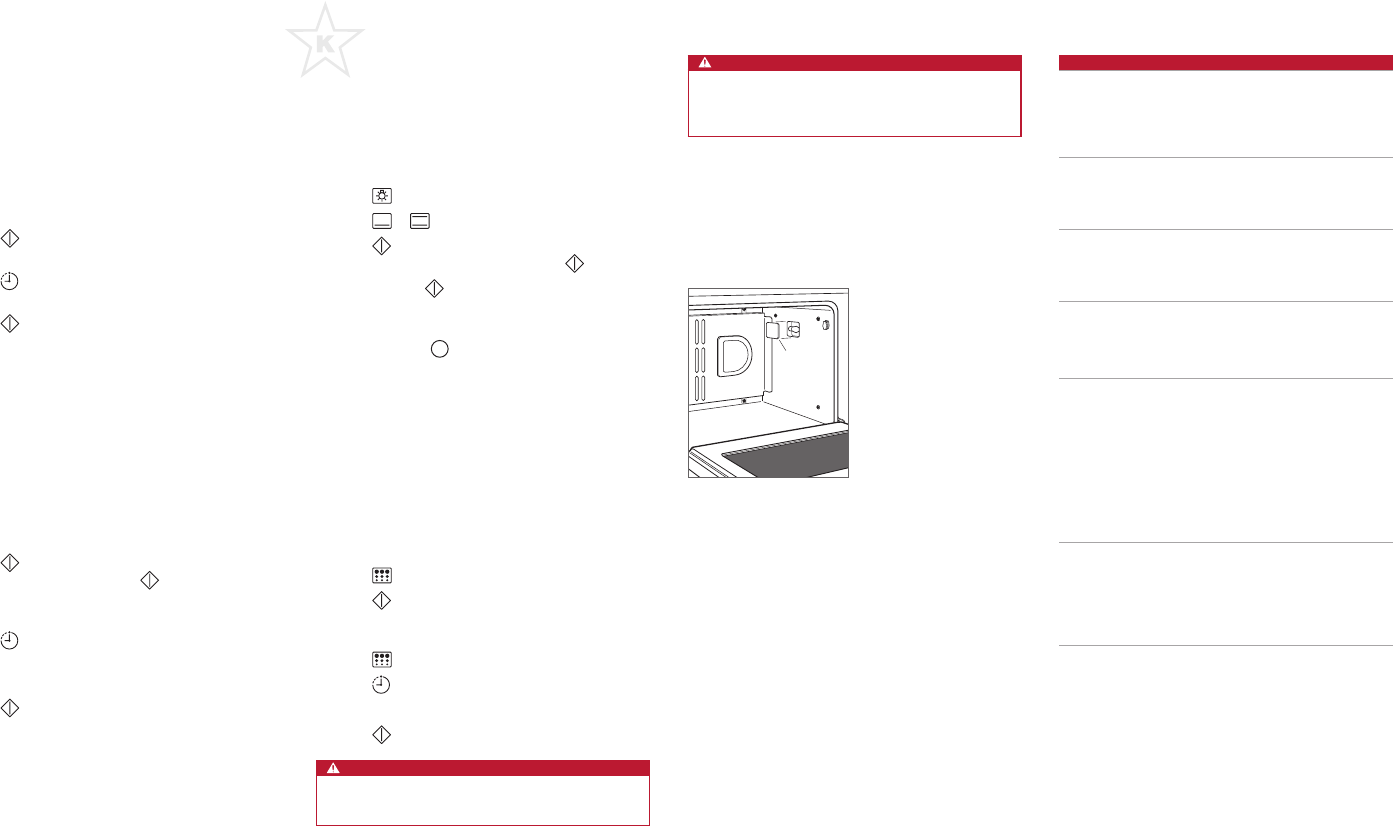
LIGHT
COVER
Light bulb replacement.
Care Recommendations
CLEANING
Stainless
steel
Use a nonabrasive stainless steel cleaner and apply
with a soft lint-free cloth. To bring out the natural
luster, lightly wipe surface with a water-dampened
microber cloth followed by a dry polishing chamois.
Always follow the grain of stainless steel.
Black
glass
Spray glass cleaner on a cloth to clean. Do not use
harsh abrasive cleaners or sharp metal scrapers to
clean the oven door glass since they can scratch the
surface, which may result in shattering of the glass.
Oven rack
guides
Remove and place on a at surface near the sink.
Clean with hot water and mild detergent or paste
of baking soda and water. Do not immerse in water.
Towel dry.
Control
panel
Use spray degreaser to remove ngerprints and food
soil. Spray on a cloth before wiping panel.
IMPORTANT NOTE: Do not spray cleaners directly
on the control panel.
Oven
interior
Before utilizing self-clean feature, use a razor blade
to gently lift baked on foods from oven cavity and
window. For stubborn stains, spray with a mild
abrasive cleaner or spray degreaser and scrub with
a no-scratch pad. Wash entire oven cavity with soap
and water to remove all cleaning chemicals before
entering self-clean mode. If residue is not cleaned
from the cavity, etching of the porcelain may occur.
Once self-clean cycle is complete, allow oven to cool
completely and wipe out ash with a damp cloth.
Broiler pan To clean the upper rack, use mild detergent and a
scouring pad. Rinse and dry. To clean the bottom
pan, discard grease and wash with hot water and
mild detergent. Rinse and dry. The stainless steel
upper rack is dishwasher safe, however, do not place
the porcelain-coated rack or pan in dishwasher.
Oven Light
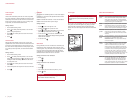
WARNING
Ensure that the appliance is switched off before
replacing the lamp to avoid the possibility of electric
shock.
Allow oven to cool completely, then remove oven racks and
rack guides. To remove the light cover, gently pry bottom
edge with a at screwdriver. Remove existing bulb and
replace with a 20-watt halogen bulb. Refer to the illustration
below.