13
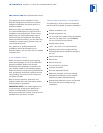
ANTI-TIP BRACKET
INSTALLATION
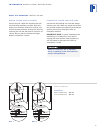
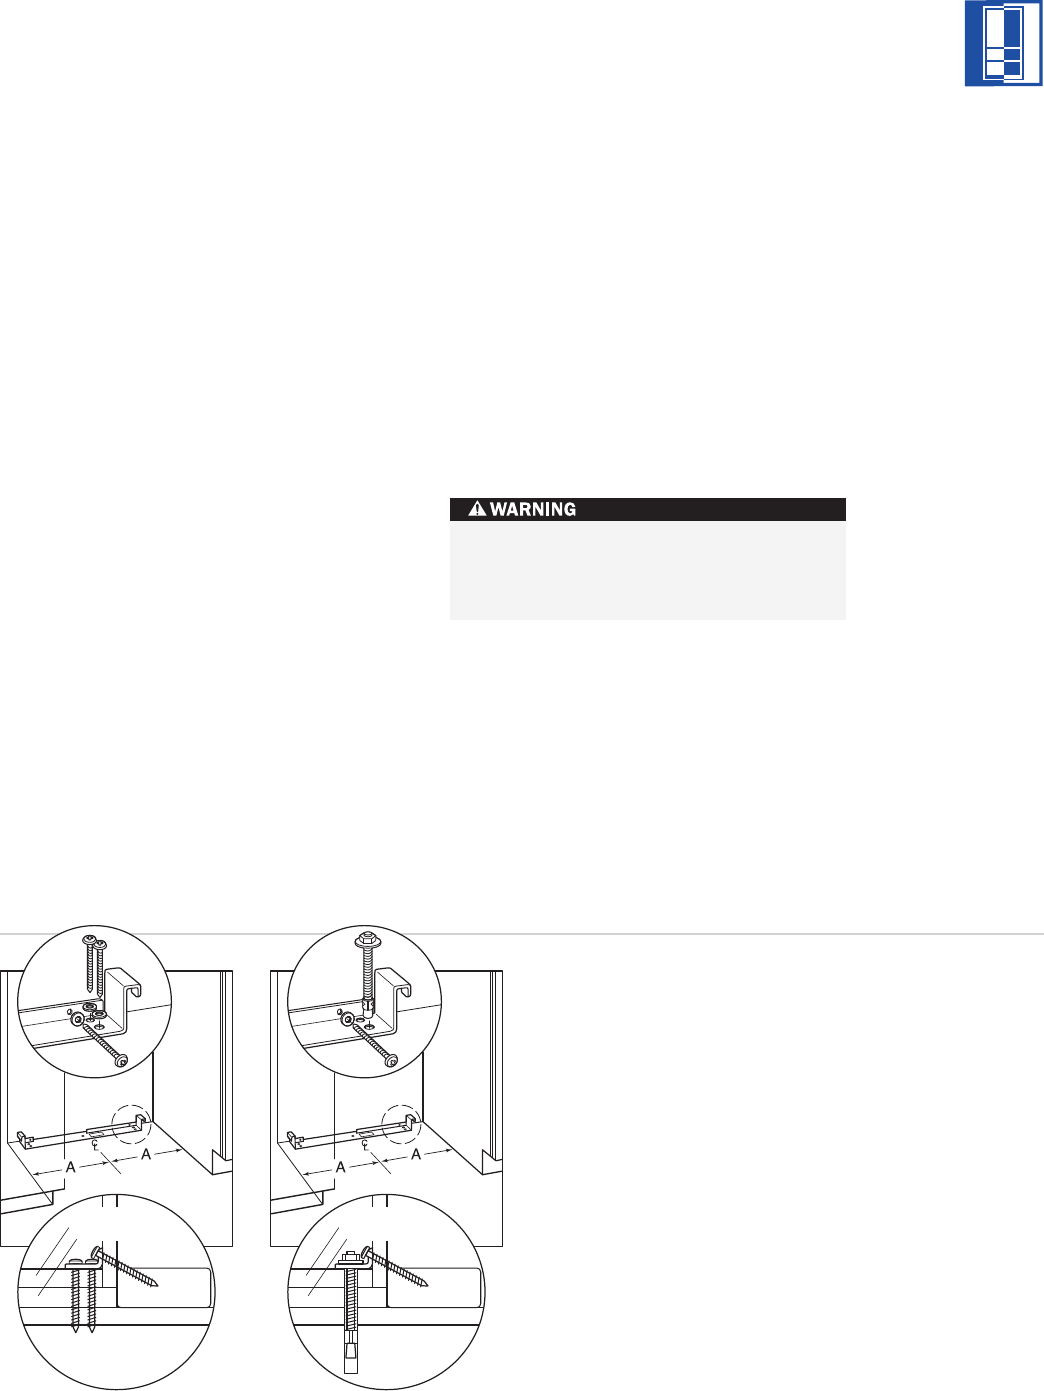
WOOD FLOOR APPLICATIONS
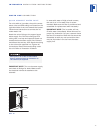
Use the six #12 x 63,5 mm wood screws and
the six #12 flat washers provided. Drill pilot
holes 5 mm diameter maximum, and be sure
that the screws penetrate through the flooring
material and into the wall plate a minimum of
19 mm. Be sure that the screws hold tight.
Refer to illustration 1 below.
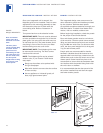
CONCRETE FLOOR APPLICATIONS
Use the two #10 x 95,25 mm concrete wedge
anchors, two #12 x 63,5 mm wood screws and
two #12 flat washers provided. Be sure that the
anchors and screws hold tight. Refer to
illustration 2 below.
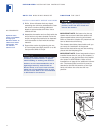
IMPORTANT NOTE:
In some installations the
subflooring or finished floor may require
angling the wood screws used to fasten the
anti-tip bracket to the back wall. Refer to
illustrations 1 and 2.
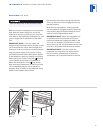
INTEGRATED INSTALLATION INSTRUCTIONS
Make sure that there are no electrical
wires or plumbing in the area which the
screws could penetrate.
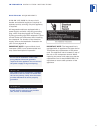
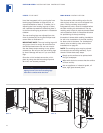
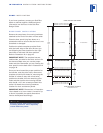
WOOD FLOOR
Finished Flooring
Underlayment
Subflooring
Wall Plate
Finished Flooring
Underlayment
Subflooring
Wall Plate
CONCRETE
FLOOR
38
mm
min
Illus. 1 Illus. 2
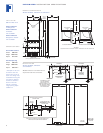
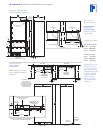
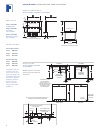
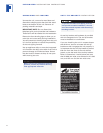
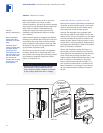
SPECIFICATIONS
Dimension A
686 mm Wide Units 343 mm
914 mm Wide Units 457 mm


