16
CAUTION – ACCESSIBLE PARTS MAY BECOME HOT WHEN THE GRILL IS IN USE.
CHILDREN SHOULD BE KEPT AWAY.
SELECTING THE GRILL
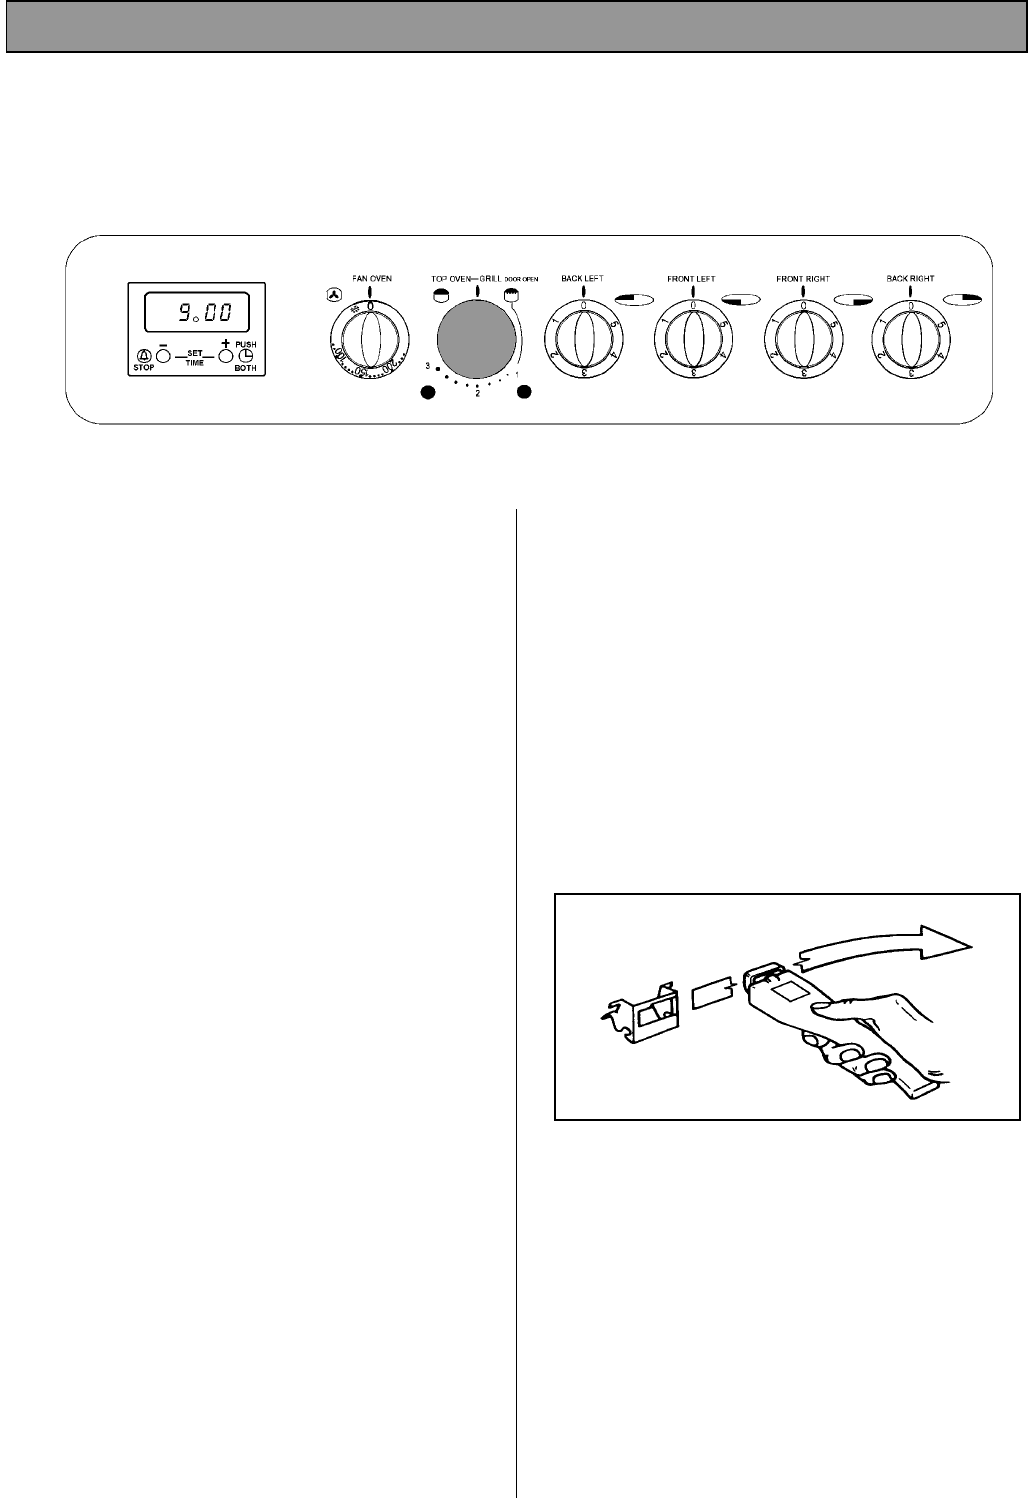
· To operate the grill, open the grill door and turn
the top oven/grill control clockwise so that ‘0’ on
the control knob lines up with setting 1, 2 or 3.
· Setting 3 represents the grill on Full.
At settings 1 and 2 the grill may turn on and off
over time and you may prefer to use these
settings for keeping food warm.
· The top oven indicator neon will glow until the
oven has reached the desired temperature and
then go out. It will turn ON and OFF periodically
showing that the oven temperature is being
maintained.
NOTE
THE GRILL DOOR MUST BE LEFT OPEN DURING
GRILLING. IF THE DOOR IS CLOSED THE TOP
OVEN WILL OPERATE.
· The cooling fan will operate. For more details
about the cooling fan see page 9.
· Some smoke from fat splashes may be evident
as the grill cleans itself.
· The top oven cannot be operated when the grill
is in use.
· Only the inner element will operate when grilling.
THE GRILL PAN AND HANDLE
The grill pan is supplied with a removable handle.
To insert the handle, press the button on the handle
with the thumb and pivot the handle slightly upwards
inserting the lip into widest part of the bracket. Move
the handle towards the left, lower into position and
release the button.
Ensure the handle is positively located.
When removing the handle, press the button on the
handle with the thumb and pivot the handle slightly
upwards and towards the right to remove from the
bracket.
Ensure your hand is protected when inserting
and removing the grill pan handle as the control
panel trim and grill element can become very hot.
ALWAYS REMOVE THE GRILL PAN HANDLE
DURING GRILLING.
THE GRILL


