


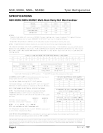

N5D, N5DH, N5DL, N5DSC Tyler Refrigeration
Page 14 January, 2001
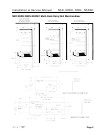
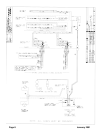
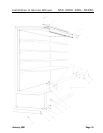
Top Duct
1. Remove shelves and shelf brackets, see
page 13.
2. Remove screws, rear retainer plate and
honeycomb grid sections from top of
case.
3. Remove screws and top duct from case.
4. After cleaning, replace top duct and
remaining components in reverse order.
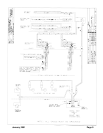
Lower Cladding
1. Remove front kickplate form kickplate
supports. (See General-UL/NSF I&S
Manual.)
2. Remove mounting screws from top and
bottom of lower cladding and remove
lower cladding.
3. After cleaning, replace in reverse order.
Upper Cladding
1. Remove lower cladding, see this page.
2. Remove color band, bumper and bumper
retainer from the case. (See General-
UL/NSF I&S Manual.)
3. Remove screws for top and bottom of
upper cladding and remove upper
cladding.
4. After cleaning, replace upper cladding
and remaining front components in
reverse order.
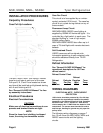
GENERAL INFORMATION
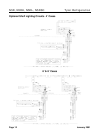
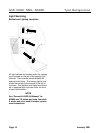
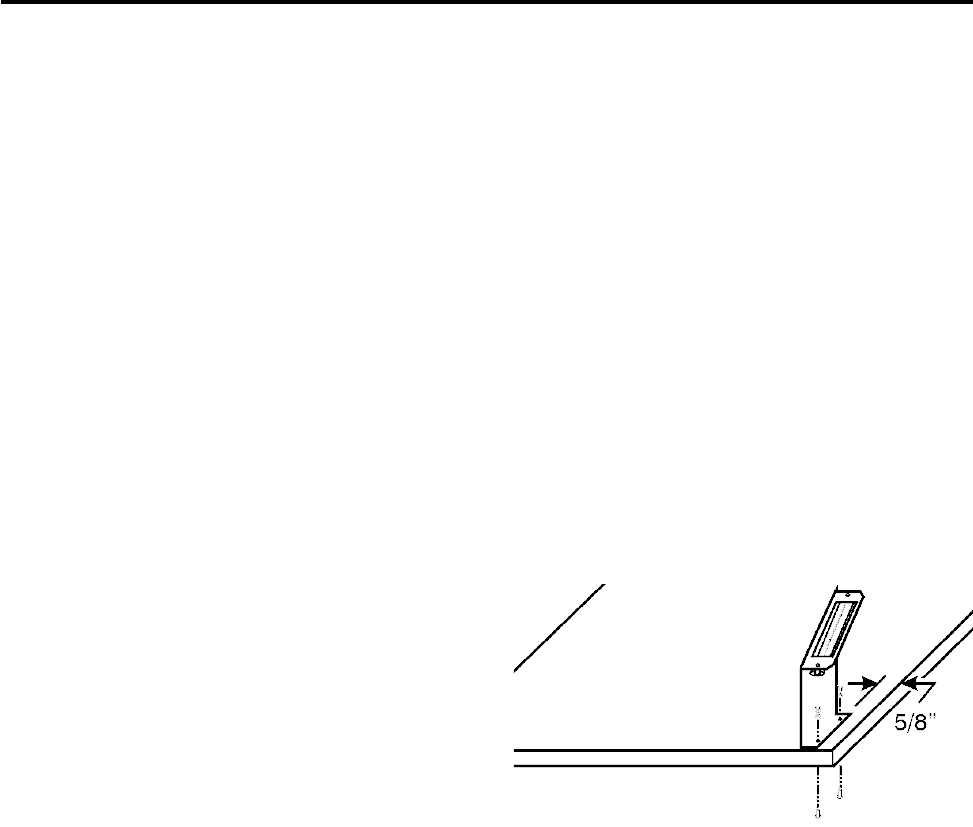
NSF Product Thermometer
Installation
1. Unwrap the thermometer and bracket
assembly shipped loose with the case.
2. Position bracket in front right corner of the
right-most bottom tray. Making sure the
bracket is 5/8” in from the right edge, use
the bracket holes as a template for where
to drill the holes.
3. Drill two .196” holes in the bottom tray.
NOTE
For ease of installation, position the wash-
ers and capnuts on the top side of the
bracket and bottom tray.
4. Mount the bracket to the bottom tray with
two screws, washers and capnuts.