


02/2005 13 www.U-LineService.com
™
2075DWRWC — Drawer Model Wine Captain
®
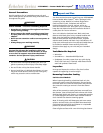
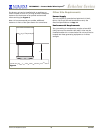
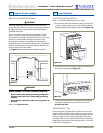
2. Insert the screws through the anti-tip bracket (B) and
attach the bracket to the unit. Tighten screws securely.
3. Repeat for the other side.
Note: The bracket should be flush with the surface it is
being attached to. If it is not, loosen the screws and slide
the bracket against the mounting surface. Tighten screws
securely.
4. Using two of the screws (C) supplied, fasten the screws
through the bracket and into the counter, cabinet or wall.
IMPORTANT
Certain cabinets or countertops may require special
fasteners or additional wood blocking to anchor properly.
CAUTION
Make sure the screws are back far enough so they do not
damage any exposed front surface of the cabinet.
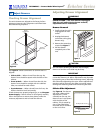
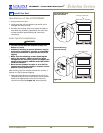
Installation Troubleshooting
Problem
Q
:
The drawer remains open unless it is pushed closed.
Solution
A:
The drawer should be self-closing when it is open
approximately 8
"
. If it is not, re-check leveling from front
to back of the unit and readjust if necessary.
Initial Start-Up
Once installation and leveling is complete, the unit is
ready for initial start-up and operation.
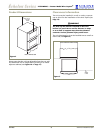
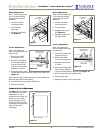
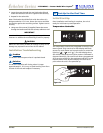
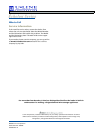
Temperature Controller
The temperature controls are integrated in the top, front
drawer panel. They consist of an LED display and touch
sensors for each drawer and a touch sensor to control the
lighting (“ ”, “ ” and “ ”). The LED displays show
the drawer’s temperature set point, and are calibrated in
degrees Fahrenheit. The controls are factory programmed
for a set point of 60°F for the top drawer and 40° F for the
bottom drawer. Each drawer’s display will show its set
point when the unit is first powered up.
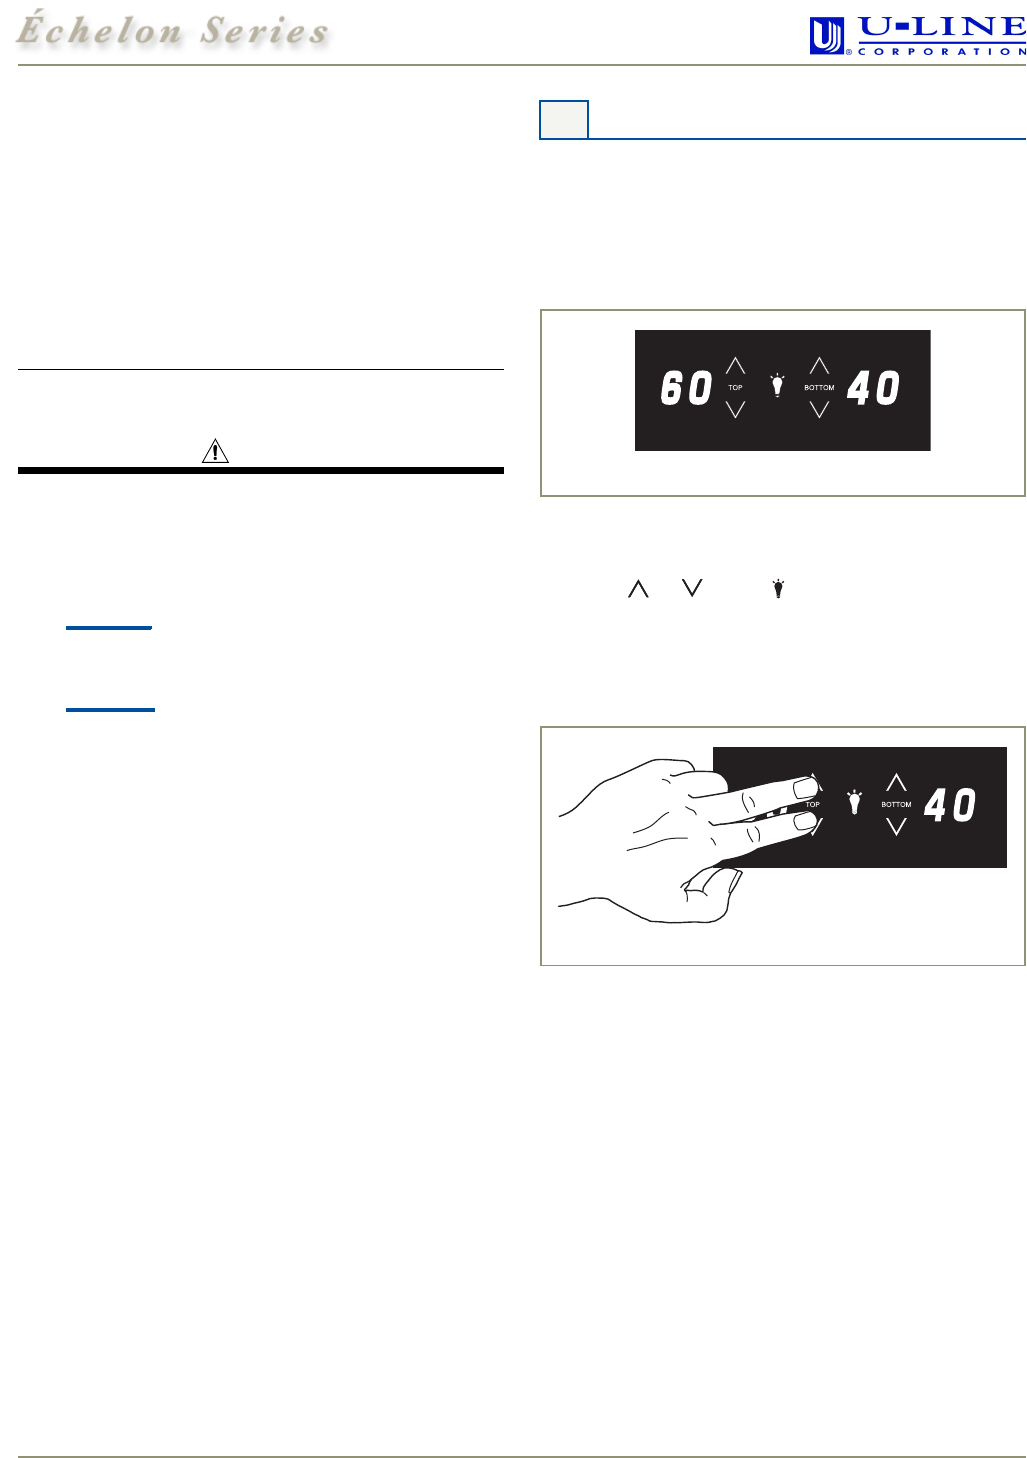
9 Start-Up for the First Time
Figure 21
Figure 22