


02/2005 7 www.U-LineService.com
™
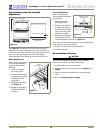
2075DWRWC — Drawer Model Wine Captain
®
The U-Line Wine Captain
®
is equipped with wood-
trimmed wine racks that are coated at the factory with a
clear vinyl sealer, which will adequately protect the wood
in normal usage. A final finish coat was not applied so
that the wood trim could be stained to match décor. The
trim on the racks may be coated with a final finish or
stained.
If neither of these treatments are to be included in this
installation, go on to 5 Adjust Drawers.
CAUTION
To prevent permanent damage to the inner liner of the
Wine Captain
®
, the wine rack wood trim MUST be
removed from the unit for staining and/or finishing.
Allow stain/finish to dry thoroughly (at least 24 hours per
coat) in accordance with the stain/finish manufacturer’s
instructions prior to re-installing the wood trim inside the
cabinet of the Wine Captain
®
. Failure to do so may cause
the inner liner of the unit to have a permanent odor,
which is not covered by the warranty.
Adding a Final Finish Coat to Wood
Trim
IMPORTANT
Do not remove the two racks attached at the drawer
slides.
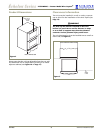
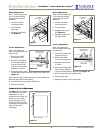
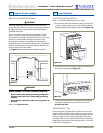
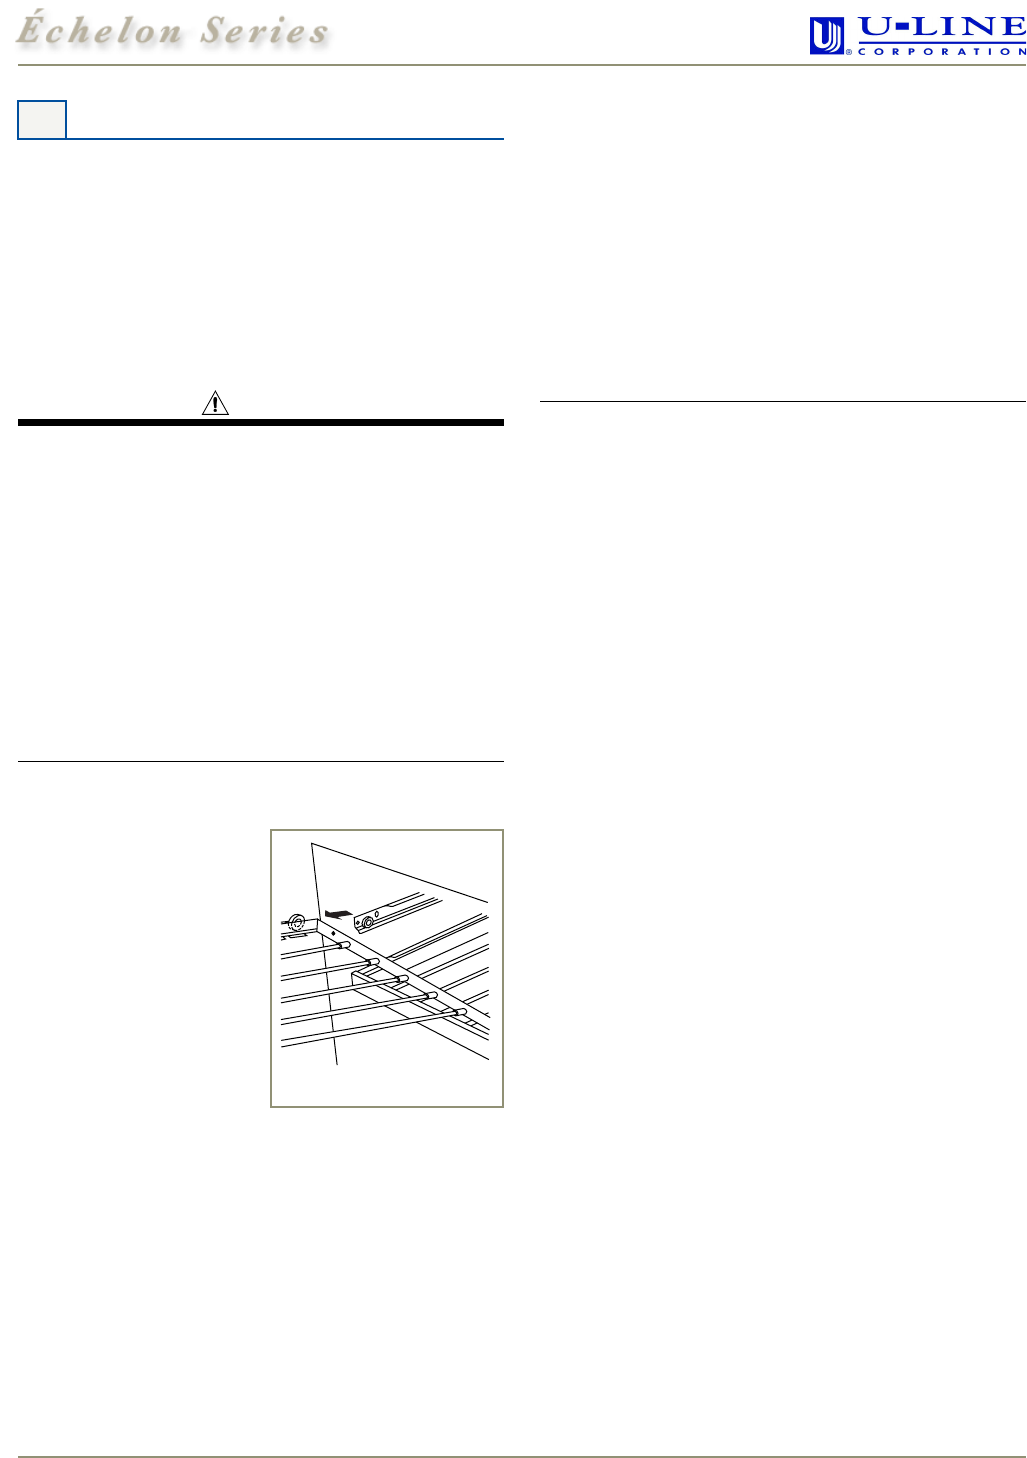
1. Remove wine caddy, the
top two racks in the upper
drawer and the top rack
in the bottom drawer
(remove each wine rack
by sliding it out and up).
See Figure 5.
2. Remove and save screws
securing wood trim to the
racks and caddy.
3. Remove and save screws
securing wood trim to the
two racks attached at the drawer slides (without
removing these racks themselves).
4. Lightly scruff sand the wood trim with 280 grit 3M
Tri-M-Ite sandpaper.
5. Remove sanding dust with a tack cloth.
6. Apply a thin coat of Minwax Polycrylic, following
container label for directions. Allow to dry 24 hours.
7. Lightly sand, tack and reapply 2 times, if desired.
8. Allow the final coat to dry for 24 hours.
9. Reinstall wood trim to wine racks and caddy using
screws removed in Steps 2 and 3.
10.Reinstall the removed wine racks and caddy in unit.
11.Go on to 5 Adjust Drawers.
Staining Wood Trim a Different
Color
IMPORTANT
Do not remove the two racks attached at the drawer
slides.
1. Remove wine caddy, the top two racks in the upper
drawer and the top rack in the bottom drawer
(remove each wine rack by sliding it out and up). See
Figure 5.
2. Remove and save screws securing wood trim to the
racks and caddy.
3. Remove and save screws securing wood trim to the
two racks attached at the drawer slides (without
removing these racks themselves).
4. Apply Minwax Water-Based Wood Stain to wood with a
synthetic foam brush. Stain must penetrate
approximately 3 minutes. After this period, while stain
is still wet, take a stain-dampened rag and remove all
excess stain. Wipe in the direction of the grain with
medium pressure to achieve the desired stain color.
5. After 2 hours, repeat Step 4.
6. Allow stain to dry for a minimum of 3 hours before
finishing.
7. Sand the wood with very fine sandpaper to smooth the
surface from the staining process.
8. Remove sanding dust with a tack cloth.
9. Apply a thin coat of Minwax Polycrylic, following
container label for directions. Allow to dry 24 hours.
10. Lightly sand, tack and reapply 2 times, if desired.
11. Allow the final coat to dry for 24 hours.
12. Reinstall wood trim to wine racks and caddy using
screws removed in Steps 2 and 3.
13. Reinstall the removed wine racks and caddy in unit.
14. Go on to
5 Adjust Drawers
.
4 Prepare Racks and Caddy
Slide Out
and Up
Figure 5