02/2005 9 www.U-LineService.com
™
2075R Refrigerator and 2075RF Refrigerator/Freezer
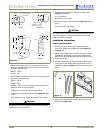
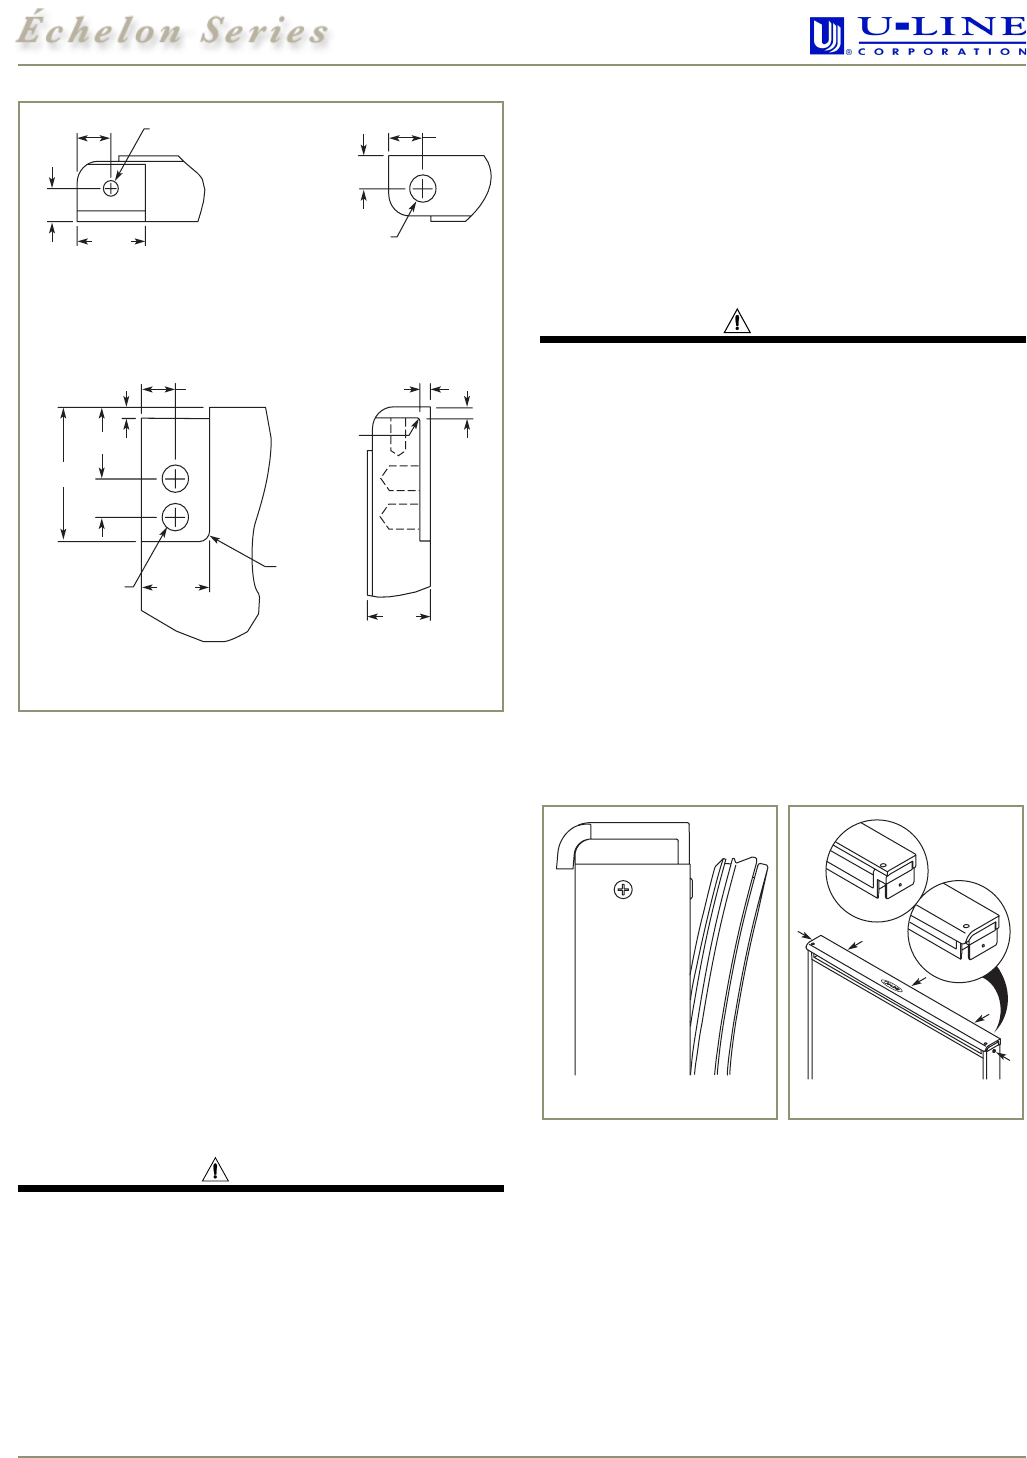
Route notch in top corner of overlay panel as shown
(see Top and Side Views). Top of notch is entire depth
of panel, front to back.
Width: 13/16"
Depth: 1/8"
Route notch in backside of top corner of overlay panel
(see Back and Side Views).
Width: 13/16"
Depth: 1/8"
Height: 1-17/32" from top edge of panel (less 1/8" for
depth of notch on top of panel)
Radius of corner notch: 1/8" (see Back View)
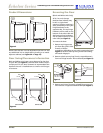
3. Drill holes for pivot plate mounts (see
Figure 16
, Back
View).
5/16" diameter x 1/2" deep, from the routed surface
CAUTION
Be careful not to drill too deep! Drilling holes too deep
may destroy your door panel.
4. Drill hole for upper door hinge (top of panel) (see
Figure 16
, Top View).
0.177" diameter
(#16 drill) x 11/16" deep
5. Drill hole for lower door hinge (see
Figure 16
, Bottom
View).
5/16" diameter x 1/4" deep
CAUTION
It is important to ensure that all drilled holes are drilled to
the correct depth in order to avoid splits in the wood
when hardware is installed.
Installation Instructions
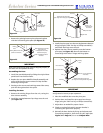
Removing Existing Door
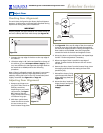
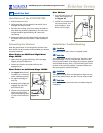
1. Remove the door shelves by first pulling shelves
up at a 45° angle then straight out (see Figure 34
on Page 14).
2. Remove top hinge screw pin (7/64" hex key or Phillips
screwdriver, depending on your unit’s construction).
Remove the door by tilting forward and lifting off the
bottom hinge pin.
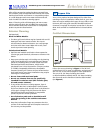
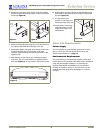
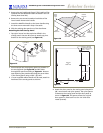
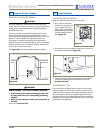
3. Pull door gasket out of the groove (top edge of door
only). Start in the middle and pull outward, moving
toward the edge (see
Figure 17
). This may take some
force.
4. Remove the three screws located on the back of the
handle (see
Figure 18
).
Figure 16
Top View
Back View
Bottom View
Side View
13/16"
1-17/32"
13/16"
13/32"
3/8"
Door Bottom:
5/16" Dia.
x
1/4" Deep
Chamfer 1/32"
x
45°
3/8"
1/8"
1/8"
13/16"
7/16"
1/8"
13/32"
3/4"
13/32"
0.177" Dia. (#16 Drill)
x
11/16" Deep
5/16" Dia.
x
1/2" Deep
1/32" R
1/8" R
Old Handle
New Handle
Figure 17 Figure 18


