QUICK START GUIDE
3
u-line.com
Water Hookup
PREPARE PLUMBING
Please use the braided stainless steel water supply line
which comes attached. The water line is fitted with a
standard 1/4" (6.35 mm) compression fitting.
WARNING
!
Prior to installation, determine if this product
contains a gravity style drain or factory installed
drain pump. Products without a drain pump may
only use a gravity style drain. Failure to connect
water supply or drain line connections properly
may result in water leakage, personal injury,
and/or property damage. Disconnect power and
turn off water to the unit before attempting to
alter these connections. These connections are
the responsibility of the owner and must be
connected per local plumbing code. If you are
uncertain of how to safely and properly install
this product, contact a licensed plumber.
Water Supply Connection
CAUTION
!
Review, obey, and understand the local
plumbing codes before you install your unit.
Connect to the cold water supply. The water
pressure should be between 20 and 120 psi. The
water line MUST
have a shut-off valve on the
supply line.
CAUTION
!
Do not use any plastic water supply line. The line
is under pressure at all times. Plastic may crack
or rupture with age and cause damage to your
home.
Do not use Teflon tape or joint compound on the
water fitting. The rubber washer provides an
adequate seal. Other materials could cause
blockage of the valve.
Failure to follow recommendations and
instructions may result in damage and/or harm,
flooding or void the product warranty.
CAUTION
!
Turn off water supply and disconnect electrical
supply to unit prior to installation.
1. Turn off water supply and disconnect electrical supply
to product prior to attempting installation.
2. Locate the desired cold water supply location.
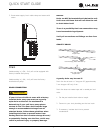
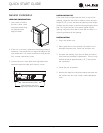
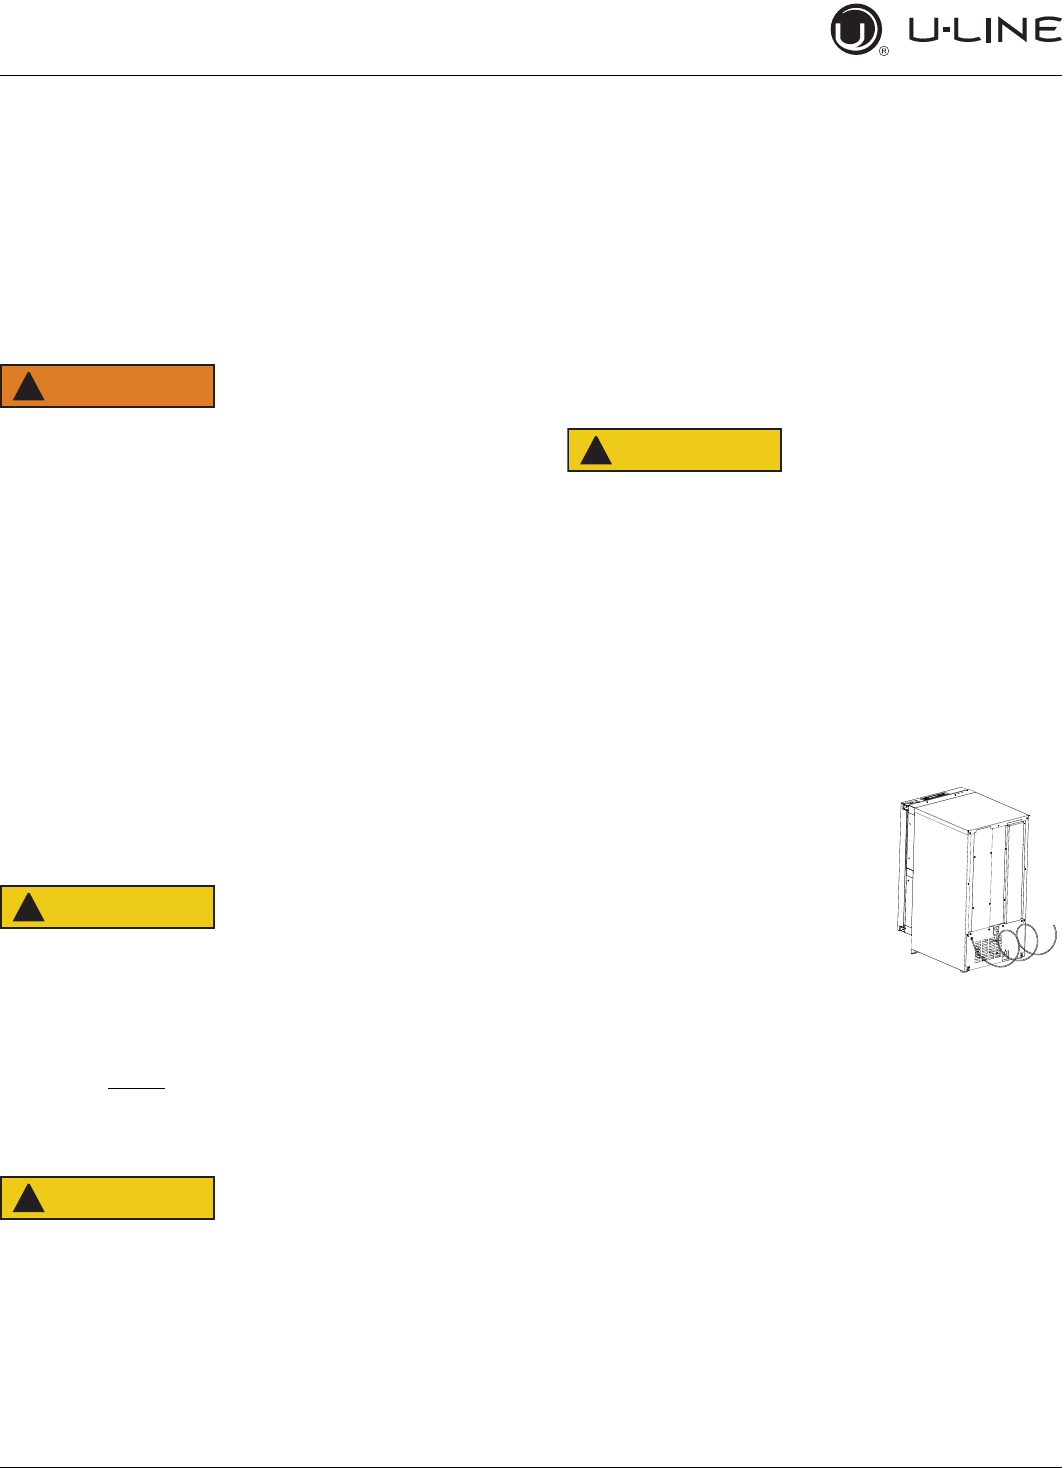
3. Locate braided stainless steel
water supply line and connect
to your cold water supply. The
water line should be looped into
2 coils. This will allow the unit
to be removed for cleaning and
servicing. However, make
certain that the tubing is not
pinched or damaged during installation.
4. Turn on water and check for leaks.


