


www.U-LineService.com 10 02/2005
75R, 75WC and 75BEV Models
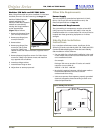
Checking Door Alignment
The unit’s door is aligned at the factory before shipment.
However, its alignment could have been disturbed during
shipment or during door panel installation.
IMPORTANT
Properly aligned, the door's gasket should be firmly in
contact with the cabinet all the way around the door (no
gaps).
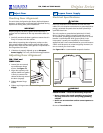
1. Carefully examine the door's gasket to assure that it is
firmly in contact with the cabinet.
Note: When inspecting door alignment, make sure the
light switch bracket makes contact with the light switch
plunger. Also make sure the door gasket is not pinched on
the hinge side of the door.
2. If the door is properly aligned, go on to
6 Prepare
Power Supply
. If it is not, use the following procedure.
Adjusting Door Alignment
75R, 75WC and
75BEV Units
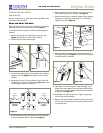
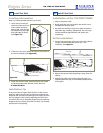
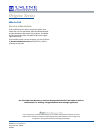
1. Loosen (do not remove)
top and bottom hinge
screws. See Figure 17.
2. Align door squarely with
cabinet. Make sure gasket
is firmly in contact with
cabinet all the way around
the door (no gaps).
3. Tighten bottom hinge
screws.
4. Tighten top hinge screws. Go on to
6 Prepare Power
Supply
.
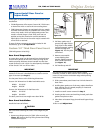
Electrical Specifications
CAUTION
Electrical installation must observe all state and local
codes. This unit requires connection to a grounded (three-
prong), polarized receptacle that has been placed by a
qualified electrician.
The unit requires a grounded and polarized 115 VAC,
60 Hz, 15A power supply (normal household current).
An individual, properly grounded branch circuit or circuit
breaker is recommended. GFCI (ground fault circuit
interrupter) is usually not required for fixed location
appliances and is not recommended for your unit because
a GFCI could be prone to nuisance tripping. However, be
sure to consult your local codes.
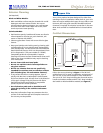
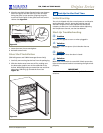
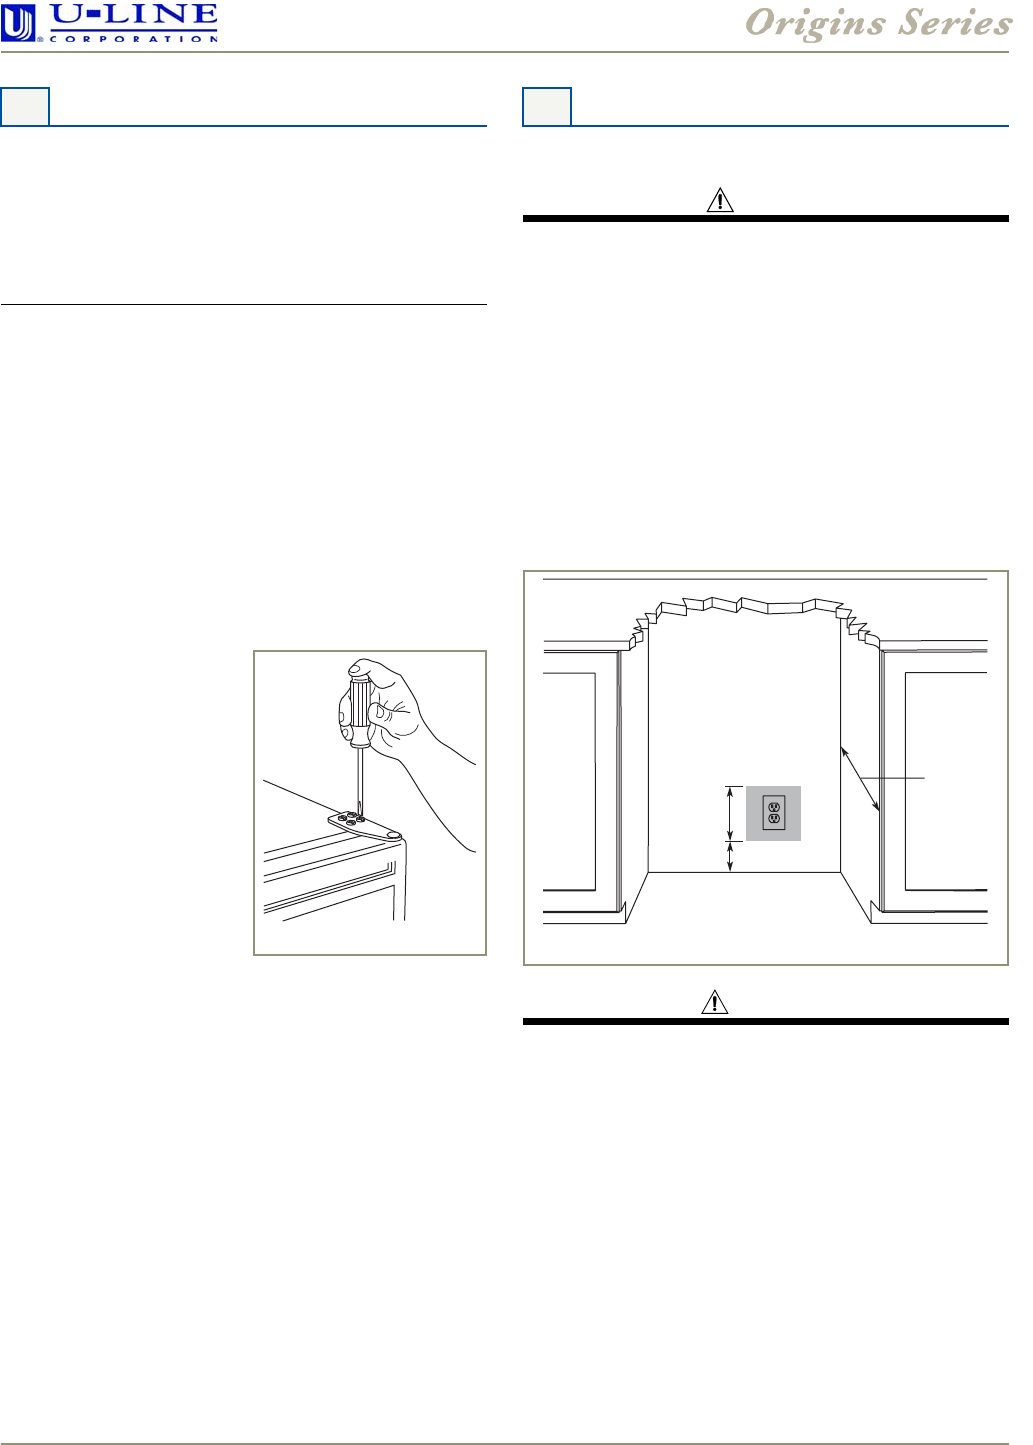
See Figure 18 for recommended receptacle location.
WARNING
SHOCK HAZARD — Electrical Grounding Required.
• Never remove the round grounding prong from
the plug and never use a two-prong grounding
adapter.
• Never use an extension cord to connect power to
the unit.
Go on to 7 Level the Unit.
5 Adjust Door
Figure 17
6 Prepare Power Supply
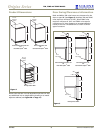
4"
7"
23-7/16"
Figure 18