


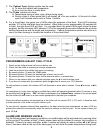


PRINTER SET UP
(CAUTION!!! : DO NOT CHANGE any other parameters when setting the date & time! If additional
parameters are changed, there is a great possibility that the VBC Cabinet will not function properly
and will void warranty!)
TIME
AND DATE SET UP
A. Enter the Engineering Switch Mode by doing the following:
1. Turn control panel "off" by pressing the "standby" button.
2. Press and hold the "1" button.
3. While continuing to hold the "1" button, press and release "standby" button.
B. Press the “2” or "3" button to step through the engineering settings. When the display shows
"ute", you have reached the time and date settings.
*Note: The setting functions (i.e. "ute","hr") are only displayed when the "3" button is depressed.
When the button is released, the actual setting value will appear and can then be set.
● Minute (shown as "ute") ➨ Press "
✔✔
" to increase or "
✖✖
" decrease minute
● Hour (shown as "hr") ➨ Press "
✔✔
" to increase or "
✖✖
" decrease hour
● Day (shown as "day") ➨ Press "
✔✔
" to increase or "
✖✖
" decrease day
● Month (shown as "nth") ➨ Press "
✔✔
" to increase or "
✖✖
" decrease month
● Year (shown as "yr") ➨ Press "
✔✔
" to increase or "
✖✖
" decrease year
*Note: When entering the year, there could be only one character displayed. Examples are below:
1 = the year 2001
2 = the year 2002
3 = the year 2003, etc.
C. When entry is complete, press "standby" once to exit the Engineering Switch Mode. Then press
"standby" again to turn on the cabinet.
D. Print demand ticket by holding printer "on/off" button for five (5) seconds. A printout will be
produced to confirm new information entered.
*Special Note: If there is information entered by error, wait approximately two (2) minutes before
starting the process over.
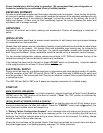
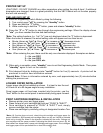
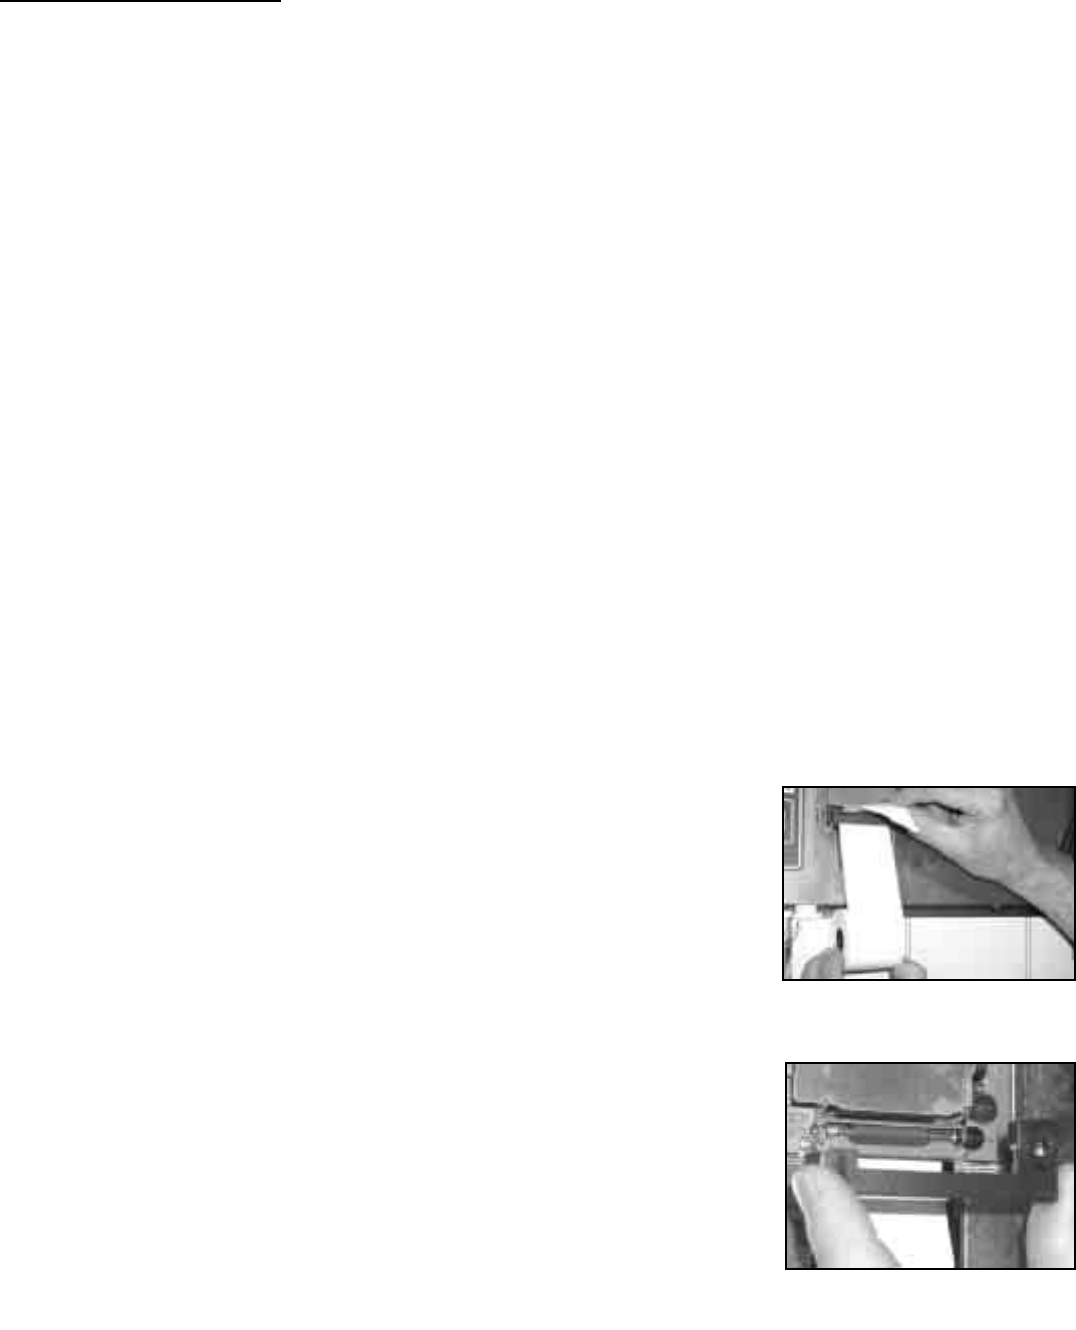
LOGGER PAPER INSTALLATION
Logger paper should be installed as shown. It is best to tear the end
of a new roll at a 90 degree angle for easy installation.
Once logger paper roll has been inserted into the printer, use the
“feed” button on the control panel to automatically bring paper forward.
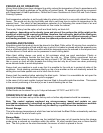
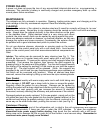
PRINT CARTRIDGE REMOVAL & INSTALLATION
● Remove printer cover and logger paper.
● Press the end of print cartridge that calls out "PUSH" & "EJECT".
● Once cartridge is pressed at "PUSH" & "EJECT" end, simply
remove cartridge from the printer.
● Place new cartridge by carefully putting at designated location.Turn
*Note: (1) If printer does not work, check the print cartridge and logger paper for
proper installation. (2) Exposed print cartridge ribbon can dry out. Adjust to printable
fresh ink by turning the wheel in the direction indicated by the arrow. Change out
print cartridge with the spare provided if adjusting the ribbon does not work. (3) All
blast chillers are shipped with a spare print cartridge and logger paper. Print cartridges
and logger paper can be purchased from a local office supply store.
7
“Paper Installation”
“Print Cartridge Removed”