98
CClleeaanniinngg aanndd MMaaiinntteennaannccee
MMaakkee ssuurree tthhee ccoonnttrrooll kknnoobb iiss iinn tthhee ““OOFFFF”” ppoossiittiioonn bbeeffoorree cclleeaanniinngg..
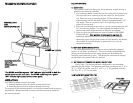
1. Allow warming drawer to cool completely.
2. It is important to keep the slide rails clear and free from debris.
Periodic cleaning of slide rails and other adjoining parts is necessary to
assure smooth drawer operation.
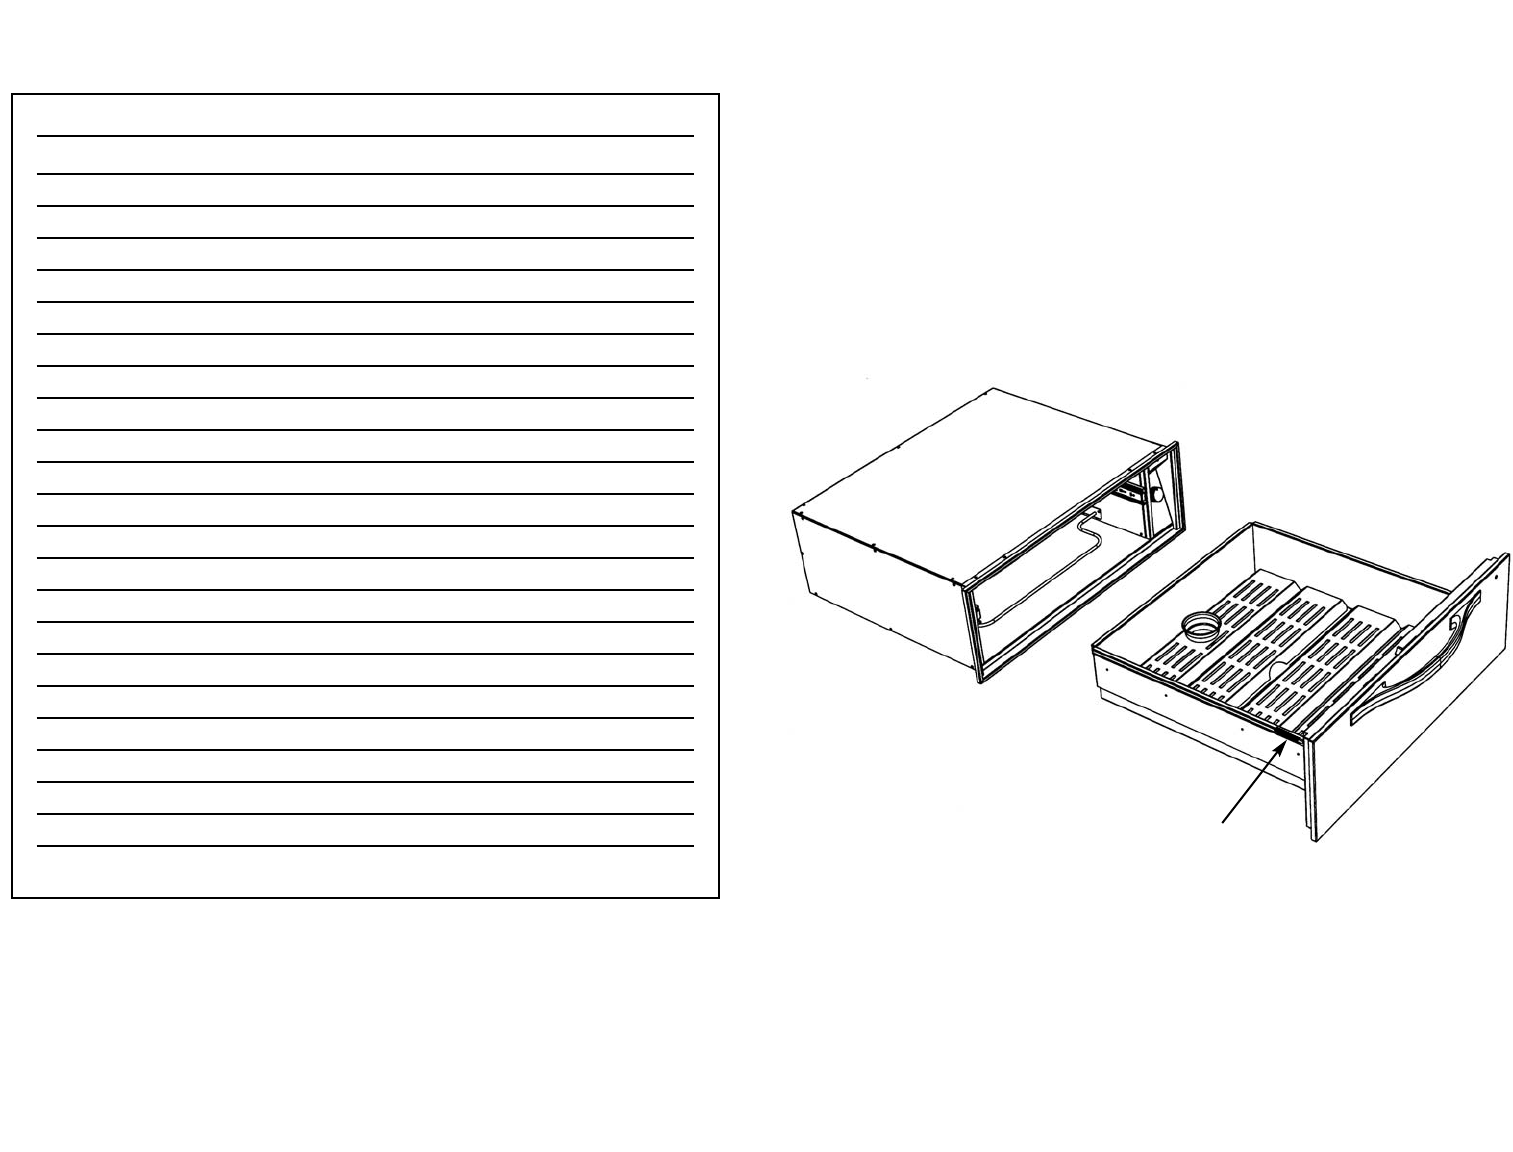
3. If needed, the warming drawer pan support can be removed for
cleaning. Pull the warming drawer out until fully extended. Slide
finger along right and left side rail until you reach hand latches (located
at the front of rails). Pull up on both right and left latches. Pull drawer
support completely out.
Latches
FFoooodd TTeemmppeerraattuurree SSeettttiinnggss MMooiissttuurree SSeettttiinnggss
((ddeewwdd mmooddeellss oonnllyy))
Bacon 2 - 3 -
Beef, medium and well done 2 +
Beef, rare 1 - 2 +
Bread, hard roll 2 -
Bread, soft rolls 2 -
Casseroles 2 +
Cooked cereal 2 +
Dough, proofing 1 +
Eggs 2 +
Fish, seafood (baked) 2 +
Fried foods 3 -
Fruit 2 +
Gravy, creamed sauces 2 +
Ham 2 +
Pancakes, waffles 2 - 3 +
Pies, one crust 2 +
Pies, two crust 2 -
Pizza 2 - 3 halfway
Pork 2 +
Potatoes, baked 3 halfway
Potatoes, mashed 2 +
Poultry 2 - 3 +
Vegetables 2 -
TTeemmppeerraattuurree aanndd MMooiissttuurree GGuuiiddeelliinneess
The information below is given as a guide only. You may need to
vary the heat settings to suit your personal requirements.


