10
CLEANING AND MAINTENANCE
Any piece of equipment works better and lasts longer when maintained properly and kept clean.
C
ondenser
The condenser tubing inside the cabinet does not require frequent cleaning; however, satisfactory cooling depends on
adequate ventilation over the coils. Be sure that nothing obstructs the required air flow openings in front of the cabinet.
Spiders and insects can nest in and around the refrigerated drawer causing damage to the unit. Frequently brush or
vacuum lint and dirt from the condenser coils for efficient performance by unscrewing the grill on the bottom front of
cabinet.
C
abinet
The cabinet can be washed with mild soap and water and thoroughly rinsed with clear water. Never use abrasive scouring
powders.
I
nterior
Wash interior compartment with mild soap and water. Do not use abrasive powder, solvent, polish cleaner or undiluted
detergent.
S
tainless Steel Parts
All stainless steel parts should be wiped regularly with hot soapy water. Use a liquid cleaner designed for stainless steel
when soapy water will not do the job.
D
o not use
steel wool, abrasive cloths, cleansers, or powders. Do not permit citrus
or tomato juice to remain on stainless steel surfaces, as citric acid will permanently discolor stainless steel.
Brass Parts
CAUTION:
All brass parts are coated with an epoxy coating.
DO NOT USE BRASS OR ABRASIVE CLEANERS ON
THE BRASS PARTS.
All brass parts should be wiped regularly with hot soapy water. When hot soapy water will not do
the job, use every day non-abrasive household cleaners.
D
oor Gasket
The vinyl gasket may be cleaned with mild soap and water, a baking soda and water solution, or a mild scouring powder.
P
ainted Surfaces
Wash with warm soapy water.
D
O NOT USE
steel wool, abrasive cleansers, ammonia, acids or commercial oven cleaners
which may damage the finish.
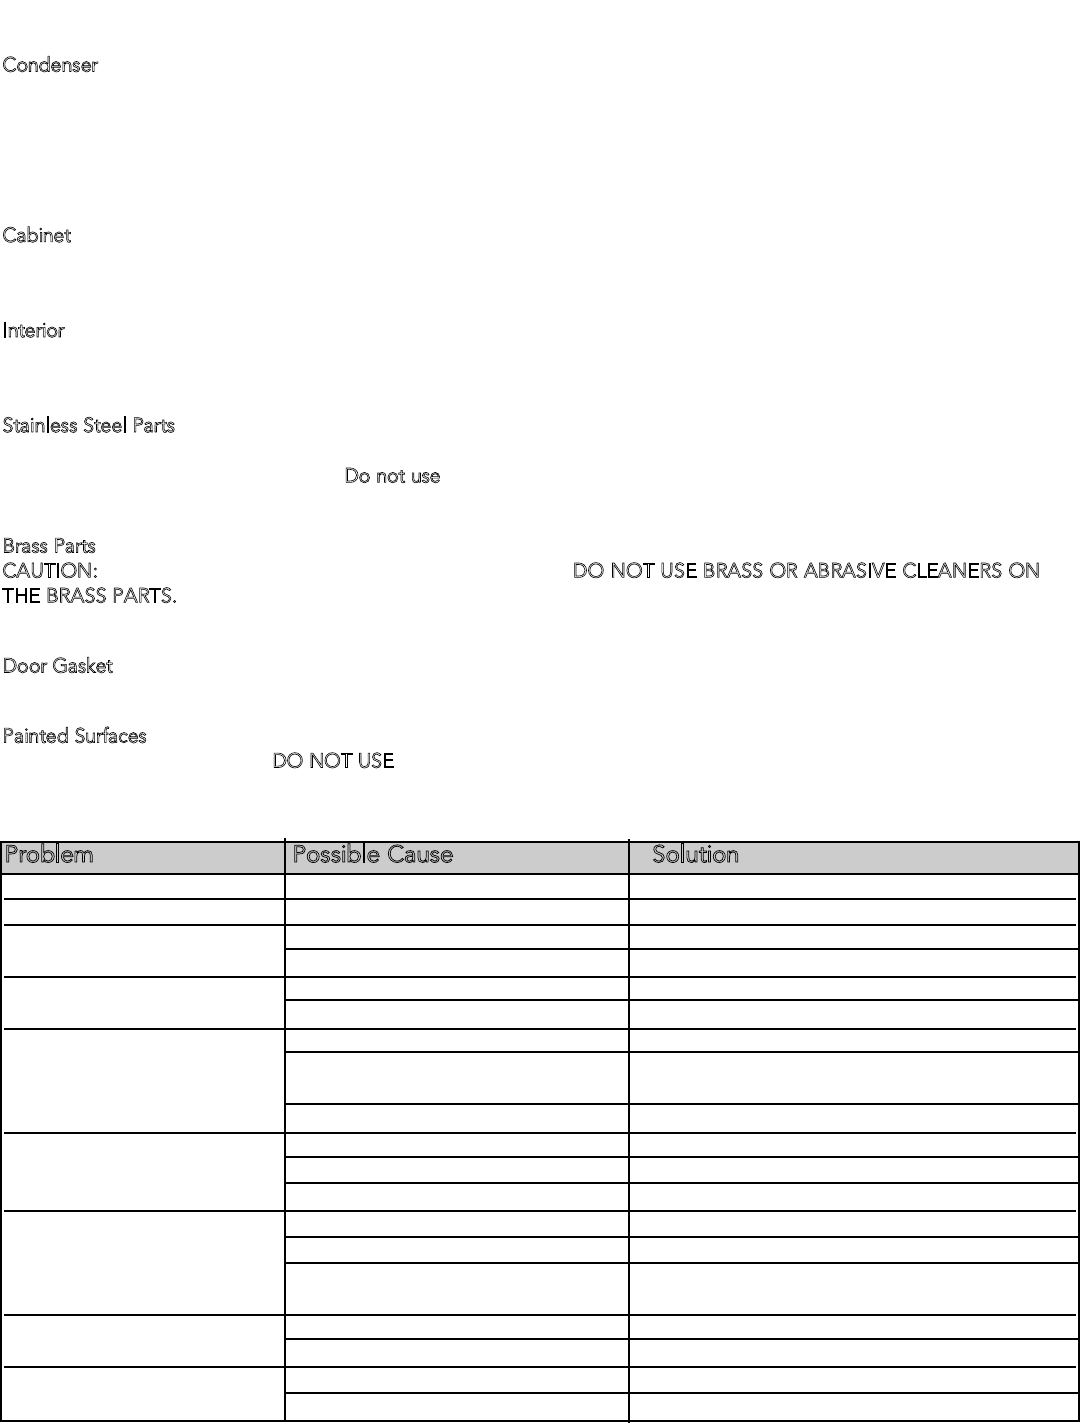
Odor in cabinet •Unit interior needs cleaning. •Clean inside of unit. See p. 10.
Noisy operation •Unit not level. •Adjust leveling legs. See p. 5.
Unit vibrates. •Unit not level. •Adjust leveling legs. See p. 5.
•Weak floor. •Rebuild floor or move to a different location.
Interior lighting not working. •LED light burned out. •Replace LED light.
•No power at outlet. •Test outlet with lamp.
Appliance will not run. •Control panel turned “OFF”. •Turn unit on with on/off pad on control panel.
•Power cord not plugged into power •Plug unit into power source
source
•House fuse blown. •Reset house fuse.
Appliance runs too long. •Prolonged door openings. •Reduce number and/or duration of openings.
•Control panel set too cold. •Raise temperature of unit via control panel.
•Condenser needs cleaning. •Clean condenser. See p. 10.
Moisture collects inside of unit. •Too many door openings •Reduce number of door openings.
•Prolonged door openings. •Reduce duration of door openings.
•Hot, humid weather increases •Move unit to cooler location.
condensation. •As humidity decreases, moisture will disappear.
Moisture collects on outside •Hot, humid weather increases •Move unit to a cooler location.
surface of the unit. •Control improperly set. •Reset to slightly warmer temperature.
Interior too hot/too cold •Control improperly set. •Reset control to desired temperature.
•Faulty thermometer. •Recheck with second thermometer.
Problem Possible Cause Solution
TROUBLESHOOTING CHART


