20
3. With
1
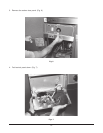
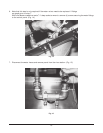
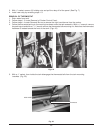
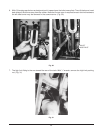
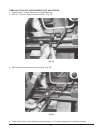
⁄4" socket, remove (2) holding nuts and pull the relay off of the panel. (See Fig. 7)
4. Install new relay by reversing steps 1-3.
REMOVAL OF THERMOSTAT
1. Drain water from tank.
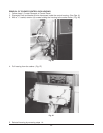
2. Follow steps 1- 5 under Removal of Cooker Control Panel.
3. Follow steps 1-4 under Removal Burner to remove the right hand burner from the cooker.
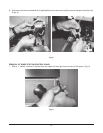
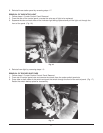
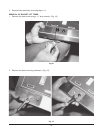
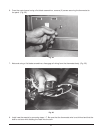
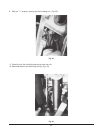
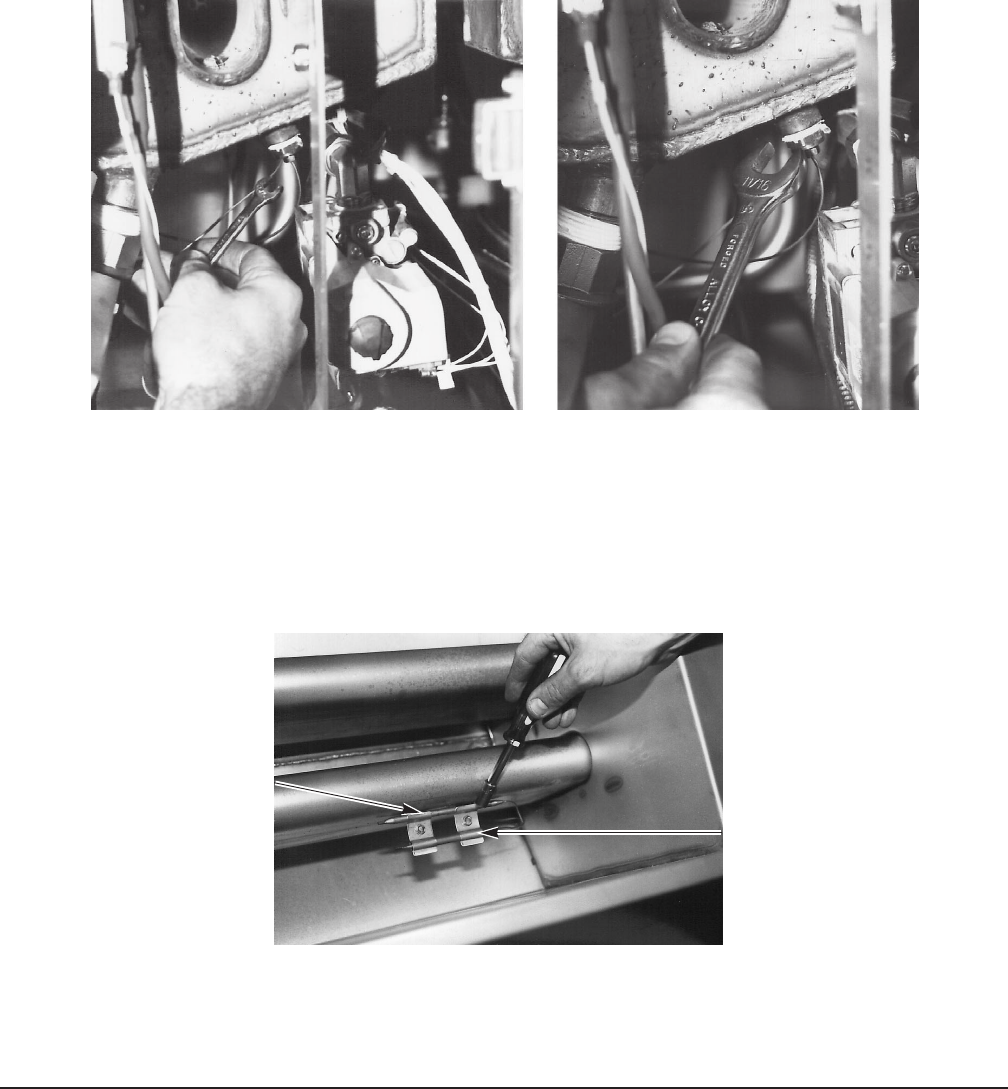
4. Follow the thermostat wiring to its mounting hardware under the tank assembly. With a
1
⁄2" wrench, remove
the packing nut and with an
11
⁄16" wrench remove the thermostat bulb mounting nut. Note that the thermostat
hardware is located toward the front of the tank. (Figs. 22)
Figs. 22
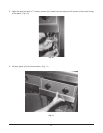
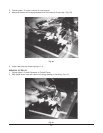
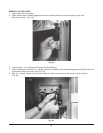
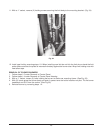
5. With a
1
⁄4" socket, from inside the tank disengage the thermostat bulb from the tank mounting
brackets. (Fig. 23)
Fig. 23
HIGH LIMIT
Thermostat


