


— 8 —
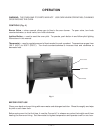
ASSEMBLY
Legs
If oven is to be mounted on legs, assemble legs to the oven. Tip oven back and install two front legs
with bolts through bottom of oven base frame. Tip oven forward, block up back and install rear legs.
Remove shipping harnesses from the burner area. If oven is to be placed on legs, do not remove burner
shipping harness until legs have been assembled to the oven. To remove shipping harnesses,
dismantle the oven deck and insulation pans. Remove 1 cotter pin and 2 wire straps from the burner
area. Replace insulation pans and oven deck.
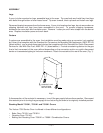
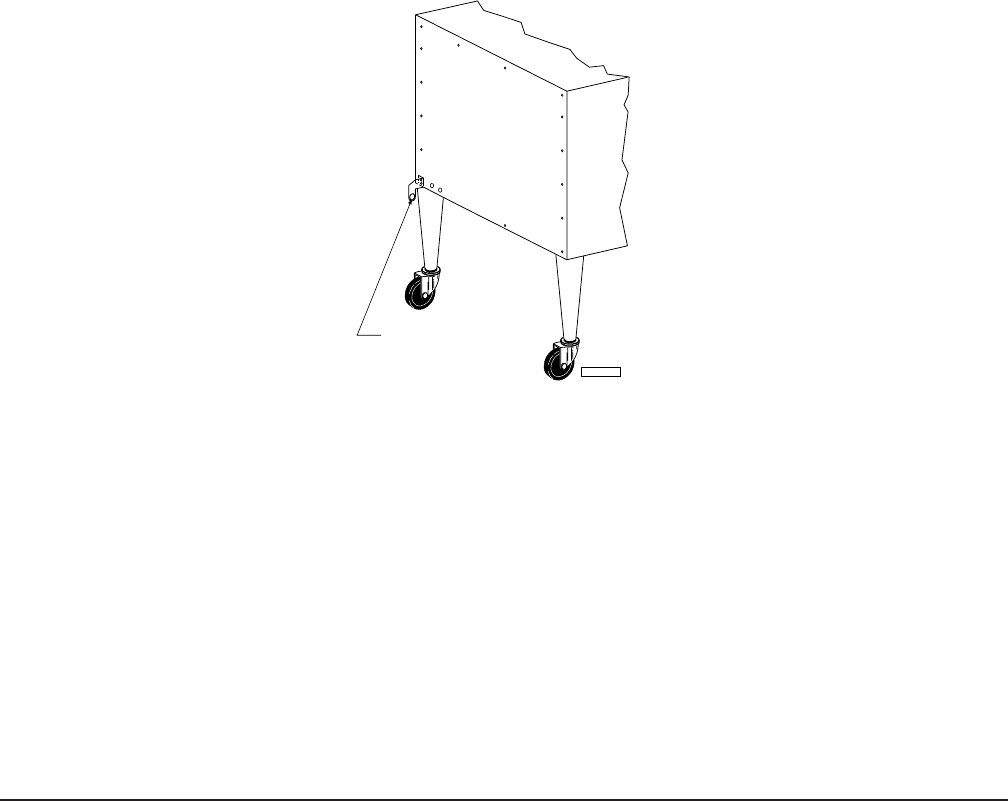
Casters
If casters are assembled to the oven, the installation must be made using a connector (not supplied
by Vulcan) that complies with the Standard for Connectors for Movable Gas Appliances, ANSI-Z21.69
(latest edition), and a quick-disconnect device that complies with the Standard for Quick-Disconnect
Devices for Use With Gas Fuel, ANSI-Z21.41 (latest edition). Provide a restraining device for the gas
line to limit movement of the oven without depending on the connector and/or any quick-disconnect
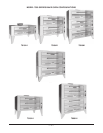
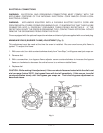
device or its associated piping to limit oven movement. Attach the restraint at the rear of the oven (Fig. 1).
Fig. 1
If disconnection of the restraint is necessary, turn off the gas supply before disconnection. Reconnect
this restraint prior to turning the gas supply on and returning the oven to its originally installed position.
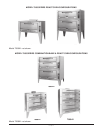
Stacking Model 7016A1, 7018A1 and 7019A1 Ovens
The Vulcan 7000 Series Oven is offered in three different configurations:
• Bake Oven 7016A1 and 7018A1.
• Roasting Oven 7019A1.
• Baking and Roasting Oven 7096A1 or 7098A1 Combination Ovens.
CONNECT GAS
LINE STRAIN
RELIEF HERE
PL-51216