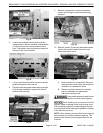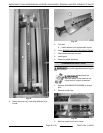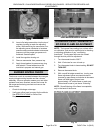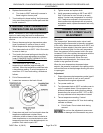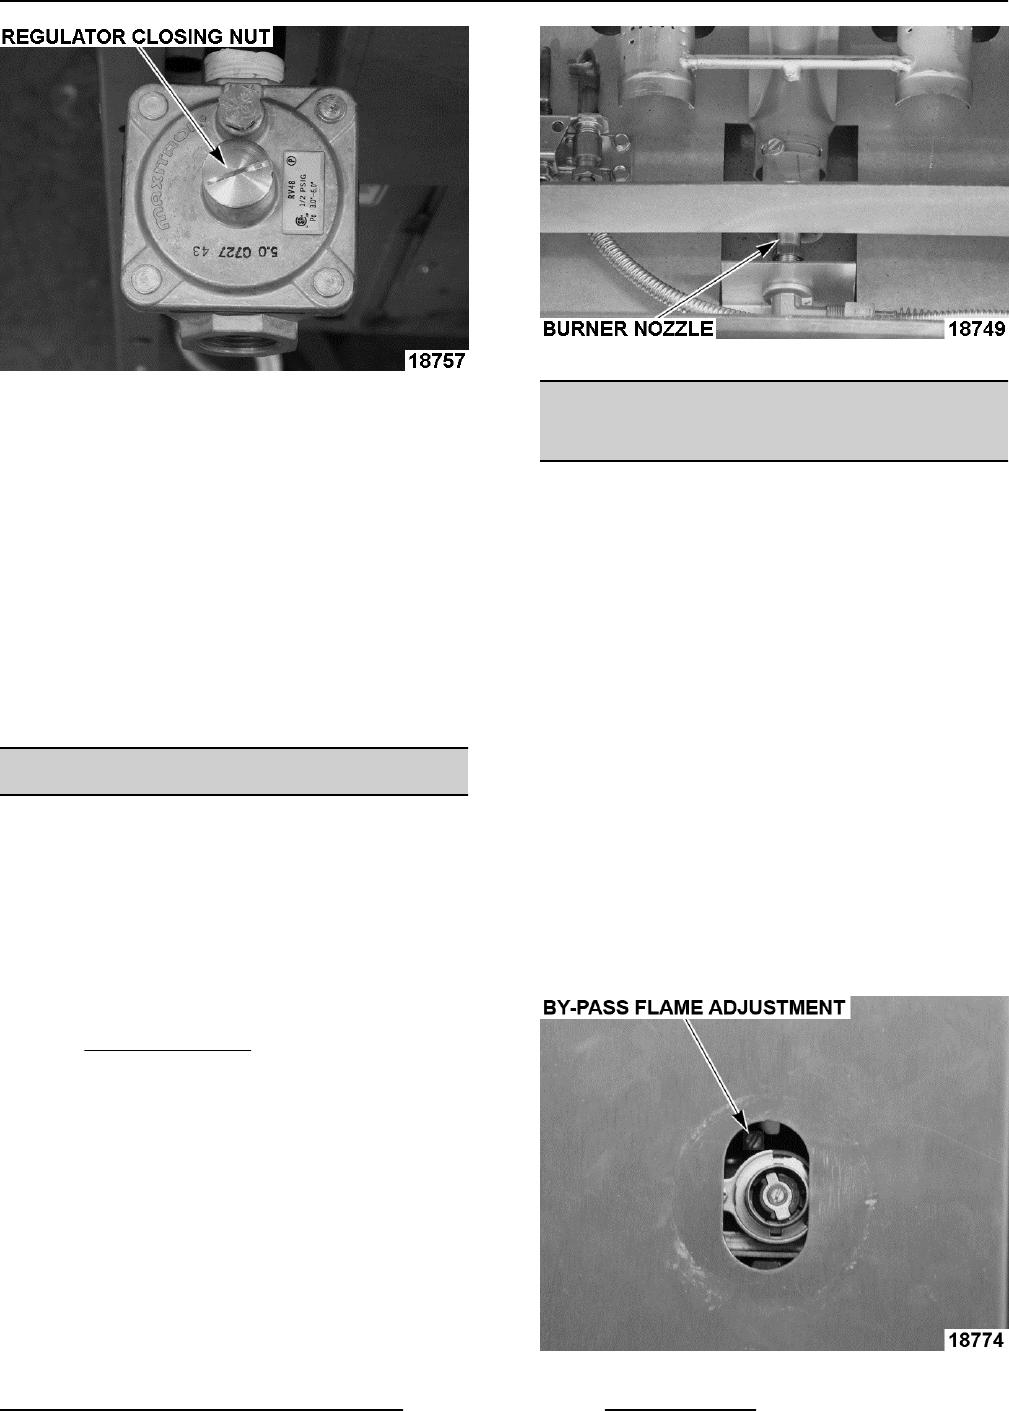
Fig. 68
B. Insert a flat edge screwdriver into the top of
regulator housing to reach the adjusting
screw. While watching the manometer, turn
the adjusting screw clockwise to increase
pressure and counterclockwise to decrease
pressure until the proper gas pressure is
achieved. See data plate.
C. Install the regulator closing nut.
D. Remove manometer from pressure tap.
E. Apply thread sealant to pressure tap plug
and reinstall. Thread sealant must be
insoluble in propane and natural gas.
BURNER NOZZLE CHECK
The burner nozzle is mounted between the oven gas
supply tubing/mounting bracket and the u-burner
assembly. If burner operation seems poor and other
systems have been checked, access the burner for
the range section being serviced and remove the
burner nozzle.
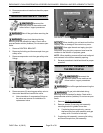
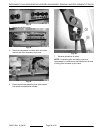
• Check for blockage or damage.
• Verify gas orifice hood is correct for the altitude.
See SPECIFICATIONS for Orifice Size
Requirements.
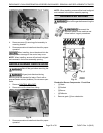
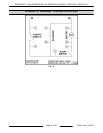
OVEN BURNER NOZZLE SHOWN
STANDARD OVEN THERMOSTAT
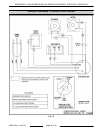
BY-PASS FLAME ADJUSTMENT
NOTE: The bypass flame setting has a direct affect
on calibration, and must be verified prior to checking
or adjusting calibration of any "modulating
thermostat". The by-pass flame can be viewed
through the kick panel for adjustment.
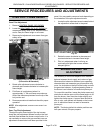
1. Turn thermostat knob to 350°F.
2. Wait 15 minutes for oven to heat up.
3. Turn thermostat knob to lowest setting. DO NOT
TURN OFF.
4. Remove thermostat knob.
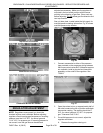
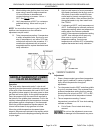
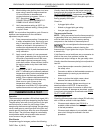
5. With a small flat edge screwdriver, turn by-pass
flame adjustment screw counterclockwise to
increase by-pass flame or clockwise to decrease
flame until both legs of burner have
approximately 1/8" stable flame on each port.
Ports should be set to just above “flickering”.
NOTE: Some flickering of the flame is acceptable,
only in the bend of the burner.
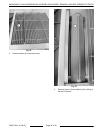
Fig. 70
ENDURANCE / CHALLENGER MODULAR SERIES GAS RANGES - SERVICE PROCEDURES AND
ADJUSTMENTS
Page 29 of 38 F45471 Rev. A (0615)


