


FULL SIZE ELECTRIC CONVECTION OVENS - SERVICE PROCEDURES AND ADJUSTMENTS
F25105 (December 2001)Page 17 of 60
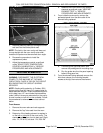
Differential Heat lamp OFF Heat lamp ON
Example
: 360 (
lamp off
) 340 (
lamp on
) 20
[
Temp
.(
lamp off
)
Temp
.(
lamp on
)] ÷ 2
Average Temp
.
Example
: 360 340 ÷ 2 350
SERVICE PROCEDURES AND ADJUSTMENTS
WARNING:
CERTAIN PROCEDURES IN THIS SECTION REQUIRE ELECTRICAL TEST OR
MEASUREMENTS WHILE POWER IS APPLIED TO THE MACHINE. EXERCISE EXTREME CAUTION AT ALL
TIMES. IF TEST POINTS ARE NOT EASILY ACCESSIBLE, DISCONNECT POWER, ATTACH TEST
EQUIPMENT AND REAPPLY POWER TO TEST.
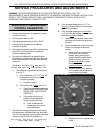
SOLID STATE TEMPERATURE
CONTROL CALIBRATION
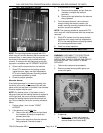
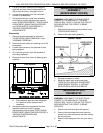
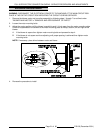
1. Place a thermocouple in the geometric center
of the oven cavity.
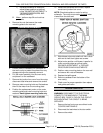
2. Set the power switch to ON.
3. Set the temperature control dial to 350 °F.
4. Allow the oven temperature to stabilize
(normally 3 cycles).
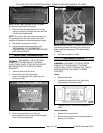
5. Record the temperature at which the Heat lamp
goes OFF and comes ON for at least two
complete heating cycles.
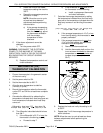
6. Calculate the differential by subtracting the
temperature indicated when the lamp goes out
from the temperature indicated when the lamp
comes on.
A. The differential calculated should be less
than 20 °F.
1) If the differential is 20 °F or less
, the
temperature control circuit is
functioning properly.
a. Proceed to step 7.
2) If the differential is more
than 20 °F:
a. Check the temperature probe as
outlined under "TEMPERATURE
PROBE TEST (SOLID STATE
CONTROL)".
b. If the probe is functioning
properly then temperature
control is malfunctioning.
a) Install a replacement
temperature control and
check calibration.
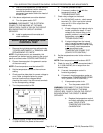
7. Calculate the average temperature by adding
the temperature indicated when the lamp goes
out to the temperature indicated when the lamp
comes on and dividing this answer by 2.
A. If the average temperature is 10 °F or
less
, from the dial setting, the thermostat
is properly calibrated.
B. If the average temperature is more
than
10 °F from the dial setting, the thermostat
calibration must
be adjusted.
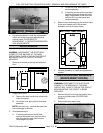
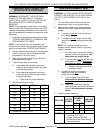
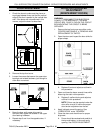
1) Loosen the temperature control knob
set screw and remove the knob from
the stem.
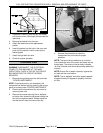
2) Loosen temperature control mounting
screws only enough to rotate the
control.
a. Place thumb and forefinger on
the head of the mounting
screws, apply pressure and
slightly rotate the screw heads
(body of control) in the slot.
Rotate clockwise
to increase
temperature and
counterclockwise
to decrease.
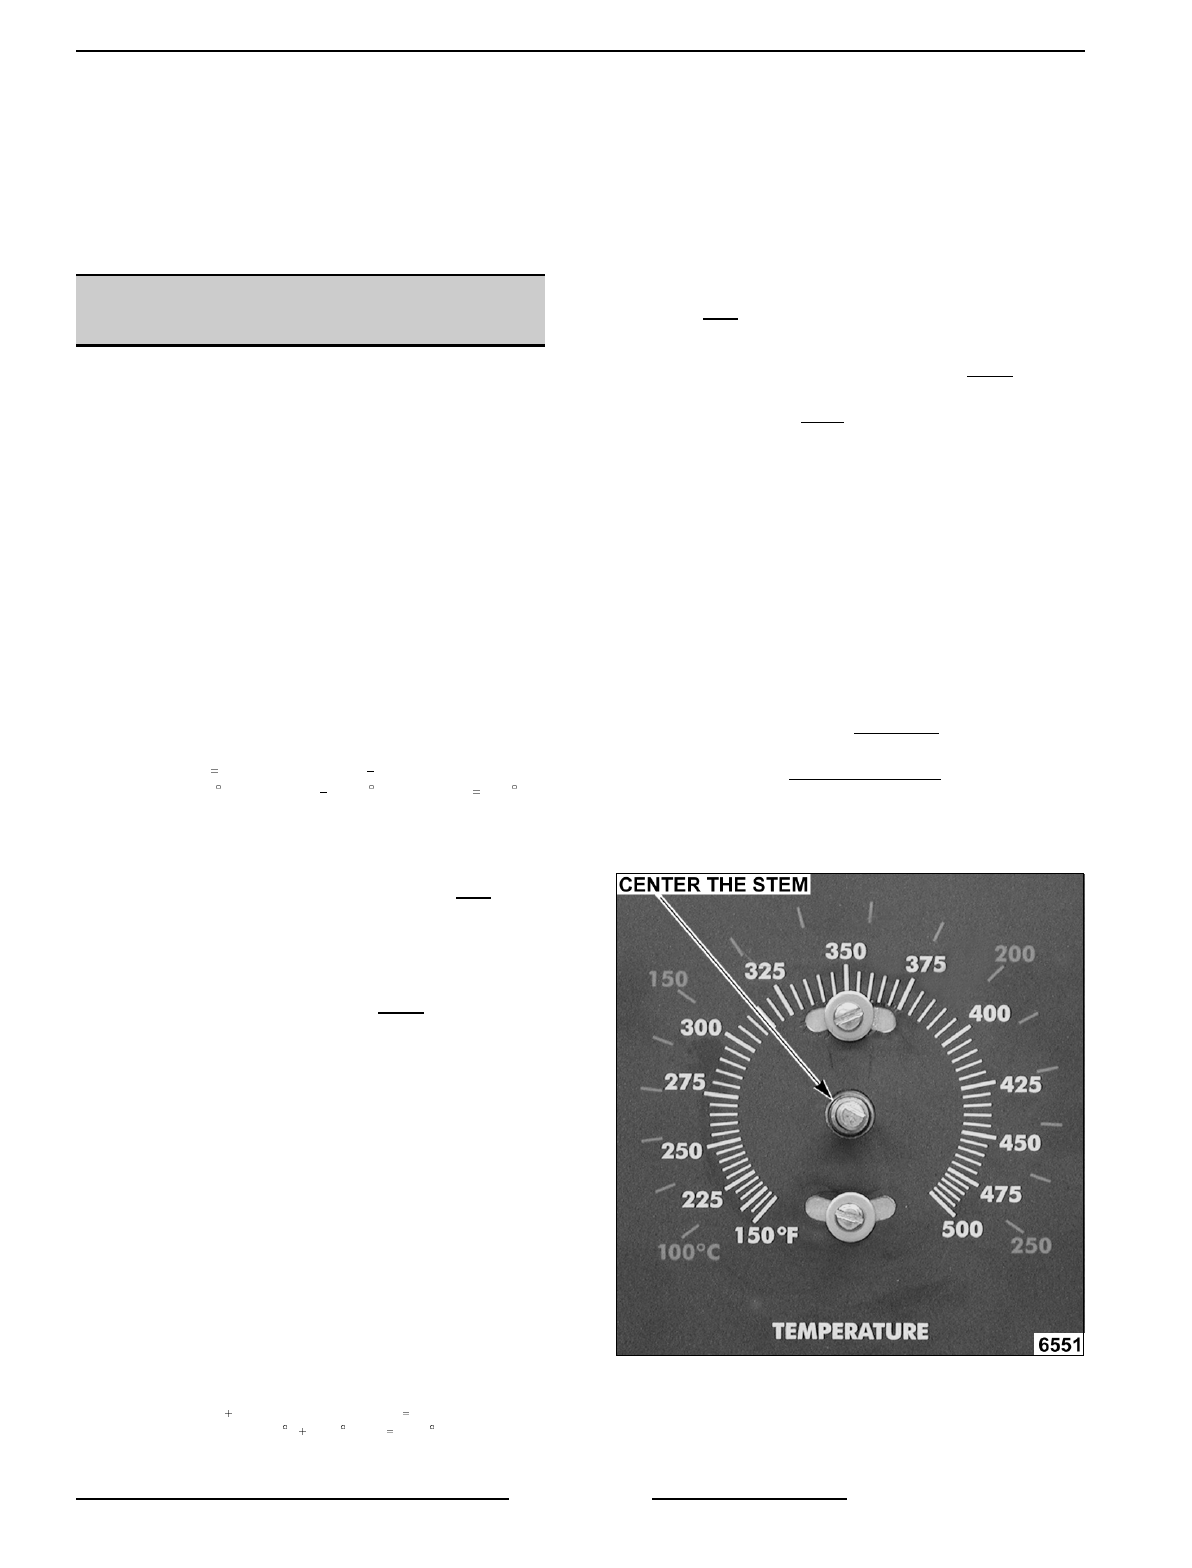
b. Center the stem in the opening
and re-tighten the temperature
control mounting screws.
c. Replace knob and re-tighten set
screw .