


6
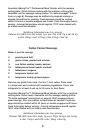
TO MAKE SAUSAGES
The sausage attachments allow you to blend
meats and spices for homemade sausages.
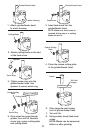
12. Slide casing over the end of the
sausage attachment, leaving
approximately 2” overhanging the end
of the attachment.
13. Place seasoned meat into the large
die cast hopper and turn the unit on.
Push the meat into the
opening in the large die cast hopper
using pusher until the mixture appears
at the end of the sausage attachment. Keep casing moist by water-
ing frequently. Turn the unit off and tie a knot at the end of the 2”
casing overhang.
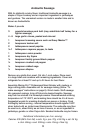
14. Continue step #13 until all the meat has been used or the casing is
approximately 2" from being completely full.
15. Turn unit off, remove the end of the casing from the sausage
attachment, and tie a knot in the open end of the casing.
16. Sausages can be made to the desired length by twisting the casing
at intervals.
NOTE: To avoid over-stretching and splitting the casing, do not make
the sausages too thick. Keep casings moist by watering frequently.
The meat mixture will expand slightly during cooking.
CLEAN AND CARE
• Always unplug motor unit when not in use, before inserting or
removing parts, and before cleaning.
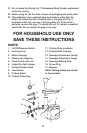
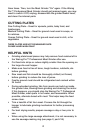
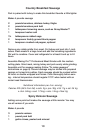
Grinder/Feeder Head
Sausage Attachment
Screw Ring
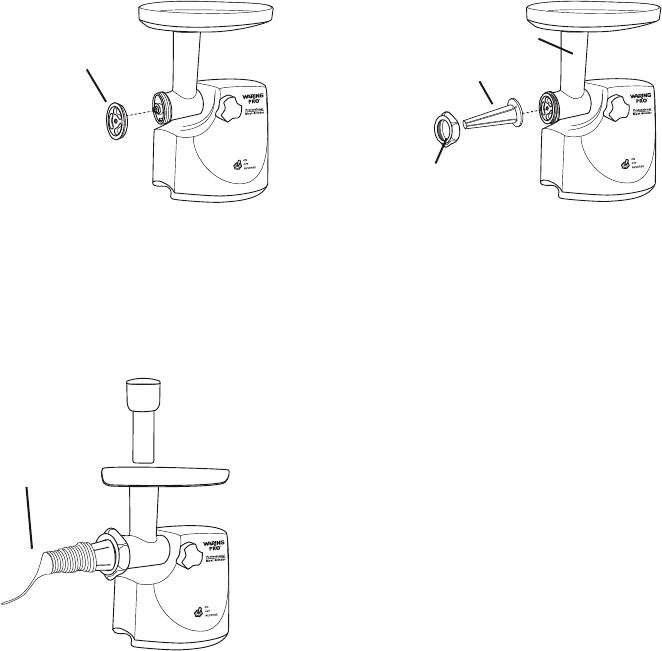
11. Put the desired sausage
attachment (small or large) into
screw ring and screw onto the
grinder/feeder head. Use
Spanner to secure screw ring.
10. Insert sausage making ring into
feed screw. Make sure notch on
sausage making ring aligns with
notch in feed screw.
Sausage Making
Ring
Casing