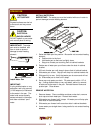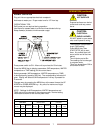
INSTALL WATER PAN
IMOPORTANT: The water pan must be installed with care in order to
prevent damage to water heating element.
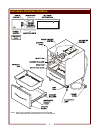
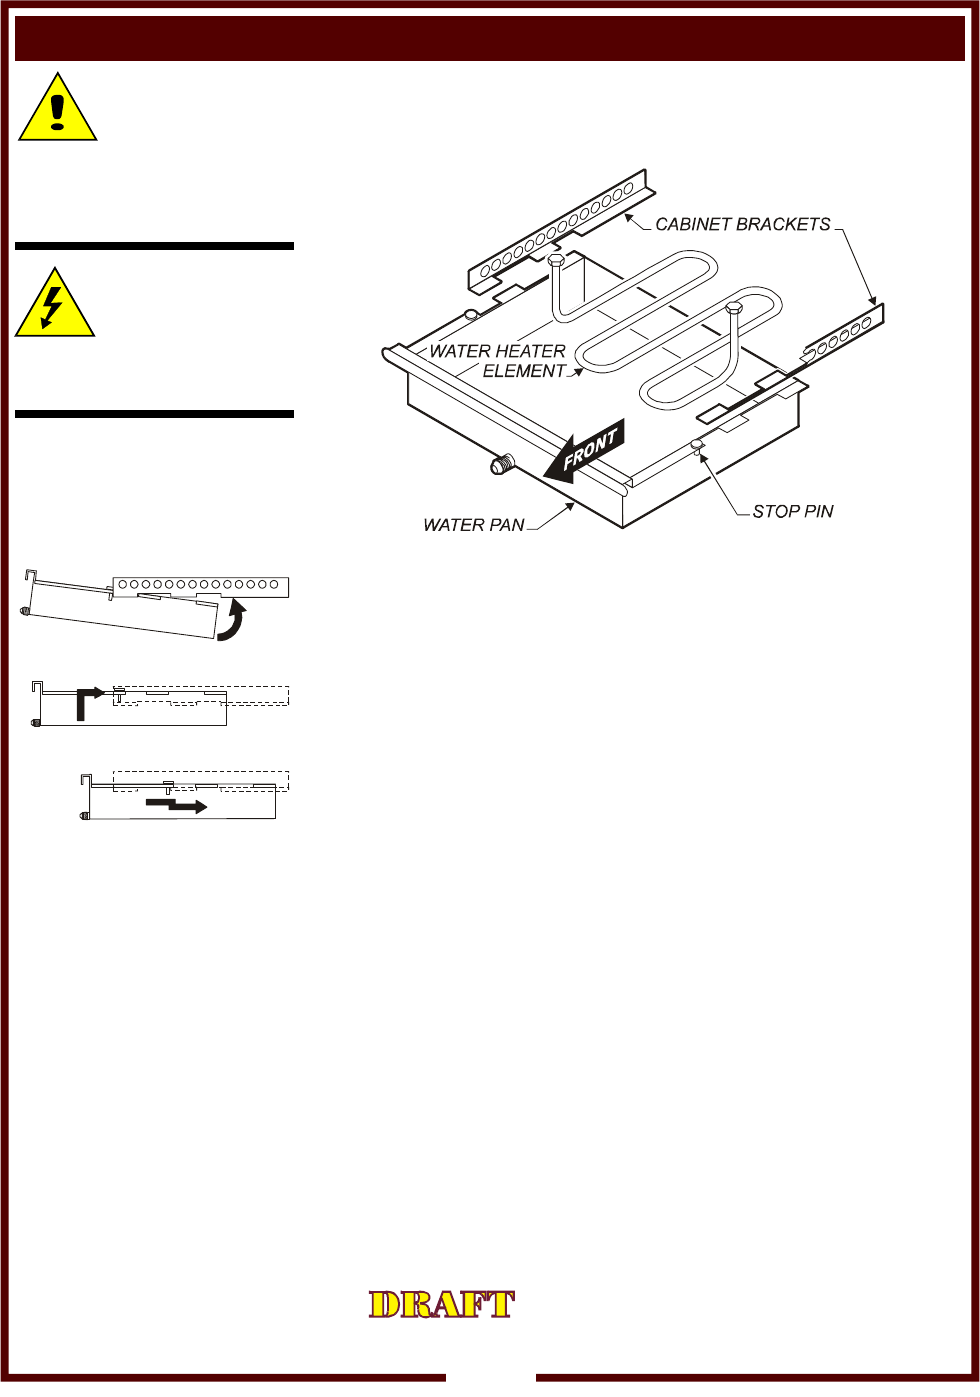
1. Raise the water pan into position. Be careful not to contact heating
element:
a. Position drain to the front
b. Hold water pan so that rear is slightly lower
c. Stop pins of water pan touching front of cabinet brackets
2. Rotate rear of water pan up until ears clear the slots in cabinet
bracket.
3. Lift front of water pan until stop pin clears front of cabinet bracket.
4. Slide water pan to rear. Stop pin will drop into cabinet bracket slot.
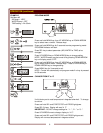
5. Slide pan fully to rear. Verify that water pan is secure and will not
tip. Slide water pan to front until it stops.
6. Screw cap onto water pan drain. Fill water pan to within 1/2" of
top. If using distilled water or very soft water, add a tiny amount
of table salt to the water in the pan. Reinstall drawer frame and
product pan. Close drawer.
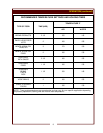
REMOVE WATER PAN
1. Remove drawer. Place a suitable container under drain, remove
drain cap and drain water pan. Discard drain water.
2. Slide water pan forward until it stops. Lift water pan until stop pins
clear slots in cabinet brackets.
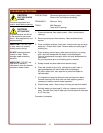
3. Slide water pan forward until ears clear slots in cabinet brackets.
4. Lower water pan straight down, being careful to not contact heating
element.
CAUTION:
HOT SURFACE
Exposed surfaces can be hot
to the touch and may cause
burns.
CAUTION:
ELECTRICAL
SHOCK HAZARD
DO NOT splash or pour water
onto control panel or wiring.
IMOPORTANT: The water
pan must be installed with
care in order to prevent
damage to water heating
element.
Install Water Pan
IMPORTANT:
If using distilled water or very
soft water, add a tiny amount
(1/100 teaspoon) of table salt
to the water in the pan. The
water level sensor actually
senses minerals in the water,
and does not detect “pure”
water.
OPERATION
6


