INSTALLATION (continued)
12
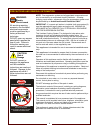
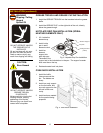
WARNING
Slipping / Falling
Hazard
Spilled Oil
DO NOT OPERATE UNLESS
THE GREASE CUP IS
INSTALLED.
Oil and moisture will drip onto
the floor and falls may result.
Death or serious injury may
result from slipping and falling
CAUTION:
Burn Hazard
DO NOT OPERATE UNLESS
GREASE TROUGH
IS INSTALLED.
Moisture will drip into the hot
cooking surface, causing
splattering of hot liquids.
Serious injury can result from
contact with hot splatter.
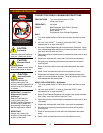
GREASE TROUGH AND GREASE CUP INSTALLATION
1. Install the GREASE TROUGH into the brackets below the grease
baffle.
2. Install the GREASE CUP on the right side of the unit, directly
below the grease trough.
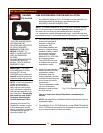
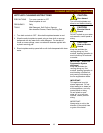
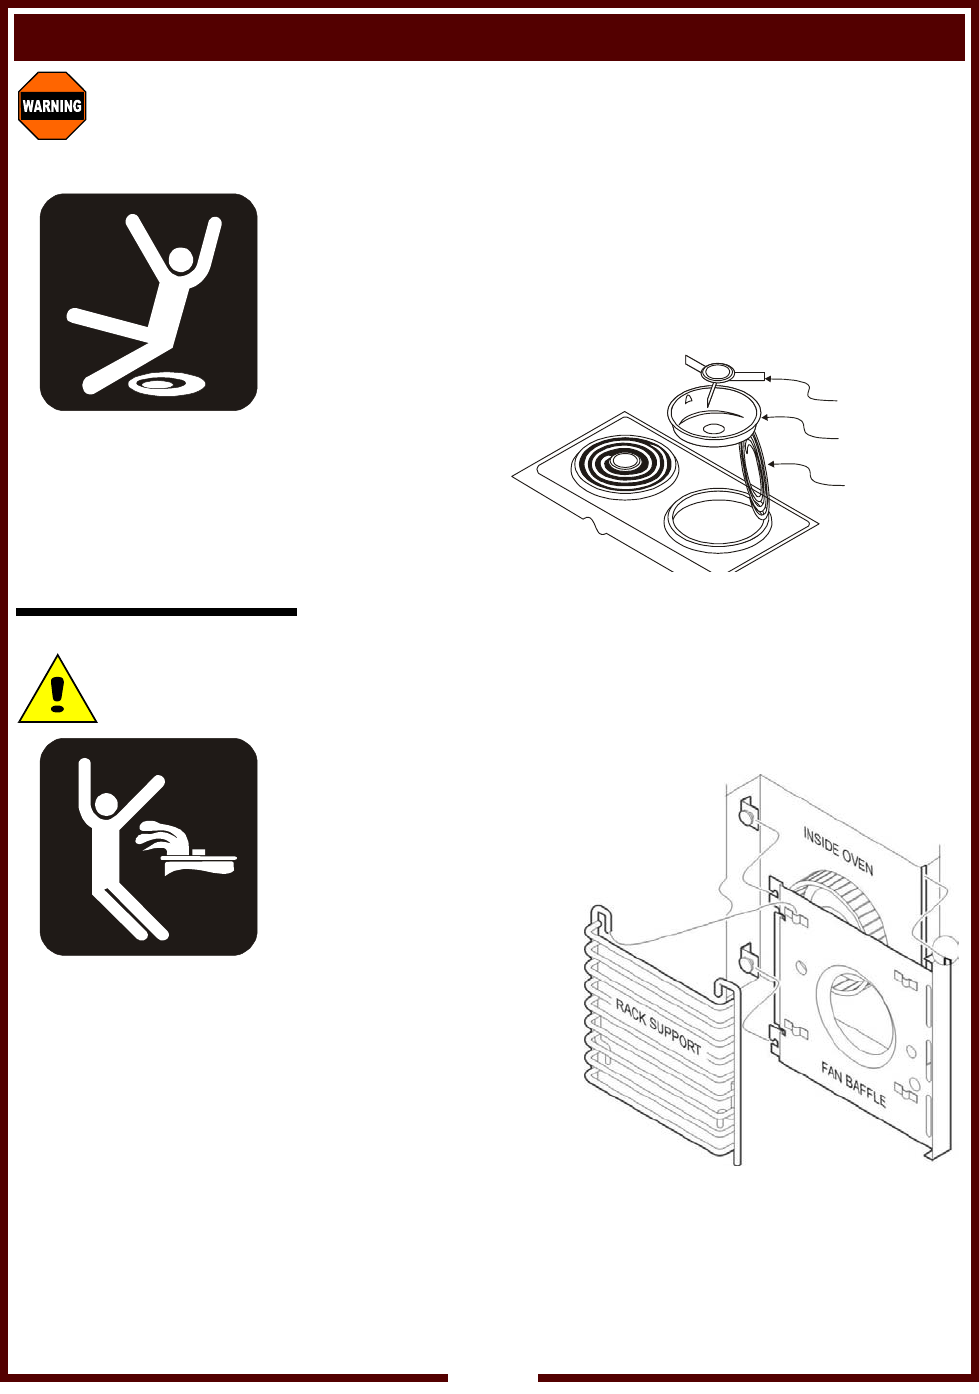
HOTPLATE DRIP PAN INSTALLATION (SPIRAL
HEATING ELEMENTS ONLY)
1. Lift / rotate the
elements up.
2. Install a drip
pan in each
element cutout.
3. Install an
element
support into
each drip pan.
The ends of the
support set in the indentations in the pan. The support’s center
boss must be on the top.
4. Rotate elements back into place.
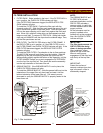
OVEN RACK INSTALLATION
1. Install fan baffle.
Use care around the
fan. The blades are
sharp.
2. Install one rack support
on the fan baffle, and
one rack support on the
left wall of the oven
cavity.
3. Install racks as needed
for the product being
prepared.
Heating Element
(Lifted)
Element Support
Drip Pan
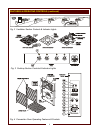
Fig. 8 Hotplate Drip Pan Installation
Fig. 9 Oven Rack Installation


