Page 6 Page 7
SET UP & USE
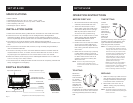
SPECIFICATIONS
INSTALLATION GUIDE
• Power: 1000W
• Outside Dimensions (W x D x H): 14.57” x 11.42” x 7.95”
• Oven Cavity Dimensions (W x D x H): 10.24” x 9.06” x 6.55”
• Oven Capacity: 0.35 cu. ft.
• Net Weight: Approx. 6.16 lbs.
1. Make sure that all the packing materials are removed from the inside of the door.
2. Check the oven for any damage, such as misaligned door, damaged door
and sealing surfaces, broken or loose door hinges, and dents inside the cavity. If
there is any damage, do not operate the oven. Contact qualied service personnel.
3. This toaster oven must be placed on a at, stable surface capable of
supporting the weight of the oven plus the heaviest food likely to be cooked in the
oven.
4. Do not place the oven where heat, moisture, or high humidity are generated, or
near combustible materials.
5. To function correctly, the oven must have sufcient airow on all sides. Allow 8”
of space above the oven, 4” at back, and 2” at both sides. Do not cover or block
any openings on the appliance. Do not remove feet on which oven stands.
6. Make sure that the power supply cord is undamaged and does not run under the
oven or over any hot or sharp surface.
7. The socket must be readily accessible so that the cord can be quickly reached and
easily unplugged in an emergency.
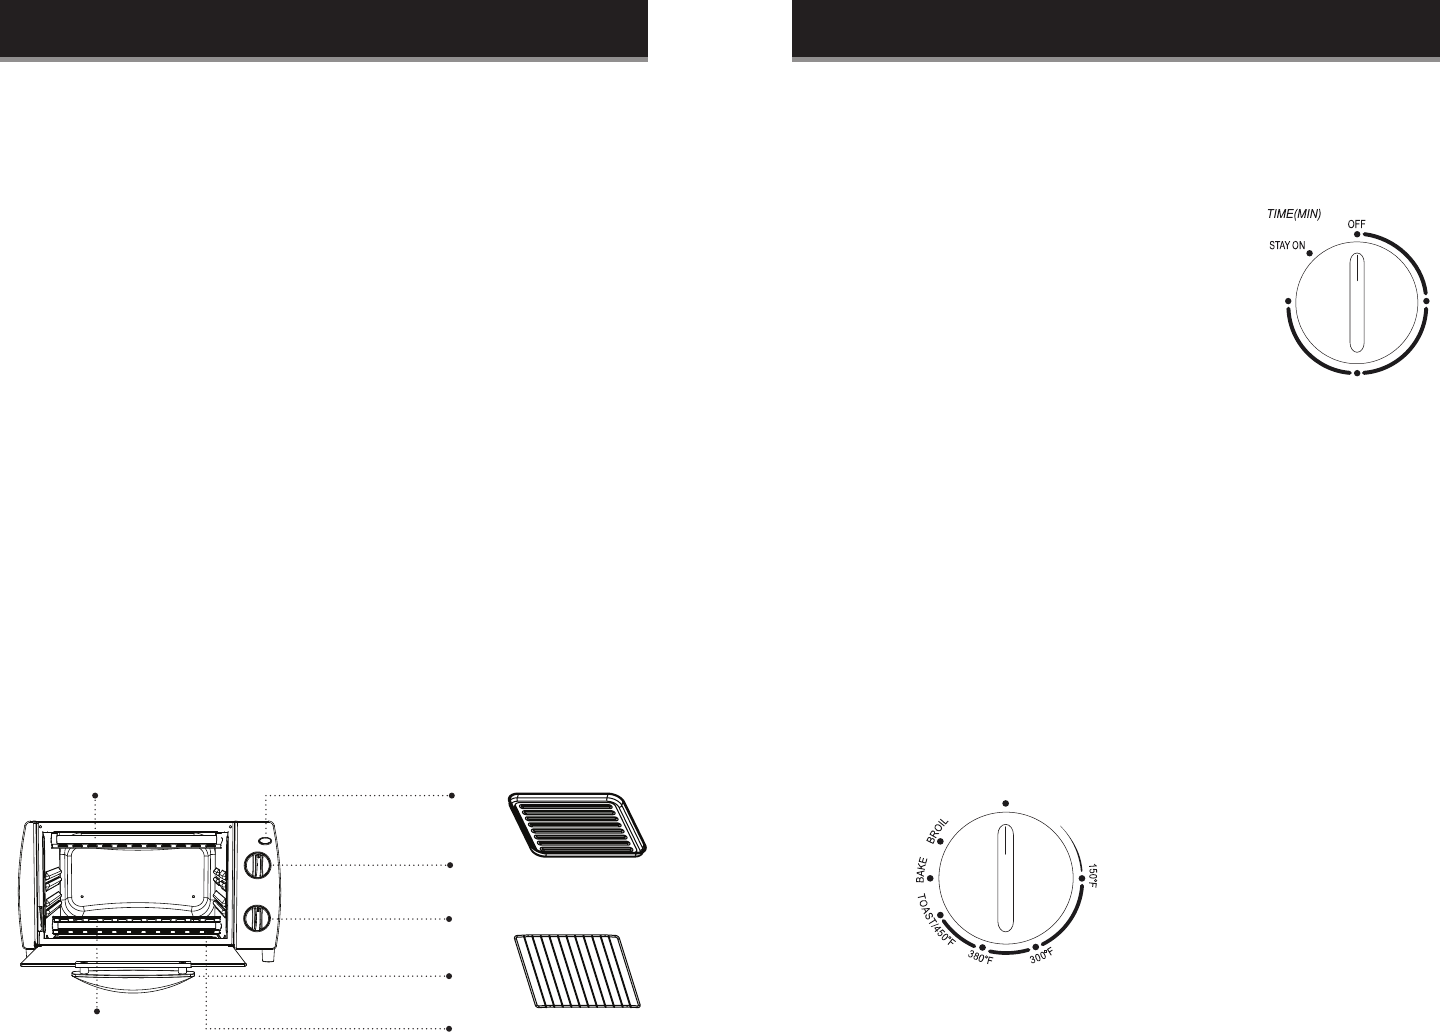
PARTS & FEATURES
Diagram for instructional purposes only.
Top Heating Elements
Baking Pan/Drip Tray
Bottom Heating Elements
Power Indicator Light
Temperature Knob
Timer Knob
Handle
Crumb Tray
Oven Rack
SET UP & USE
OPERATION INSTRUCTIONS
BEFORE FIRST USE TIME SETTING
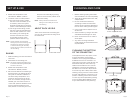
BROILING
TOASTING
1. Remove all accessories and shipping
materials packed inside the oven.
2. Wash the rack and pan in warm
soapy water. Wipe the inside of the
oven with a damp cloth or sponge.
Blot dry with paper towels to be
sure the unit is dry before using.
3. Place oven on a at counter or other
stable surface DO NOT OPERATE
ON THE SAME CIRCUIT WITH
ANOTHER APPLIANCE.
4. Position the oven so that it is at least
2 inch (5cm) on both sides and 4”
at the back from any object. Ensure
that nothing has been placed on top
of the oven.
5. Make sure the crumb tray is properly
in place before using. For the rst
time only, turn the temperature knob
to 450 F and the timer knob to 15
minutes. This will burn off any oils
still on the oven.
NOTE: · The oven may smoke during this
process. This is normal for a new
oven and will not last more than 10-15
minutes.
Choose
your crust
preference by
rotating the
timer knob
clockwise to
select toasting
time. Start
toasting at
short time
period, as toasting varies according to
humidity, thickness and texture, each
type of bread will toast differently
according to these properties.
NOTE: · For cooking times which are under
ten minutes, rst rotate the timer to
a longer time and then turn the knob
back to the time you require When
the toast cycle is nished a bell will
ring and the electrical power will
automatically turn off. To stop the
cycle at any time, rotate the timer
knob counterclockwise to “OFF”
position till the bell rings.
· Bread may catch re if the toasting
time is set for a very long period.
Close supervision is necessary during
toasting. In the “TOAST” setting,
both the heating elements will work.
1. Slide in the drip tray under the oven
rack. Always use the drip tray when
broiling the food like chicken wings
or drumstick which contains fat.
2. Place food on the oven rack. In
“BROIL” setting, only top heating
element will work.
NOTE: · We always suggest preheating oven
about 3-5 minutes before placing the
food in the oven.
Rotate the
temperature
knob clockwise
to “TOAST”
position. Open
the oven door
and place the
bread slice on
the oven rack. If
a single slice of bread is toasted, place it
in the center of the oven rack. If 4 slices
are being toasted, place them side by
side.
5
10
15


