General Information
Unpack
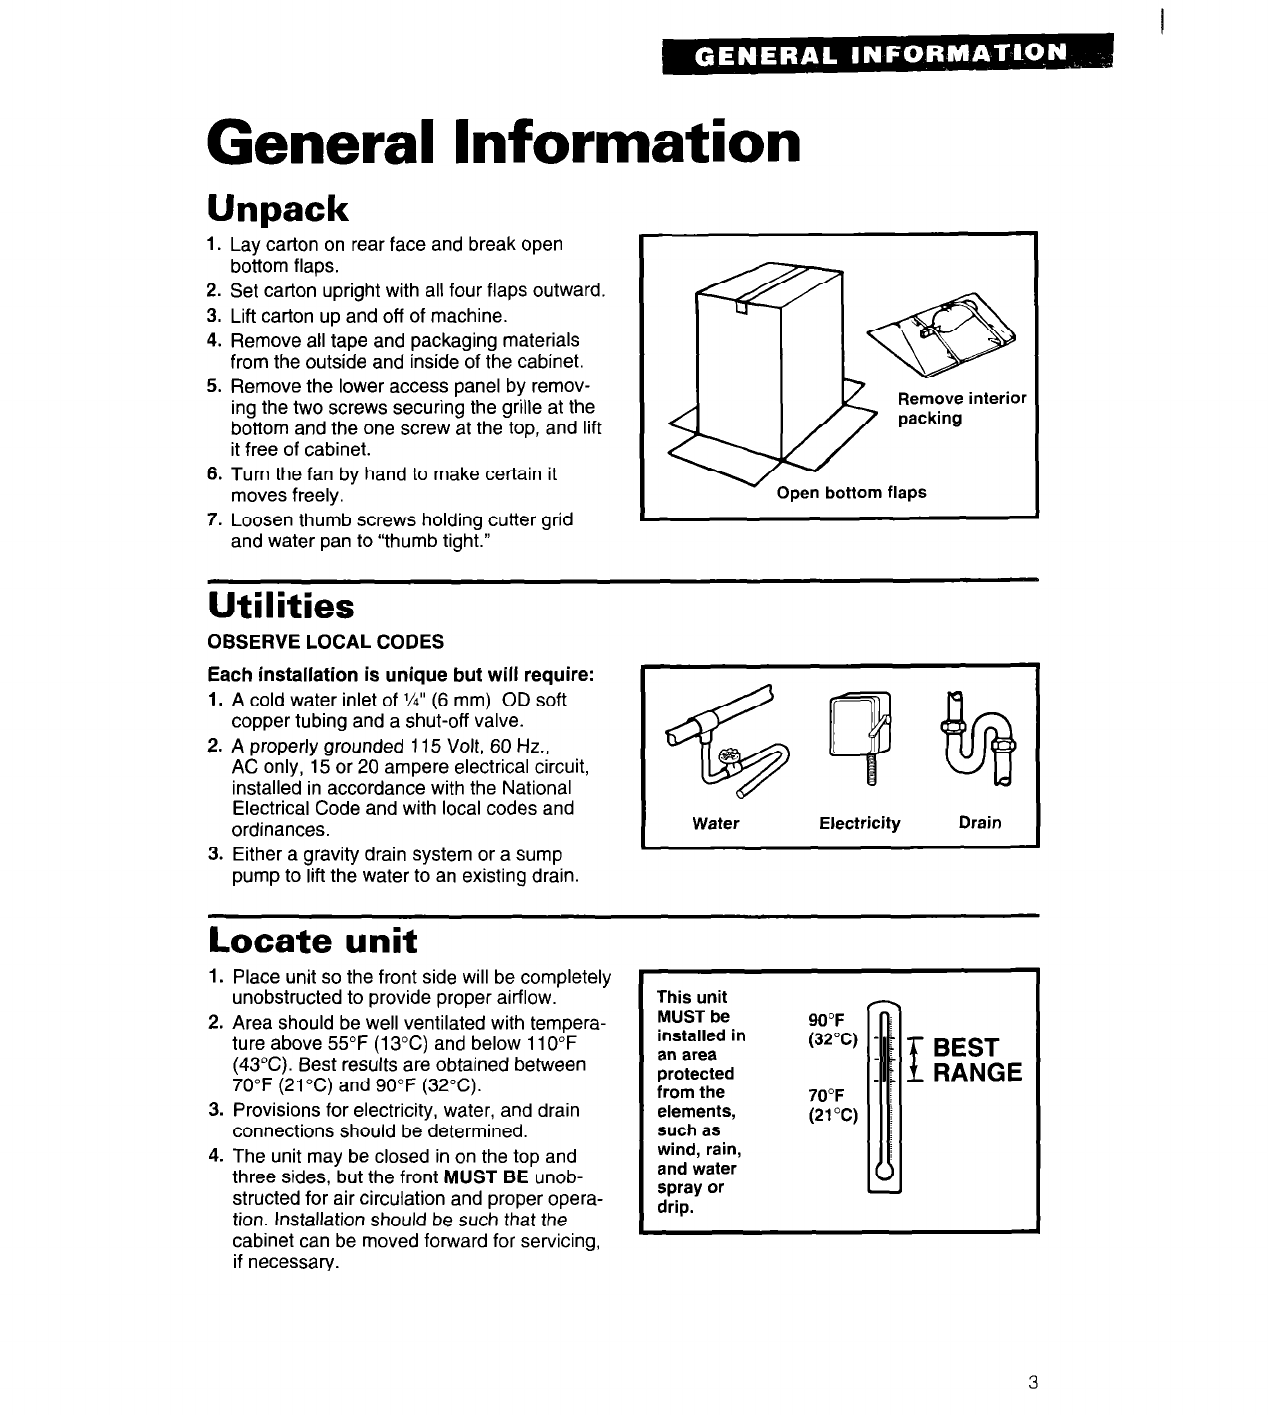
1. Lay carton on rear face and break open
bottom flaps.
2. Set carton upright with all four flaps outward.
3. Lift carton up and off of machine.
4. Remove all tape and packaging materials
from the outside and inside of the cabinet.
5. Remove the lower access panel by remov-
ing the two screws securing the grille at the
bottom and the one screw at the top, and lift
it free of cabinet.
6. Turn the fan by hand to make certain it
moves freely.
7. Loosen thumb screws holding cutter grid
and water pan to “thumb tight.”
Remove interior
Utilities
OBSERVE LOCAL CODES
Each installation is unique but will require:
1. A cold water inlet of W (6 mm) OD soft
copper tubing and a shut-off valve.
2. A properly grounded 115 Volt, 60 Hz.,
AC only, 15 or 20 ampere electrical circuit,
installed in accordance with the National
Electrical Code and with local codes and
ordinances.
3. Either a gravity drain system or a sump
pump to lift the water to an existing drain.
Electricity
Locate unit
1. Place unit so the front side will be completely
unobstructed to provide proper airflow.
2. Area should be well ventilated with tempera-
ture above 55°F (13°C) and below 110°F
(43°C). Best results are obtained between
70°F (21 “C) and 90°F (32%).
3. Provisions for electricity, water, and drain
connections should be determined.
4. The unit may be closed in on the top and
three sides, but the front MUST BE unob-
structed for air circulation and proper opera-
tion. Installation should be such that the
cabinet can be moved forward for servicing,
if necessary.
This unit
MUST be
installed in
an area
protected
from the
elements,
such as
wind, rain,
and water
spray or
drip.
BEST
RANGE
3


