7
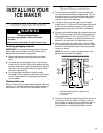
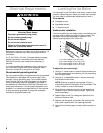
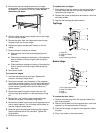
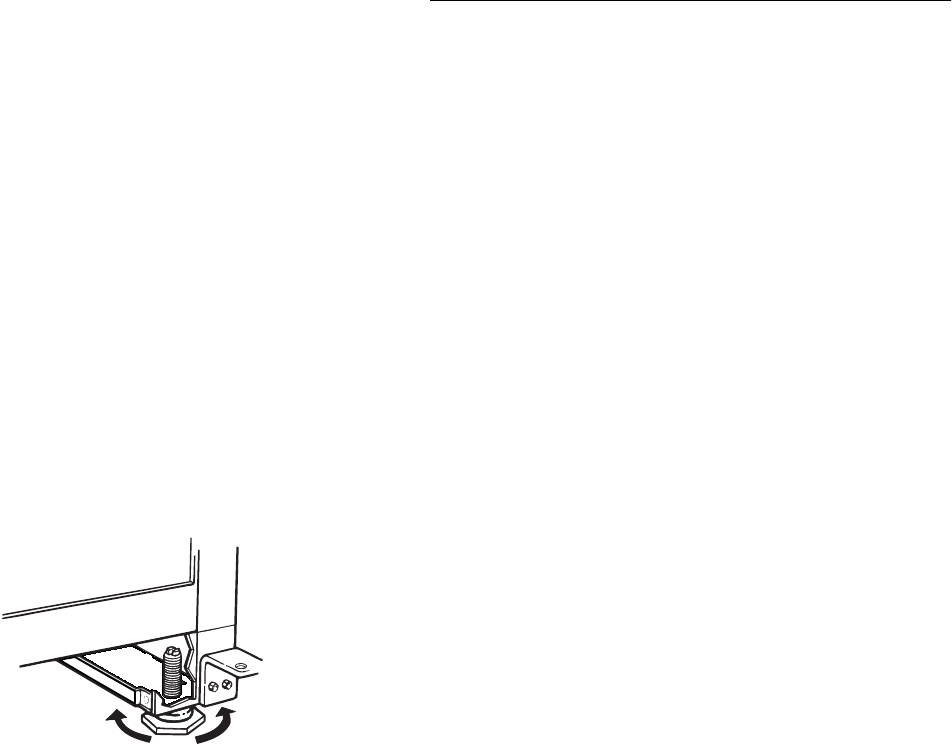
To adjust the front leveling legs
Your ice maker has two adjustable leveling legs to help you
steady the product and make sure it is level.
SUGGESTION: It is easier to adjust the leveling legs if you
have another person to assist you.
1. Place a carpenter’s level on top of the product to see if
the ice maker is level from front to back and side to
side.
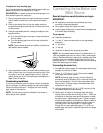
2. Push up on the top front of the ice maker, and then
locate the leveling screws that are on the bottom front
of the product.
3. Using an adjustable wrench, change the height of the
legs as follows:
■ Turn the leveling leg to the right to lower that side of
the ice maker.
■ Turn the leveling leg to the left to raise that side of
the ice maker.
NOTE: The ice maker should not wobble. Use shims to
add stability when needed.
4. Use a carpenter’s level to re-check the ice maker to see
that it is even from front to back and side to side. If the
ice maker is not level, repeat Steps 2 and 3. If the ice
maker is level, go to the “Connecting the Ice Maker to a
Water Source” section.
Freestanding installation
If you are not installing your ice maker under a countertop,
you will probably not need to adjust the rear wheel height.
Follow the steps outlined in “To adjust the front leveling
legs” earlier in this section.
NOTE: The ice maker should not wobble. Use shims to
add stability when needed.
Connecting the Ice Maker to a
Water Source
Read all directions carefully before you begin.
IMPORTANT:
■ All installations must be in accordance with local
plumbing codes requirements.
■ Use copper tubing and check for leaks.
■ Install copper tubing only in areas where temperatures
will remain above freezing.
Tools required:
■ Standard screwdriver
■ ⁷⁄₁₆" and ¹⁄₂" open-end wrenches or two adjustable
wrenches
■ ¹⁄₄" nut driver
■ ¹⁄₄" drill bit
■ Hand drill or electric drill properly grounded
NOTE: Your ice maker dealer has a kit available with a ¹⁄₄"
(.635 cm) saddle-type shut-off valve, a union, and copper
tubing. Before purchasing, make sure a saddle-type valve
complies with your local plumbing codes. Do not use a
piercing-type or ³⁄₁₆" (.476 cm) saddle valve which reduces
water flow and clogs more easily.
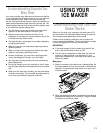
Connecting the water line:
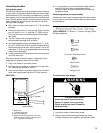
1. Tur n off main water supply. Turn on nearest faucet long
enough to clear line of water.
2. Find a ¹⁄₂" (1.27 cm) to 1¹⁄₄" (3.18 cm) vertical cold
water pipe near the ice maker.
NOTE: Horizontal pipe will work, but the following
procedure must be followed: Drill on the top side of the
pipe, not the bottom. This will help keep water away
from the drill. This also keeps normal sediment from
collecting in the valve.
3. Using a grounded drill, drill a ¹⁄₄" (.635 cm) hole in the
cold water pipe you have selected.
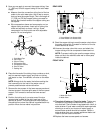
4. Fasten shut-off valve to cold water pipe with pipe
clamp. Be sure outlet end is solidly in the ¹⁄₄” (.635 cm)
drilled hole in the water pipe and that washer is under
the pipe clamp. Tighten packing nut. Tighten the pipe
clamp screws carefully and evenly so washer makes a
watertight seal. Do not overtighten the pipe clamp or
you may crush cold water pipe if it is soft copper
tubing. Do not use a piercing-type or ³⁄₁₆" (.476 cm)
saddle-type valve which reduces water flow and clogs
more easily.


