


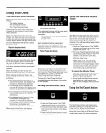


Using the Self-Cleaning cycle
(single/upper oven)
The Self-Cleaning cycle uses very high
heat to burn away soil. Before you start,
make sure you understand exactly how
to use the Self-Cleaning cycle safely.
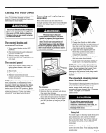
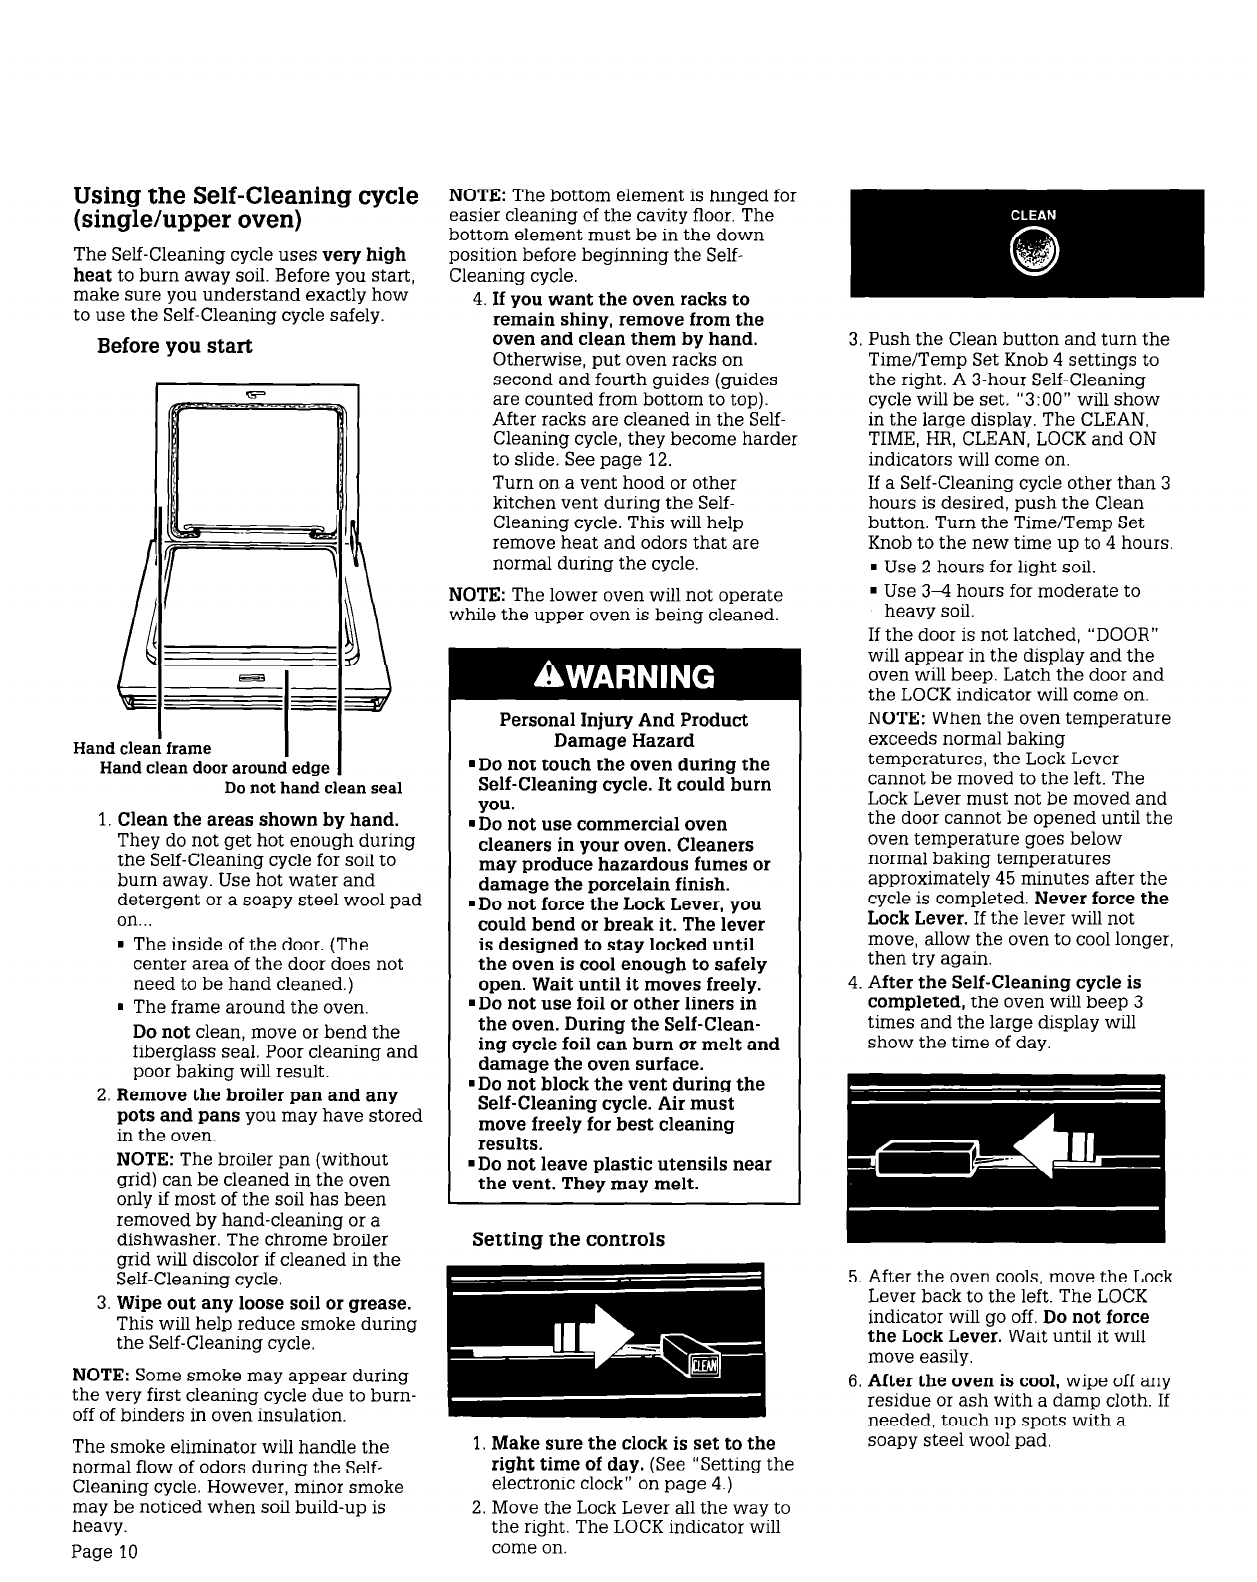
Before you start
Do
not hand clean seal
1.
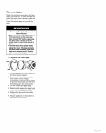
Clean the areas shown by hand.
They do not get hot enough during
the Self-Cleaning cycle for soil to
burn away. Use hot water and
detergent or a soapy steel wool pad
on..
. The inside of the door. (The
center area of the door does not
need to be hand cleaned.)
1 The frame around the oven.
Do not clean, move or bend the
fiberglass seal. Poor cleaning and
poor baking will result.
2. Remove the broiler pan and any
pots and pans you may have stored
in the oven.
NOTE: The broiler pan (without
grid) can be cleaned in the oven
only if most of the soil has been
removed by hand-cleaning or a
dishwasher. The chrome broiler
grid will discolor if cleaned in the
Self-Cleaning cycle.
3. Wipe out any loose soil or grease.
This will help reduce smoke during
the Self-Cleaning cycle.
NOTE: Some smoke may appear during
the very first cleaning cycle due to burn-
off of binders in oven insulation.
The smoke eliminator will handle the
normal flow of odors during the Self-
Cleaning cycle. However, minor smoke
may be noticed when soil build-up is
heavy.
Page 10
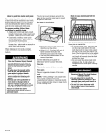
NOTE: The bottom element is hinged for
easier cleaning of the cavity floor. The
bottom element must be in the down
position before beginning the Self-
Cleaning cycle.
4. If you want the oven racks to
remain shiny, remove from the
oven and clean them by hand.
Otherwise, put oven racks on
second and fourth guides (guides
are counted from bottom to top).
After racks are cleaned in the Self-
Cleaning cycle, they become harder
to slide. See page 12.
Turn on a vent hood or other
kitchen vent during the Self-
Cleaning cycle. This will help
remove heat and odors that are
normal during the cycle.
NOTE: The lower oven will not operate
while the upper oven is being cleaned.
Personal Injury And Product
Damage Hazard
. Do not touch the oven during the
Self-Cleaning cycle. It could burn
you.
. Do not use commercial oven
cleaners in your oven. Cleaners
may produce hazardous fumes or
damage the porcelain finish.
.Do not force the Lock Lever, you
could bend or break it. The lever
is designed to stay locked until
the oven is cool enough to safely
open. Wait until it moves freely.
. Do not use foil or other liners in
the oven. During the Self-Clean-
ing cycle foil can burn or melt and
damage the oven surface.
1 Do not block the vent during the
Self-Cleaning cycle. Air must
move freely for best cleaning
results.
. Do not leave plastic utensils near
the vent. They may melt.
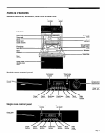
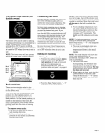
Setting the controls
right time of day. (See “Setting the
electronic clock” on page 4.)
2. Move the Lock Lever all the way to
the right. The LOCK indicator will
come on.
3. Push the Clean button and turn the
Time/Temp Set Knob 4 settings to
the right. A 3-hour Self-Cleaning
cycle will be set. “3:OO” will show
in the large display. The CLEAN,
TIME, HR, CLEAN, LOCK and ON
indicators will come on.
If a Self-Cleaning cycle other than 3
hours is desired, push the Clean
button. Turn the Time/Temp Set
Knob to the new time up to 4 hours.
1 Use 2 hours for light soil.
. Use 34 hours for moderate to
heavy soil.
If the door is not latched, “DOOR”
will appear in the display and the
oven will beep. Latch the door and
the LOCK indicator will come on.
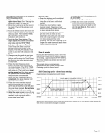
NOTE: When the oven temperature
exceeds normal baking
temperatures, the Lock Lever
cannot be moved to the left. The
Lock Lever must not be moved and
the door cannot be opened until the
oven temperature goes below
normal baking temperatures
approximately 45 minutes after the
cycle is completed. Never force the
Lock Lever. If the lever will not
move, allow the oven to cool longer,
then try again.
4. After the Self-Cleaning cycle is
completed, the oven will beep 3
times and the large display will
show the time of day.
5. After the oven cools, move the Lock
Lever back to the left. The LOCK
indicator will go off. Do not force
the Lock Lever. Wait until it will
move easily.
6. After the oven is cool, wipe off any
residue or ash with a damp cloth. If
needed, touch up spots with a
soapy steel wool pad.