


17
To turn the ice maker on:
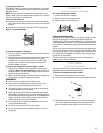
The ON/OFF switch is located on the top right side of the freezer
compartment. To turn the ice maker on, slide the control to the
ON (left) position.
NOTE: The ice maker will not make ice until the freezer is cold
enough. Allow 24 hours to produce the first batch of ice. Discard
the first three batches of ice produced.
To turn the ice maker off:
■ Automatic turn off: The ice maker sensors will automatically
stop ice production but the control will remain in the ON (left)
position.
■ Manual turn off: Slide the control to the OFF (right) position.
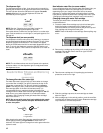
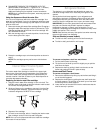
Style 2 - Ice Storage Bucket
To remove and replace ice bucket:
1. Place four fingers in bucket base opening and rest thumb on
the release button.
2. Holding the base of the bucket with both hands, depress the
release button and lift the bucket up and out. It is not
necessary to turn the ice maker control to the OFF (right)
position. The ice maker will not produce ice without the
bucket installed in the door.
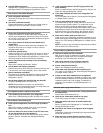
To care for ice storage bin or bucket (Styles 1 and 2)
1. Empty the ice container. Use warm water to melt the ice if
necessary. Never use anything sharp to break up the ice in
the bin or bucket. This can cause damage to the ice container
and the dispenser mechanism.
2. Wash with a mild detergent, rinse well and dry thoroughly. Do
not use harsh or abrasive cleaners or solvents.
REMEMBER:
■ Allow 24 hours to produce the first batch of ice.
■ Discard the first three batches of ice produced to avoid
impurities that may be flushed out of the system.
■ The quality of your ice will be only as good as the quality of
the water supplied to your ice maker.
■ Avoid connecting the ice maker to a softened water supply.
Water softener chemicals (such as salt) can damage parts of
the ice maker and lead to poor quality ice. If a softened water
supply cannot be avoided, make sure the water softener is
operating properly and is well maintained.
■ It is normal for the ice cubes to be attached at the corners.
They will break apart easily.
■ Do not force the wire shut-off arm up or down.
■ Do not store anything on top of the ice maker or in the ice
storage bin.
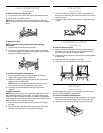
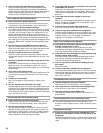
Freezer Shelf
(number of shelves varies with model)
To remove and replace the shelf:
1. Lift the shelf off of the supports.
2. Slide it out of the shelf support holes.
3. Replace shelf in the reverse order.
Frozen food storage guide
Storage times will vary according to the quality and type of food,
the type of packaging or wrap used (should be airtight and
moisture-proof), and the storage temperature. Ice crystals inside
a sealed package are normal. This simply means that moisture in
the food and air inside the package have condensed, creating ice
crystals.
Put no more unfrozen food into the freezer than will freeze within
24 hours (no more than 2-3 lb of food per cubic foot [907-1,350 g
per L] of freezer space). Leave enough space in the freezer for air
to circulate around packages. Be careful to leave enough room
for the door to close tightly.
For more information on preparing food for freezing, check a
freezer guide or reliable cookbook.
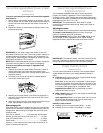
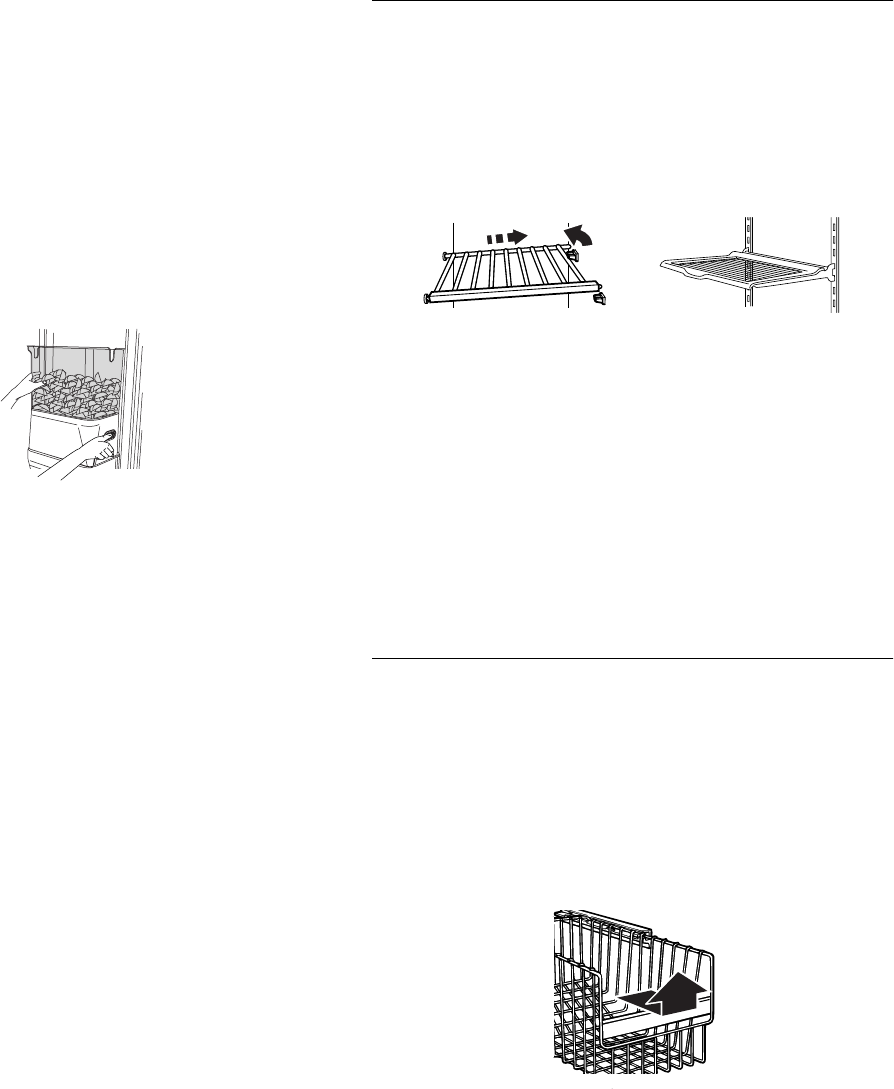
Freezer Basket
(plastic bin on some models)
The freezer basket can be used to store bags of frozen fruits and
vegetables that may slide off freezer shelves.
To remove and replace the freezer basket:
1. Remove basket by sliding it out to the stop.
2. Lift the front of the basket and slide it out the rest of the way.
3. Replace the basket by positioning it on the side wall guide
rails. Lift the basket front slightly while pushing it past the
guide rail stops and slide basket in the rest of the way.