


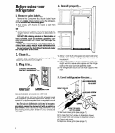

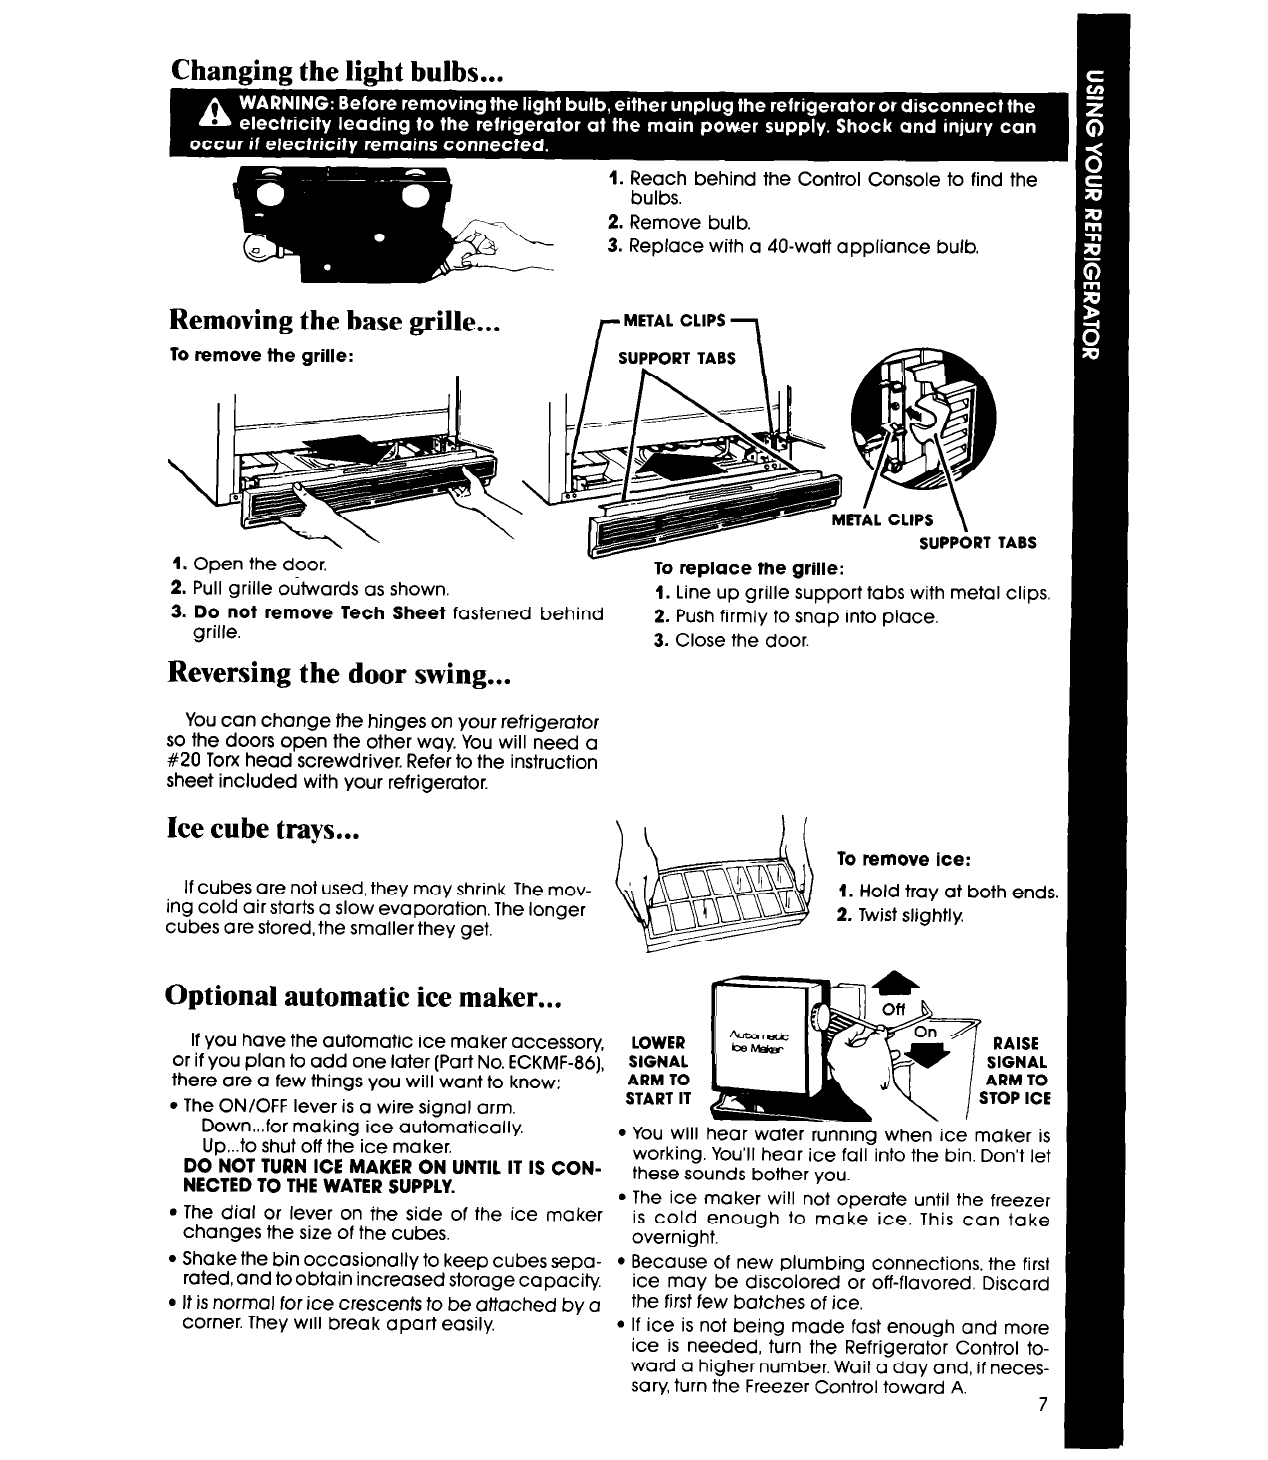
1. Reach behind the Control Console to find the
bulbs.
2. Remove bulb.
3. Replace with a 40-watt appliance bulb.
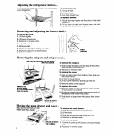
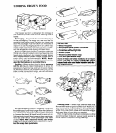
Removing the base grille...
To remove the
grille:
r
METAL CLIPS
SUPPORT TABS
1. Open the door,
Eli1 CLIPS \
SUPPORT TABS
To replace the grille:
1. Line up grille support tabs with metal clips.
2. Push firmly to snap
into place.
I
2. Pull grille outwards as shown.
3. Do not remove Tech Sheet fastened behind
grille.
3. Close the door.
Reversing the door swing...
You can change the hinges on your refrigerator
so the doors open the other way. You will need a
#20 Torx head screwdriver. Refer to the instruction
sheet included with your refrigerator.
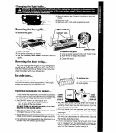
Ice cube trays...
If cubes are not used, they may shrink. The mov-
ing cold air starts a slow evaporation. The longer
cubes are stored, the smaller they get.
Optional automatic ice maker...
If you have the automatic ice maker accessory,
or if you plan to add one later (Part No. ECKMF-86),
there are a few things you will want to know:
l
The ON/OFF lever is a wire signal arm.
Downfor making ice automatically.
Up...to shut off the ice maker.
DO NOT TURN ICE MAKER ON UNTIL IT IS CON-
NECTED TO THE WATER SUPPLY.
. The dial or lever on the side of the ice maker
changes the size of the cubes.
l
Shake the bin occasionally to keep cubes sepa-
rated, and to obtain increased storage capacity.
l
It is normal for ice crescents to be attached by a
corner. They will break apart easily.
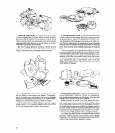
To remove ice:
1. Hold tray at both ends.
2. Twist slightly
SIGNAL
ARM TO
START IT
a”\ I%::“:
l
You will hear water running when ice maker is
working. You’ll hear ice fall into the bin. Don’t let
these sounds bother you.
l
The ice maker will not operate until the freezer
is cold enough to make ice. This can take
overnight.
l
Because of new plumbing connections, the first
ice may be discolored or off-flavored. Disc
the first few batches of ice.
l
If ice is not being made fast enough and more
ice is needed, turn the Refrigerator Control to-
ward a higher number. Wait a day and, if neces-
sary, turn the Freezer Control toward A.