Before you plug it in
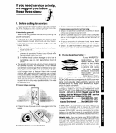
Before using your freezer, you are personally
responsible for making sure that it...
l
is proc !erly maintained.
l
is installed and leveled on a floor that will
l
is in a (::ry sheltered place.
hold the weight, and in an area suitable for
l
is usec in an area where the room tempera-
its size and use.
ture wi I not exceed 110 F (43.3 C].
l
is connected only to the right kind of outlet,
l
is not rl.in where there are explosive fumes.
with the right electrical supply and
l
is not u r,ed by children or others who may not
grounding.
undersland how it should be used.
l
is used only for jobs expected of home
l
is not Ic::laded with food before it has time to
freezers.
get prc oerly cold.
l
is not near an oven, radiator or other heat
source.
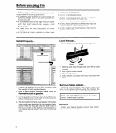
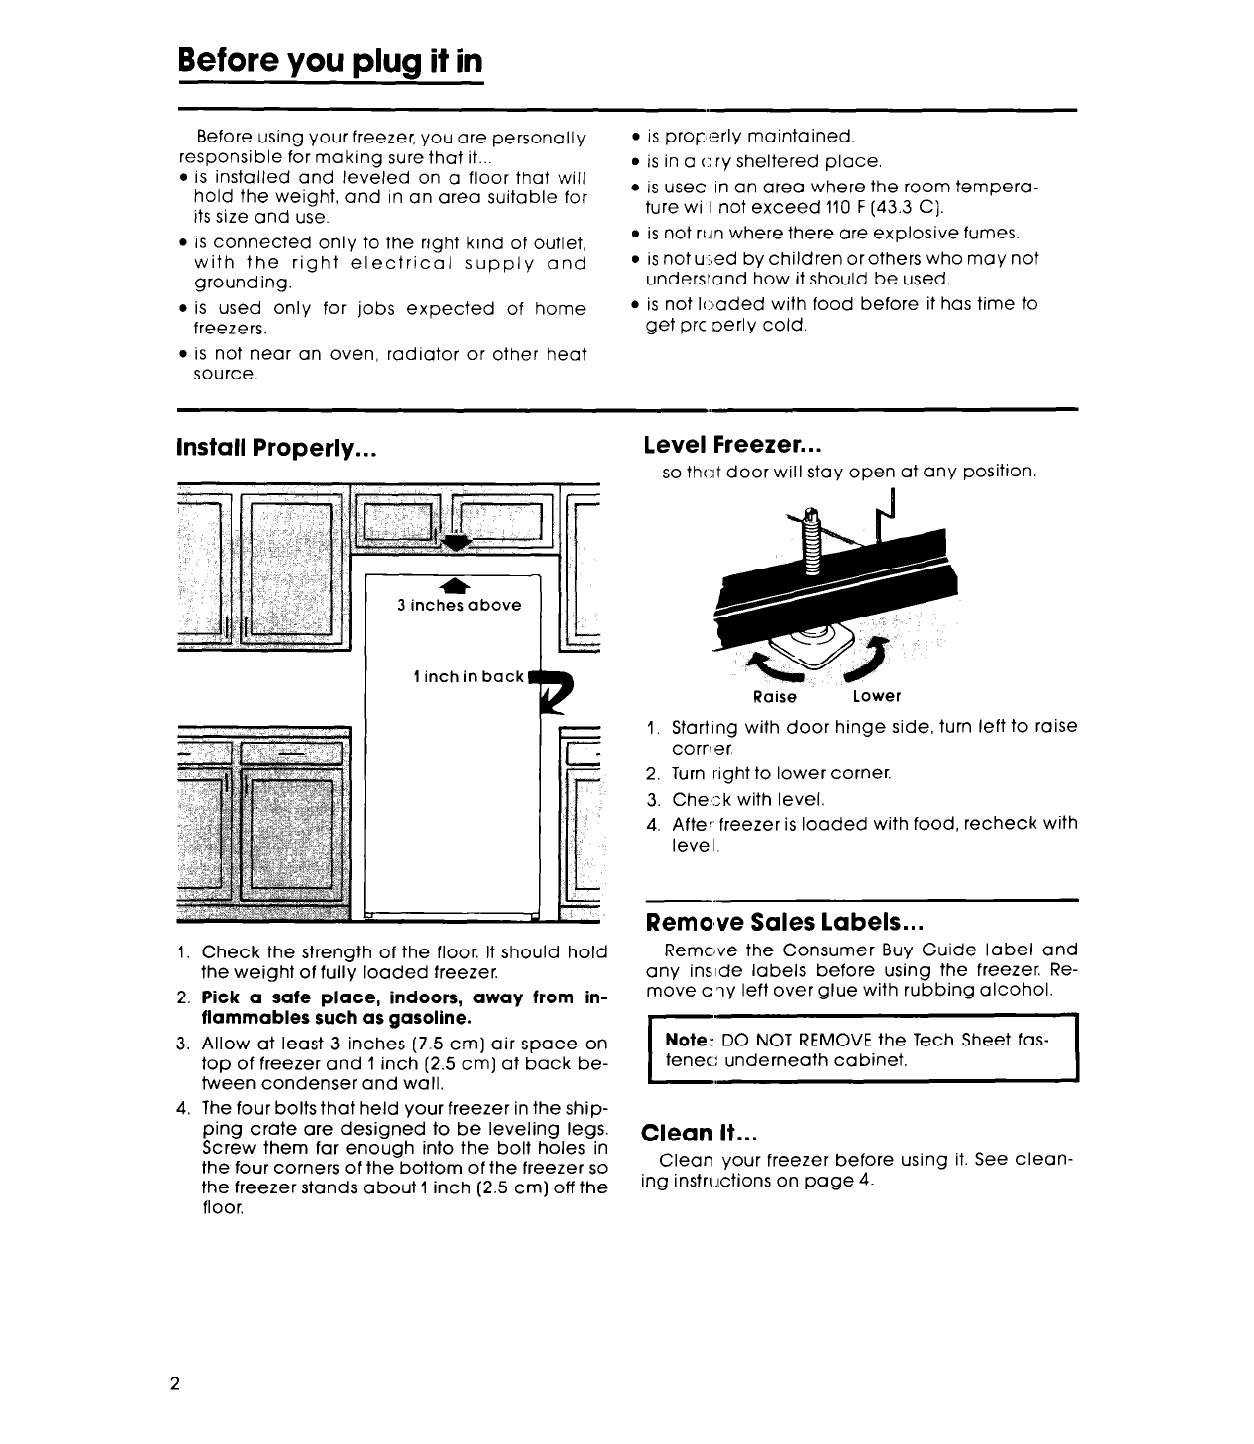
Install Properly...
4
3 inches above
r-l
1 inch in back
P
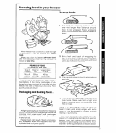
Check the strength of the floor. It should hold
the weight of fully loaded freezer.
Pick a safe place, indoors, away from in-
flammables such as gasoline.
Allow at least 3 inches (7.5 cm] air space on
top of freezer and 1 inch (2.5 cm] at back be-
tween condenser and wall.
The four bolts that held your freezer in the ship-
ping crate are designed to be leveling legs.
Screw them far enough into the bolt holes in
the four corners of the bottom of the freezer so
the freezer stands about 1 inch (2.5 cm) off the
floor.
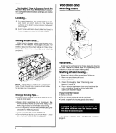
level Freezer.. .
so th(:lt door will stay open at any position.
Raise
Lower
Starting with door hinge side, turn left to raise
corr’er.
Turn right to lower corner.
Che’::k with level.
After freezer is loaded with food, recheck with
level.
Remo’ve Sales labels...
Remclve the Consumer Buy Guide label and
any insIde labels before using the freezer. Re-
move c’ly left over glue with rubbing alcohol.
Note: DO NOT REMOVE the Tech Sheet fas-
c
tenet! underneath cabinet.
Clean It...
Clean your freezer before using it. See clean-
ing instnjctions on page 4.


