12
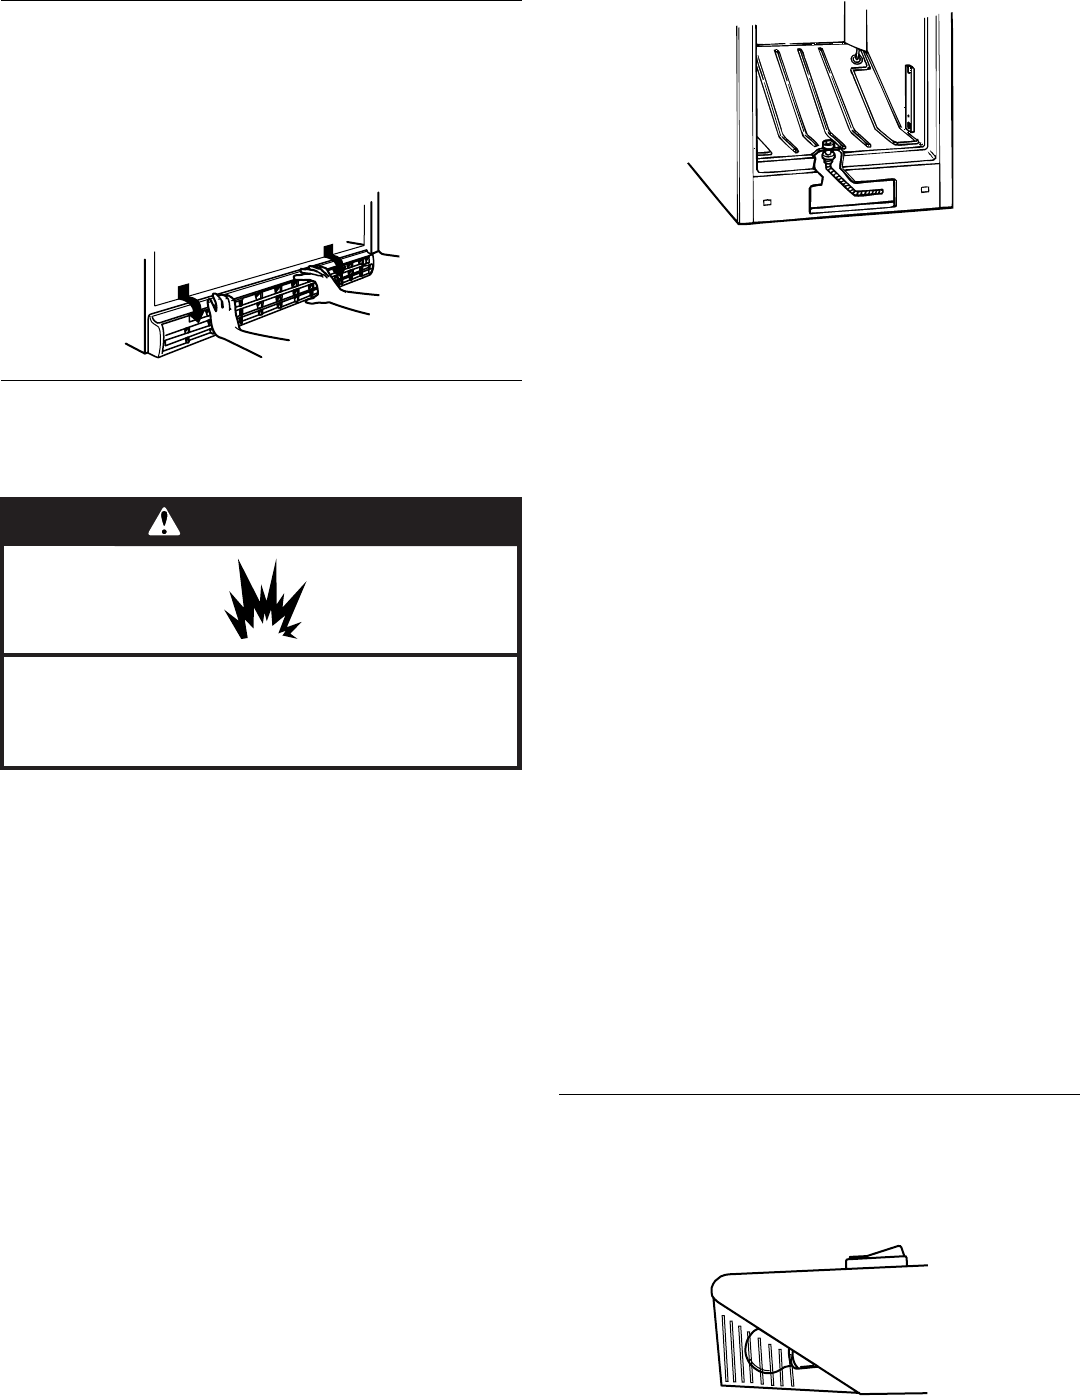
Base Grille
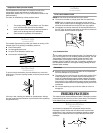
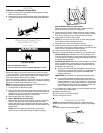
To Remove and Replace the Base Grille:
1. Open the freezer door and remove the base grille by pulling
down and out from the top.
2. Replace the base grille by putting the clips in the openings in
the refrigerator panel. Push in until the base grille snaps into
place.
Defrosting and Cleaning Your
Manual Defrost Freezer
(some models)
Defrost and clean your freezer when frost has built up to about
¹⁄₄" (6 mm) thickness. Complete defrosting and cleaning should be
done at least once a year. In high humidity areas, a freezer may
need more frequent defrosting and cleaning.
Do not use abrasive cleaners on your freezer. Do not use cleaning
waxes, concentrated detergents, bleaches, or cleaners containing
petroleum on plastic parts. Damage can occur.
NOTE: The drain cap must be removed before defrosting the
freezer and replaced securely afterward.
1. Unplug freezer or disconnect power.
2. Remove all frozen food. Wrap frozen food in several layers of
newspaper and cover with a blanket. Food will stay frozen for
several hours. You may also store frozen food in a cooler, an
additional refrigerator or freezer, or a cool area.
3. Remove base grille. See “Base Grille.”
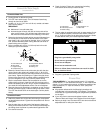
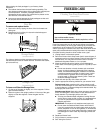
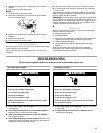
4. Style 1–Models with a drain system
Reach under the unit and pull the drain hose out through the
opening. The drain hose carries defrost water out of the
freezer, and through the area behind the base grille. Place a
large shallow pan under the drain hose. Remove the drain cap
inside freezer.
NOTE: Check the drain pan frequently to avoid water
overflow. Have a second pan handy for easier emptying.
Style 2–Models without a drain system
Remove water from the freezer bottom using a sponge or
baster and empty the water into a large pan.
5. Place pans of hot water in freezer with door open to speed
melting. Directing air from an electric fan into freezer will also
help. Do not place fan or any electrical device in freezer.
6. Use a plastic scraper to remove frost.
NOTE: Do not use an ice pick, knife, or other sharp-pointed
tool to defrost freezer. Damage can occur.
7. Wipe water from walls with a towel or sponge.
8. Wash the inside walls with a solution of mild detergent in
warm water or 2 tbs (26 mg) baking soda to 1 qt (0.95 L) warm
water. Do not use abrasive or harsh cleaners.
9. Rinse well and wipe dry with a clean soft cloth.
10. Use the appropriate cleaning method for your exterior finish.
Painted metal: Wash exteriors with a clean sponge or soft
cloth and a mild detergent in warm water. Do not use abrasive
or harsh cleaners, or cleaners designed for stainless steel. Dry
thoroughly with a soft cloth.
Stainless steel finish: Wash with a clean sponge or soft cloth
and a mild detergent in warm water. Do not use abrasive or
harsh cleaners, or cleaners designed for stainless steel. Dry
thoroughly with a soft cloth.
■ To keep your Stainless Steel refrigerator looking like new
and to remove minor scuffs or marks, it is suggested that
you use the manufacturer’s approved Stainless Steel
Cleaner and Polish.
IMPORTANT: This cleaner is for Stainless Steel parts only!
■ Do not allow the Stainless Steel Cleaner and Polish to
come into contact with any plastic parts such as the trim
pieces, dispenser covers or door gaskets. If unintentional
contact does occur, clean plastic part with a sponge and
mild detergent in warm water. Dry thoroughly with a soft
cloth. To order the cleaner, see “Accessories.”
11. For models with a drain system, you should replace the drain
hose, drain cap and base grille.
12. Replace all frozen food.
13. Plug in freezer or reconnect power.
14. See “Using the Control.”
Changing the Light Bulb
NOTE: Not all appliance bulbs will fit your freezer. Be sure to
replace the bulb with one of the same size, shape, and wattage.
Style 1
1. Unplug freezer or disconnect power.
WARNING
Explosion Hazard
Use nonflammable cleaner.
Failure to do so can result in death, explosion, or fire.


