


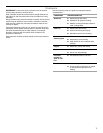

11
Positioning Racks and Bakeware
IMPORTANT: To avoid permanent damage to the porcelain
finish, do not place food or bakeware directly on the oven door or
bottom.
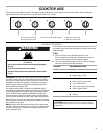
Racks
■ Position racks before turning on the oven.
■ Do not position racks with bakeware on them.
■ Make sure racks are level.
■ The upper oven is equipped with 1 flat rack.
■ The lower oven is equipped with 2 flat racks.
■ Place food so it will not rise into the broil burner. Allow at least
½" (1.3 cm) between pans and the broil burner.
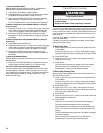
To Remove Oven Racks:
Flat Racks: Pull rack out to the stop position, raise the front edge,
and then lift out.
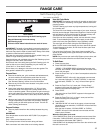
To Replace Oven Racks:
Place rack on the rack support in the oven. Tilt the front edge up
slightly, and slide rack back until it clears the stop position. Lower
front, and slide back into the oven.
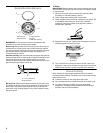
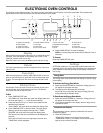
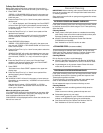
Rack Positions - Upper Oven
Baking
Broiling
Rack Positions - Lower Oven
Traditional Cooking
Multiple Rack Cooking
2-rack: Use rack positions 2 and 4, 2 and 5, or 3 and 5.
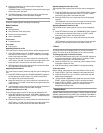
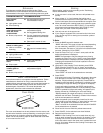
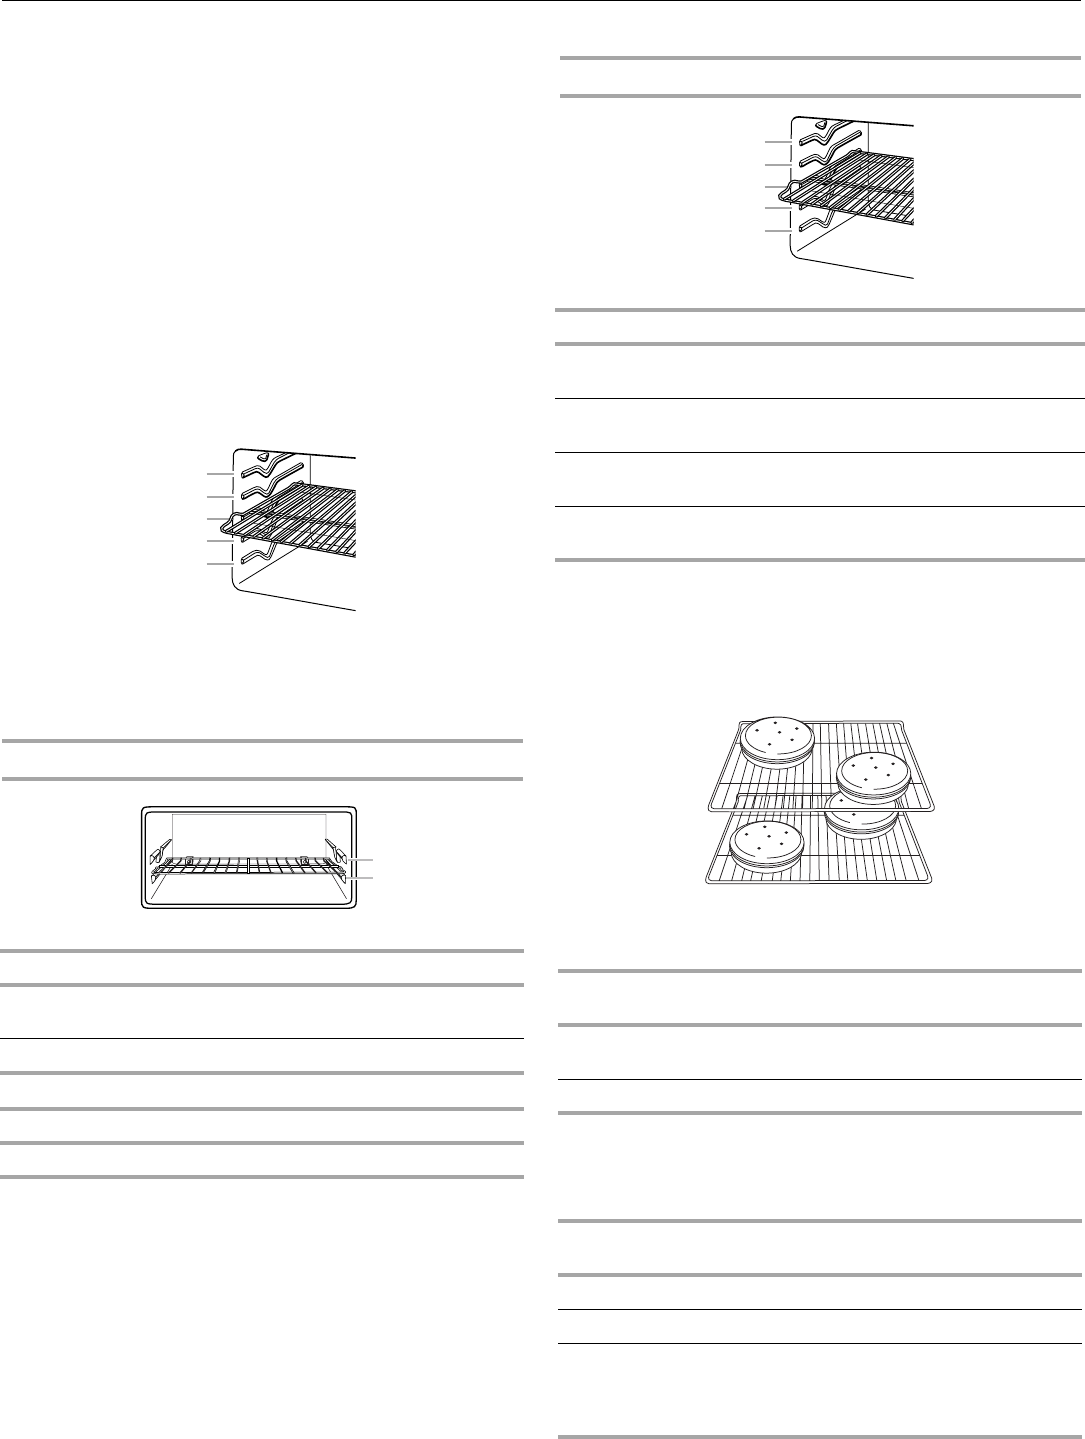
Baking Layer Cakes on 2 Racks
For best results when baking cakes on 2 racks, use rack
positions 2 and 4. Place the cakes on the racks as shown in the
previous illustration.
If oven has been converted for use with LP gas, use rack
positions 3 and 5. Place cakes on racks as shown.
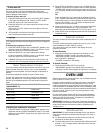
Convection Cooking (on some models)
BAKEWARE
To cook food evenly, hot air must be able to circulate. Allow
2" (5.0 cm) of space around bakeware and oven walls. Use the
following chart as a guide.
FOOD RACK POSITION
Large dishes, frozen meals, sheet
cakes, biscuits
1
Cookies, pizza 2
FOOD RACK POSITION
Broiling 1
1
2
3
4
5
1
2
FOOD RACK POSITION
Large roasts, turkeys, angel food, bundt
and tube cakes, quick breads, pies
1 or 2
Yeast breads, casseroles, meat and
poultry and 2-rack baking
2
Cookies, biscuits, muffins, cakes,
1-rack baking
2 or 3
2-rack baking 3 and 5, 2 and 4, or
2 and 5
FUNCTION NUMBER OF
RACKS USED
RACK
POSITION(S)
Convection baking or
roasting
11, 2 or 3
Convection baking 2 2 and 4
NUMBER
OF PAN(S)
POSITION ON RACK
1 Center of rack.
2 Side by side or slightly staggered.
3 or 4 Opposite corners on each rack. Make sure that
no bakeware piece is directly over another. See
the previous illustration for “Baking Layer Cakes
on 2 Racks” in this section.
1
2
3
4
5