


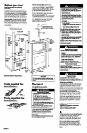
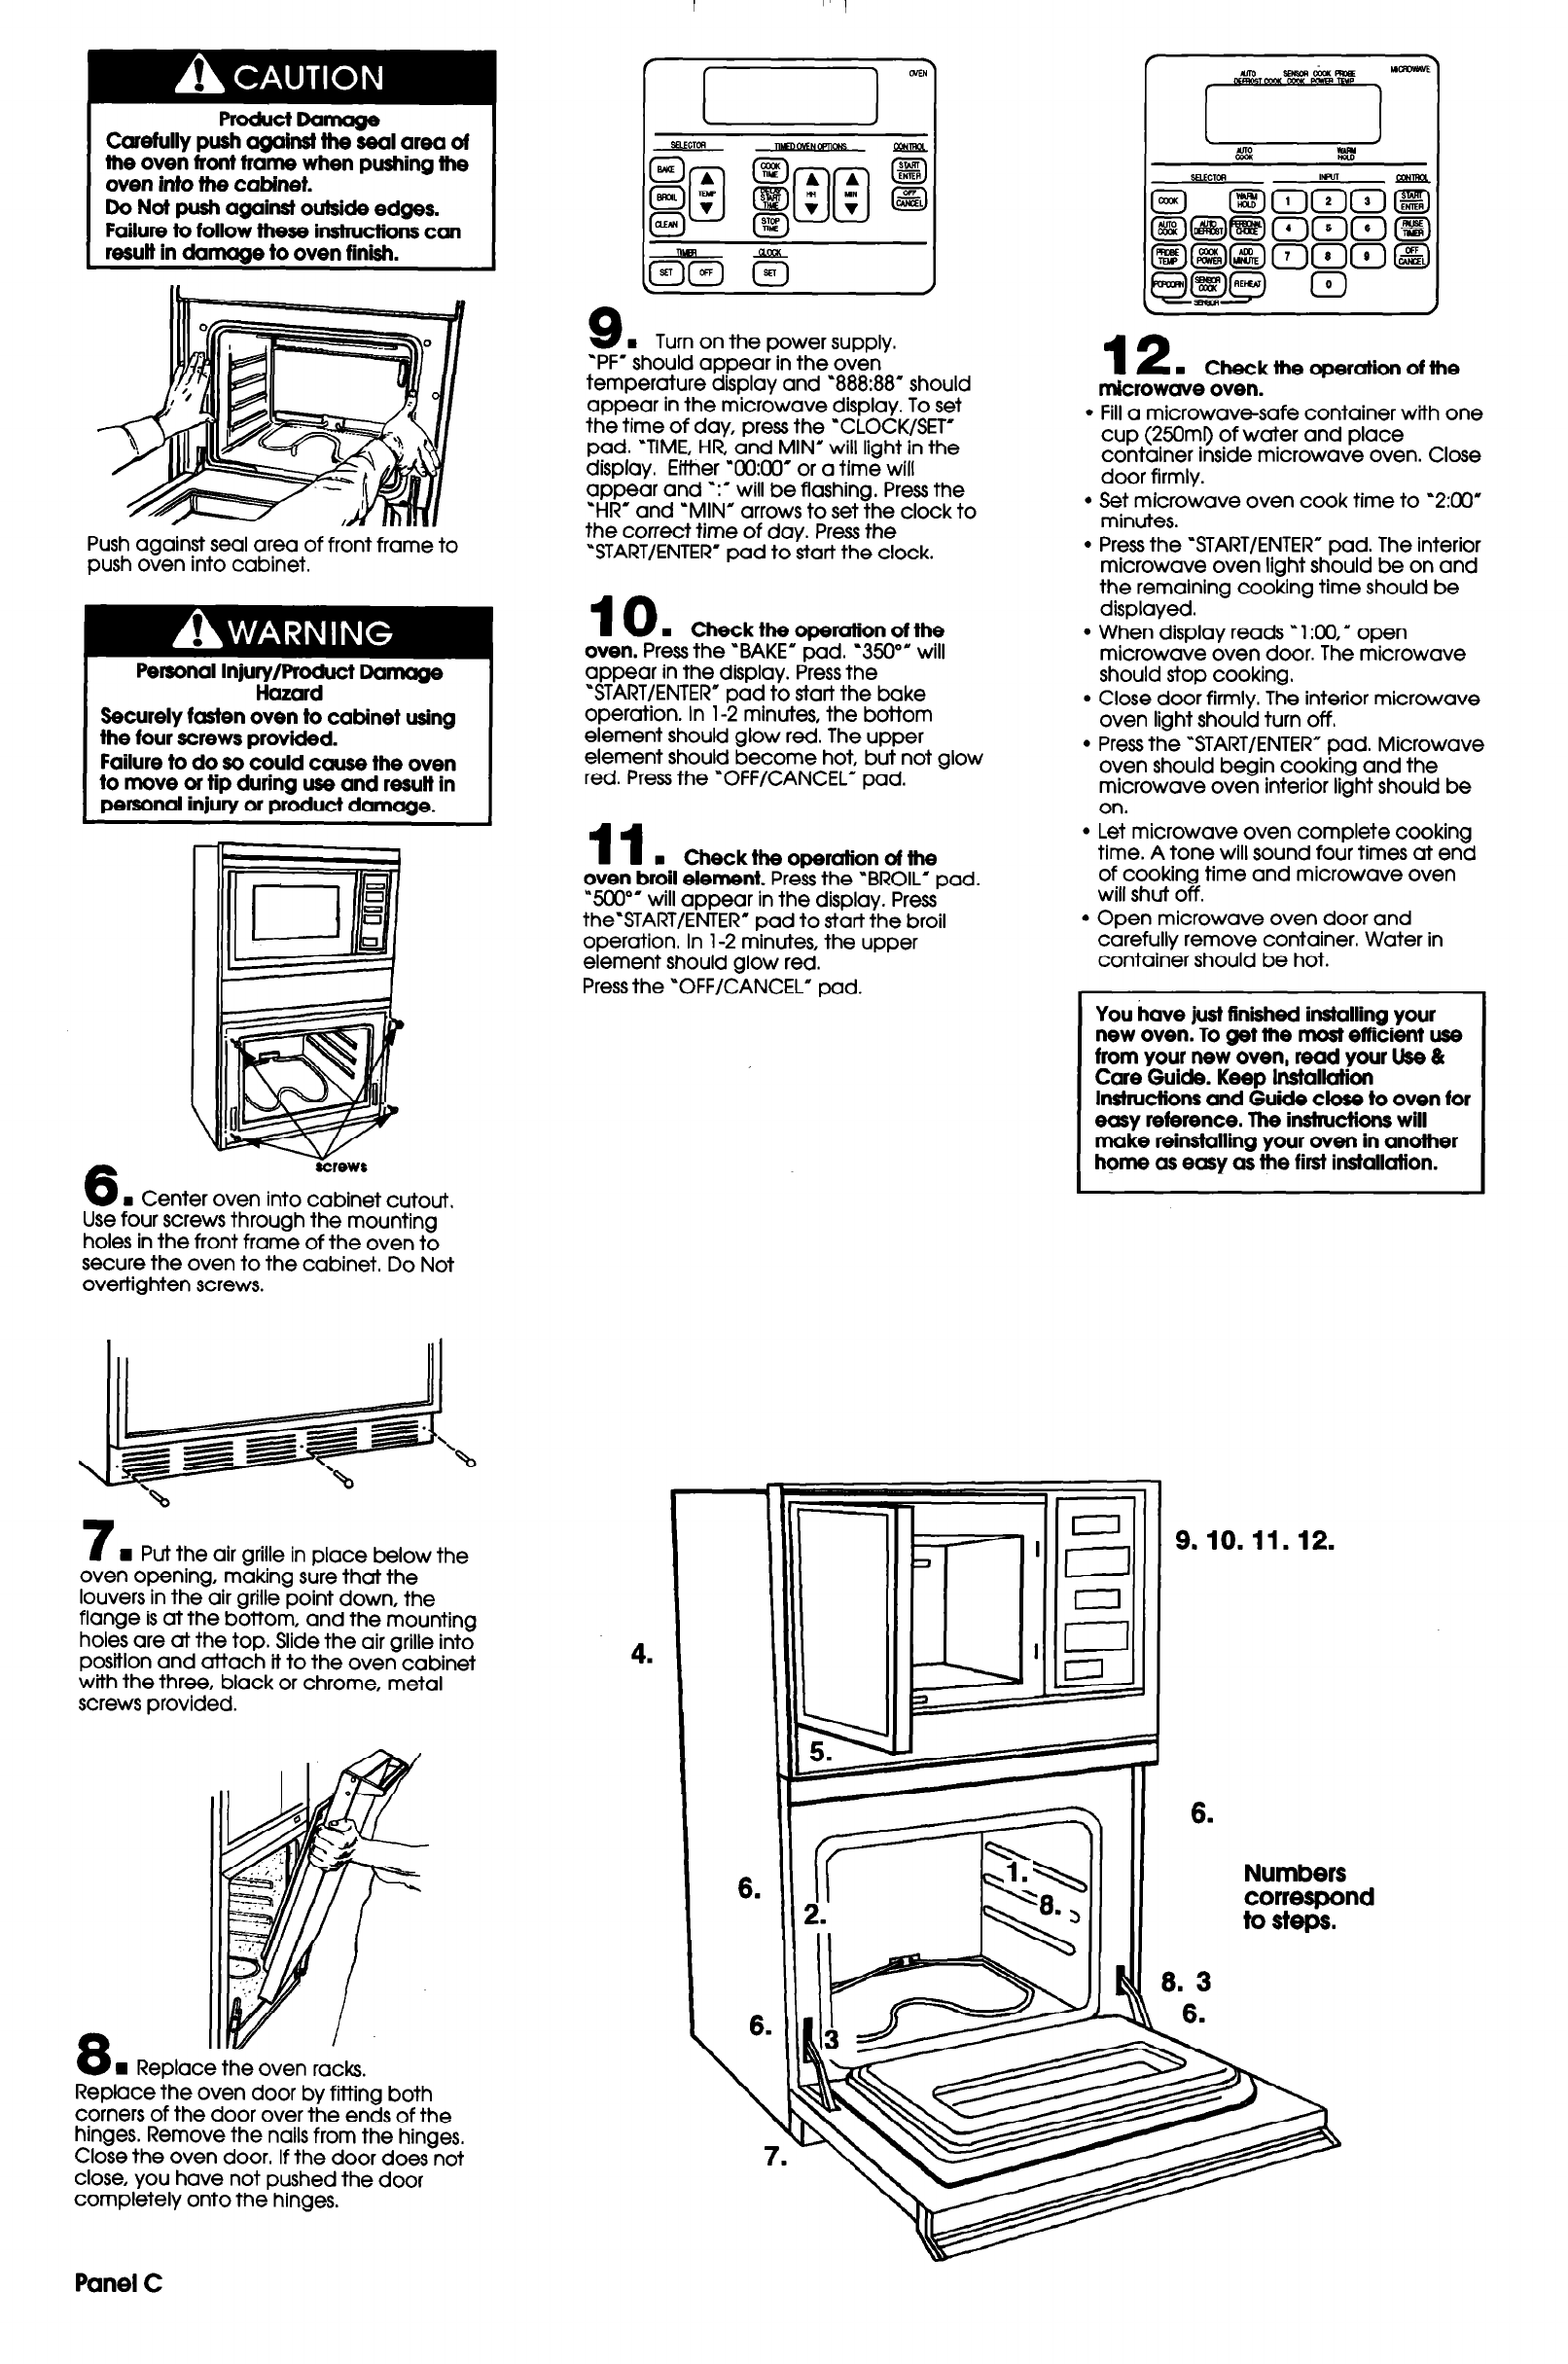
Carefully push against the seal area of
the oven front frame when pushing the
oven into the cabinet.
Do Not push against outside edges.
Failure to follow these instructions can
result in damage to oven finish.
Push against seal area of front frame to
push oven into cabinet.
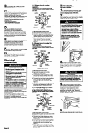
Personal Injury/Product Damage
Hazard
Securely fasten oven to cabinet using
the four screws provided.
Failure to do so could cause the oven
to move or tip during use and result in
personal injury or product damme.
6
SCreWI
= Center oven into cabinet cutout.
Use four screws through the mounting
holes in the front frame of the oven to
secure the oven to the cabinet. Do Not
overtighten screws.
7
n
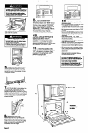
Put the air grille in place below the
oven opening, making sure that the
louvers in the air grille point down, the
flange is at the bottom, and the mounting
holes are at the top. Slide the air grille into
positlon and attach it to the oven cabinet
with the three, black or chrome, metal
screws provided.
Replace the oven racks.
Replace the oven door by fitting both
corners of the door over the ends of the
hinges. Remove the nails from the hinges,
Close the oven door. If the door does not
close, you have not pushed the door
completely onto the hinges.
9
n
Turn on the power supply.
‘PF’ should appear in the oven
temperature display and ‘888:88” should
appear in the microwave display. To set
the time of day, press the ‘CLOCK/SET’
pad. ‘TIME, HR, and MIN’ will light in the
display. Either ‘0O:oO’ or a time will
appear and -:I
will be flashing. Press the
‘HR’ and ‘MIN’ arrows to set the clock to
the correct time of day. Press the
“START/ENTER’ pad to start the clock.
10
w Check the ooeration of the
oven. Press the ‘BAKE’ pad. ‘350” will
appear in the display. Press the
“START/ENTER” pad to start the bake
operation. In l-2 minutes, the bottom
element should glow red. The upper
element should become hot, but not glow
red. Press the “OFF/CANCEL” pad.
11
n
Check the oDercrlion of the
oven broil element. Press the -BROIL’ pad.
-500”’ will appear in the display. Press
the-START/ENTER” pad to start the broil
operation. In l-2 minutes, the upper
element should glow red.
Press the “OFF/CANCEL” pad.
4.
12
n
Check the operation of the
mkrowave oven. -
l
Fill a microwave-safe container with one
cup (25Oml) of water and place
container inside microwave oven. Close
door firmly.
l
Set microwave oven cook time to “200’
minutes.
l
Press the START/ENTER” pad. The interior
microwave oven light should be on and
the remaining cooking time should be
displayed.
l
When display reads n 1 :oO,” open
microwave oven door. The microwave
should stop cooking.
l
Close door firmly. The interior microwave
oven light should turn off.
l
Press the “START/ENTER” pad. Microwave
oven should begin cooking and the
microwave oven interior light should be
on.
l
Let microwave oven complete cooking
time. A tone will sound four times at end
of cooking time and microwave oven
will shut off.
. Open microwave oven door and
carefully remove container. Water in
container should be hot.
You have just finished installing your
new oven. To get the most efficient use
from your new oven, read your l&e &
Care Guide. Keep Installation
Instructions and Guide close to oven for
easy reference. lhe instructions will
make reinstalling your oven in another
home as easy as the first installation.
I
1
Panel C