5. Electrical requirements
Observe all governlng codes and ordinances.
A 120 Volt, 60 Hz, AC only, 15 amp tused electrical supply is required. (Time-delay fuse is
recommended.) It is recommended that a separate circuit sewing only this appliance
be provided.
6.
GROUNDING INSTRUCTIONS
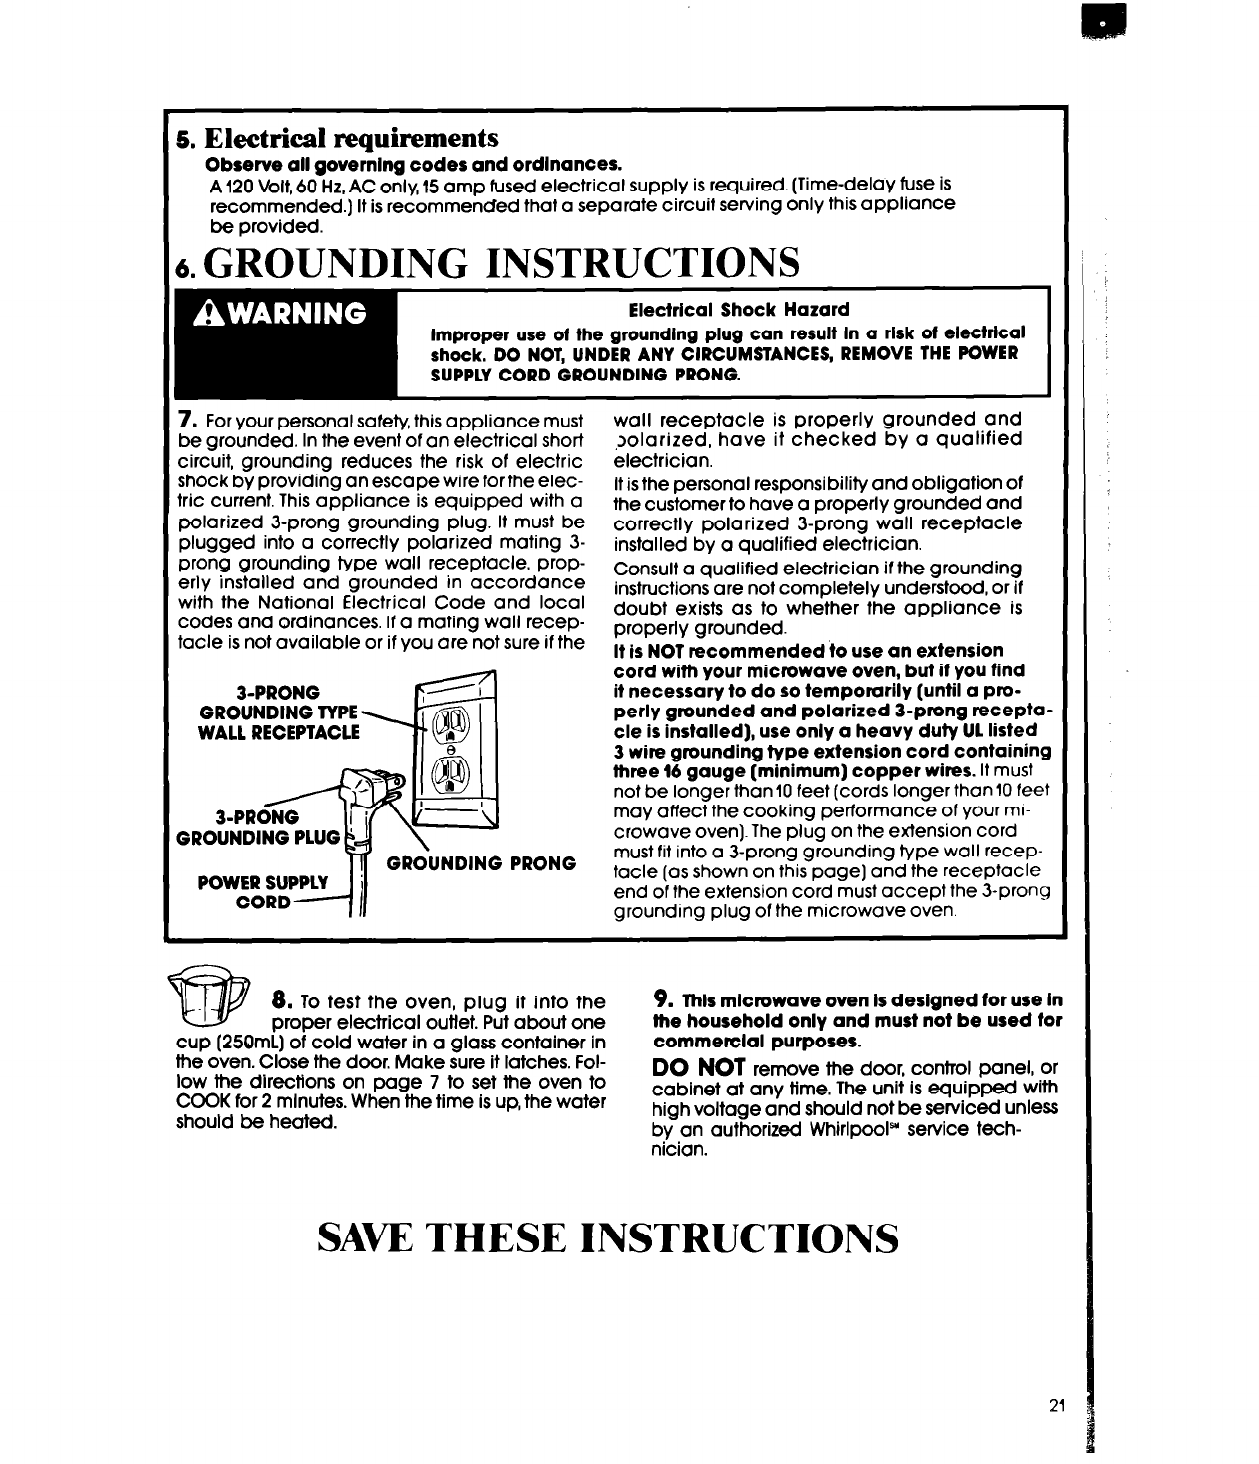
7. For your personal safety, this appliance must
be grounded. In the event of an electrical short
circuit, grounding reduces the risk of electric
shock by providing an escape wire forthe elec-
tric current. This appliance is equipped with a
polarized J-prong grounding plug. It must be
plugged into a correctly polarized mating 3-
prong grounding type wall receptacle, prop-
erly installed and grounded in accordance
with the National Electrical Code and local
codes and ordinances. If a mating wall recep-
tacle is not available or if you are not sure if the
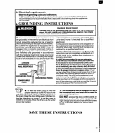
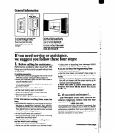
3-PRONG
GROUNDING TYPE
WALL RECEPTACLE
GROUNDING PLUG
GROUNDING PRONG
wall receptacle is properly grounded and
,Jolarized, have it checked by a qualified
electrician.
It is the personal responsibility and obligation of
the customer to have a properly grounded and
correctly polarized 3-prong wall receptacle
installed by a qualified electrician.
Consult a qualified electrician if the grounding
instructions are not completely understood, or if
doubt exists as to whether the appliance is
properly grounded.
It is NOT recommended to use an extension
cord with your microwave oven, but if you find
it necessary to do so temporarily (until a pro-
perly grounded and polarized 3-prong recepta-
cle is installed), use only a heavy duty UL listed
3 wire grounding type extension cord containing
three 16 gauge (minimum) copper wires. It must
not be longer than 10 feet (cords longer than 10 feet
may affect the cooking perlormance of your ml-
crowave oven). The plug on the edension cord
must fit into a 3-prong grounding type wall recep-
tacle (OS shown on this page] and the receptacle
end of the extension cord must accept the 3-prong
grounding plug of the microwave oven.
8.
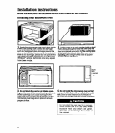
To test the oven, plug it into the
proper electrical outlet. Put about one
cup (25QmL) of cold water in a glass container in
the oven. Close the door. Make sure it latches. Fol-
low the directions on page 7 to set the oven to
COOK for 2 minutes. When the time is up, the water
should be heated.
9. lhls mlcrowave oven Is designed for use In
the household only and must not be used tor
commercial purposes.
DO NOT
remove the door, control panel, or
cabinet at any time. The unit is equipped With
high voltage and should not be SeWiCed unless
by an authorized Whirlpool” service tech-
nician.
SAW THESE INSTRUCTIONS


