17
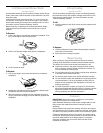
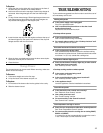
To Replace:
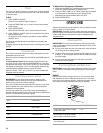
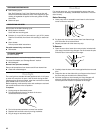
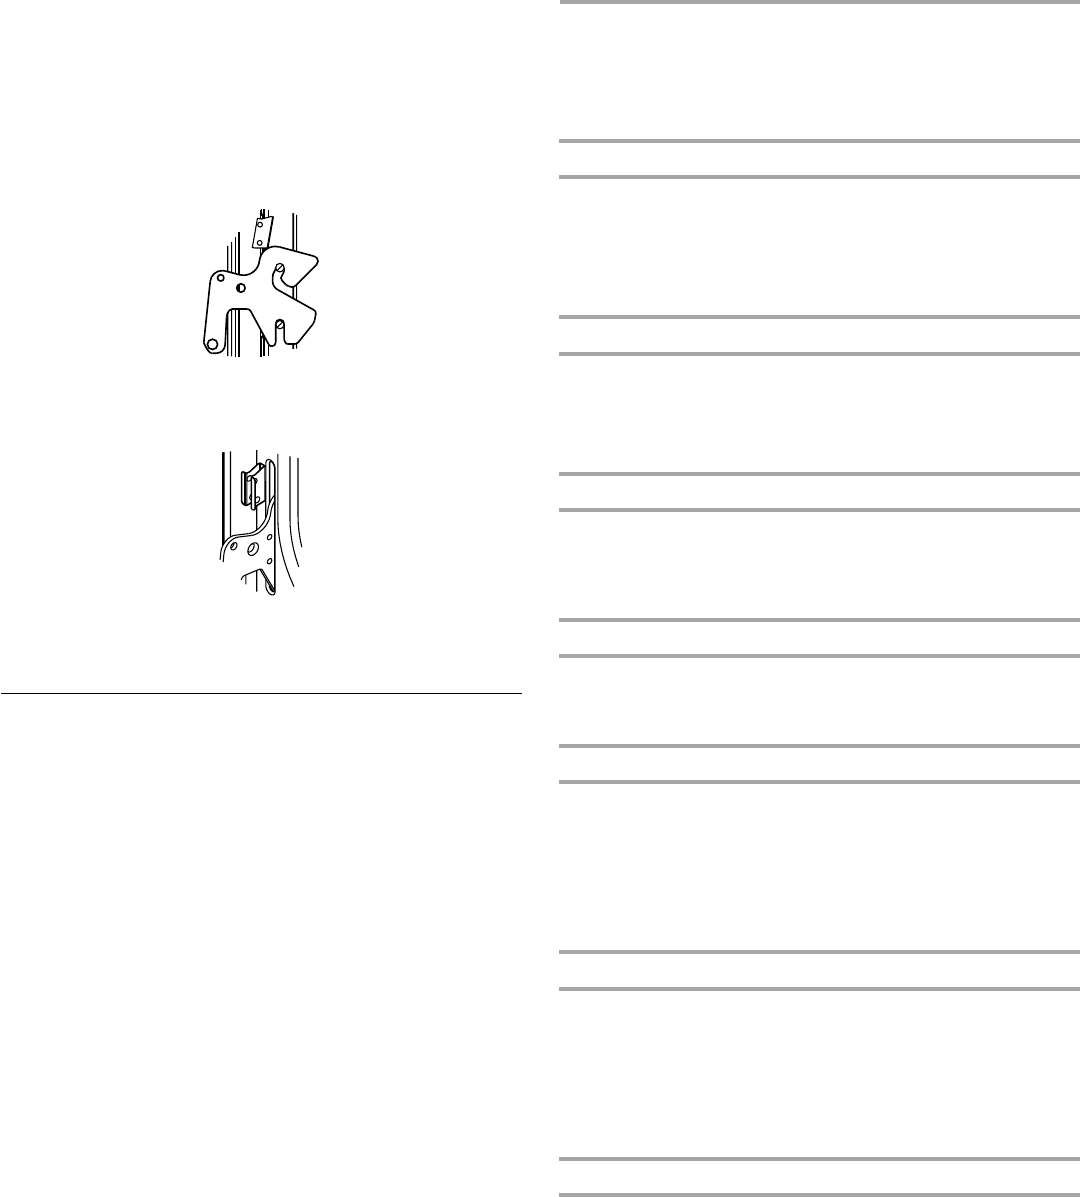
1. Grasp the door on the sides with your fingers on the front of
the door and your thumbs on the inside surface.
2. Hold oven door so that the top edge of each hinge hanger is
horizontal. Insert hinge hangers into the front frame hinge
slots.
3. Tilt top of door toward range. Slide hinge hangers down onto
front frame support pins. Make sure the hinge hangers are
fully seated and engaged on the support pins.
4. Insert the door stop clip with the angular surface at the top of
the frame hinge slot, then push in the bottom of the clip until
flanges are flush with the front frame.
5. Open the door completely and remove the door removal pins.
Save door removal pins for future use.
6. Close the door.
Storage Drawer
The storage drawer can be removed. Before removing, make sure
drawer is cool and empty.
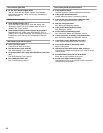
To Remove:
1. Pull drawer straight out to the first stop.
2. Lift up the back of the drawer and pull out.
To Replace:
1. Fit the ends of the drawer rails into the guides in the cavity.
2. Slide the drawer closed.
TROUBLESHOOTING
Try the solutions suggested here first in order to avoid the cost of
an unnecessary service call.
Nothing will operate
■ Is the power supply cord unplugged?
Plug into a grounded outlet.
■ Has a household fuse been blown or has the circuit
breaker been tripped?
Replace the fuse or reset the circuit.
Cooktop will not operate
■ Is the control knob set correctly?
Push in knob before turning to a setting.
■ On ceramic glass models, is the “Cooktop Lockout” set?
See “Cooktop Lockout” section.
Excessive heat around cookware on cooktop
■ Is the cookware the proper size?
Use cookware about the same size as the surface cooking
area, element or surface burner. Cookware should not extend
more than 1 in. (2.5 cm) outside the cooking area.
Hot Surface indicator light stays on
■ Does the Hot Surface indicator light stay on after control
knob(s) have been turned off?
See “Cooktop Controls” section.
Cooktop cooking results not what expected
■ Is the proper cookware being used?
See “Cookware” section.
■ Is the control knob set to the proper heat level?
See “Cooktop Controls” section.
■ Is the appliance level?
Level the appliance. See the Installation Instructions.
Oven will not operate
■ Is the electronic oven control set correctly?
See “Electronic Oven Control” section.
■ Has a delay start been set?
See “Timed Cooking” section.
■ On some models, is the Control Lock set?
See “Control Lock” section.
Oven temperature too high or too low
■ Does the oven temperature calibration need adjustment?
See “Oven Temperature Control” section.
■ On some models, does the cooling fan run during BAKE,
BROIL or CLEAN?
It is normal for the fan to automatically run when the oven is
in use. These helps cool the electronic control.


