


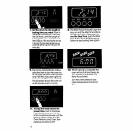
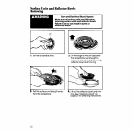
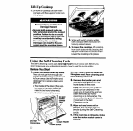

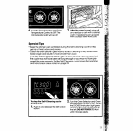


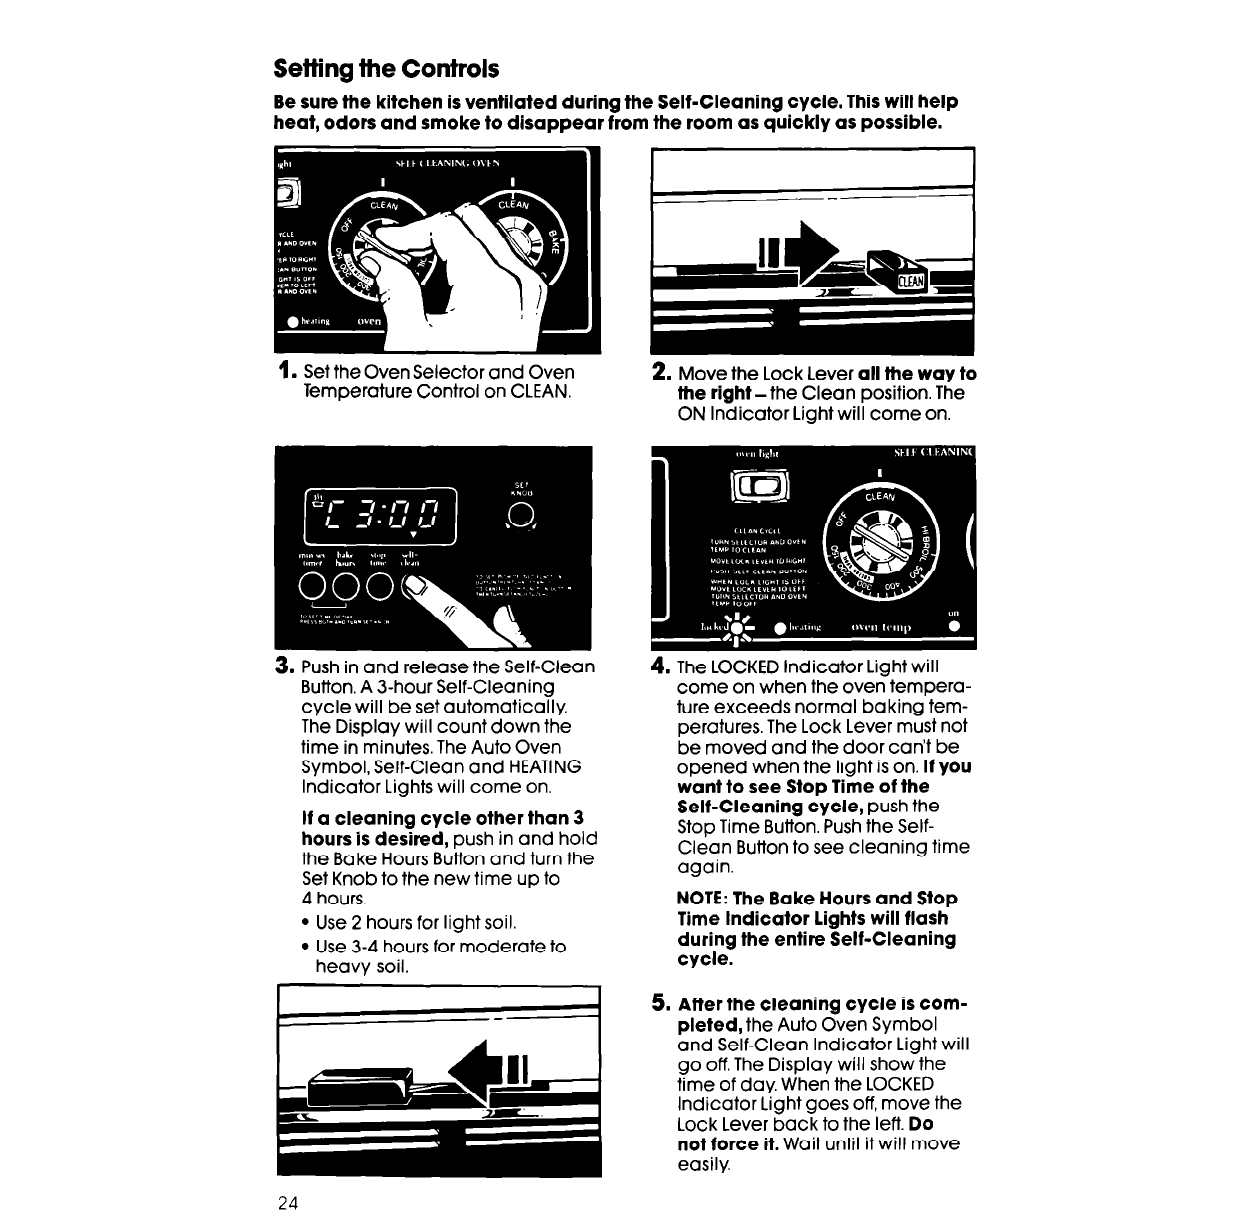
Setting the Controls
Be sure the kitchen is ventilated during the Self-Cleaning cycle. This will help
heat, odors and smoke to disappear from the room as quickly as possible.
1.
Set the Oven Selector and Oven
Temperature Control on CLEAN.
2.
Move the Lock Lever
all the way to
the right-the
Clean position. The
ON Indicator Light will come on.
3. Push in and release the Self-Clean
Button, A 3-hour Self-Cleaning
cycle will be set automatically.
The Display will count down the
time in minutes. The Auto Oven
Symbol, Self-Clean and HEATING
Indicator Lights will come on.
If a cleaning cycle other than 3
hours is desired,
push in and hold
the Bake Hours Button and turn the
Set Knob to the new time up to
4 hours.
l Use 2 hours for light soil.
l Use 3-4 hours for moderate to
heavy soil.
4. The LOCKED Indicator Light will
come on when the oven tempera-
ture exceeds normal baking tem-
peratures The Lock Lever must not
be moved and the door can’t be
opened when the light is on.
If you
want to see Stop Time of the
Self-Cleaning cycle,
push the
Stop Time Button. Push the Self-
Clean Button to see cleaning time
again.
NOTE: The Bake Hours and Stop
Time Indicator lights will flash
during the entire Self-Cleaning
cycle.
5. After the cleaning cycle is com-
pleted,
the Auto Oven Symbol
and Self-Clean Indicator Light will
go off. The Display will show the
time of day. When the LOCKED
Indicator Light goes off, move the
Lock Lever back to the left.
Do
not force it.
Wait until it will move
easily.
24