I
I Ii
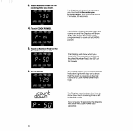
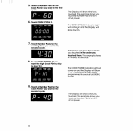
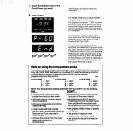
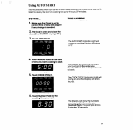
7. Touch the Number Pad for the
Cook Power you want.
The Display will show what you
touched.
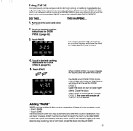
8. Touch START.
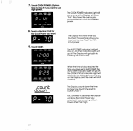
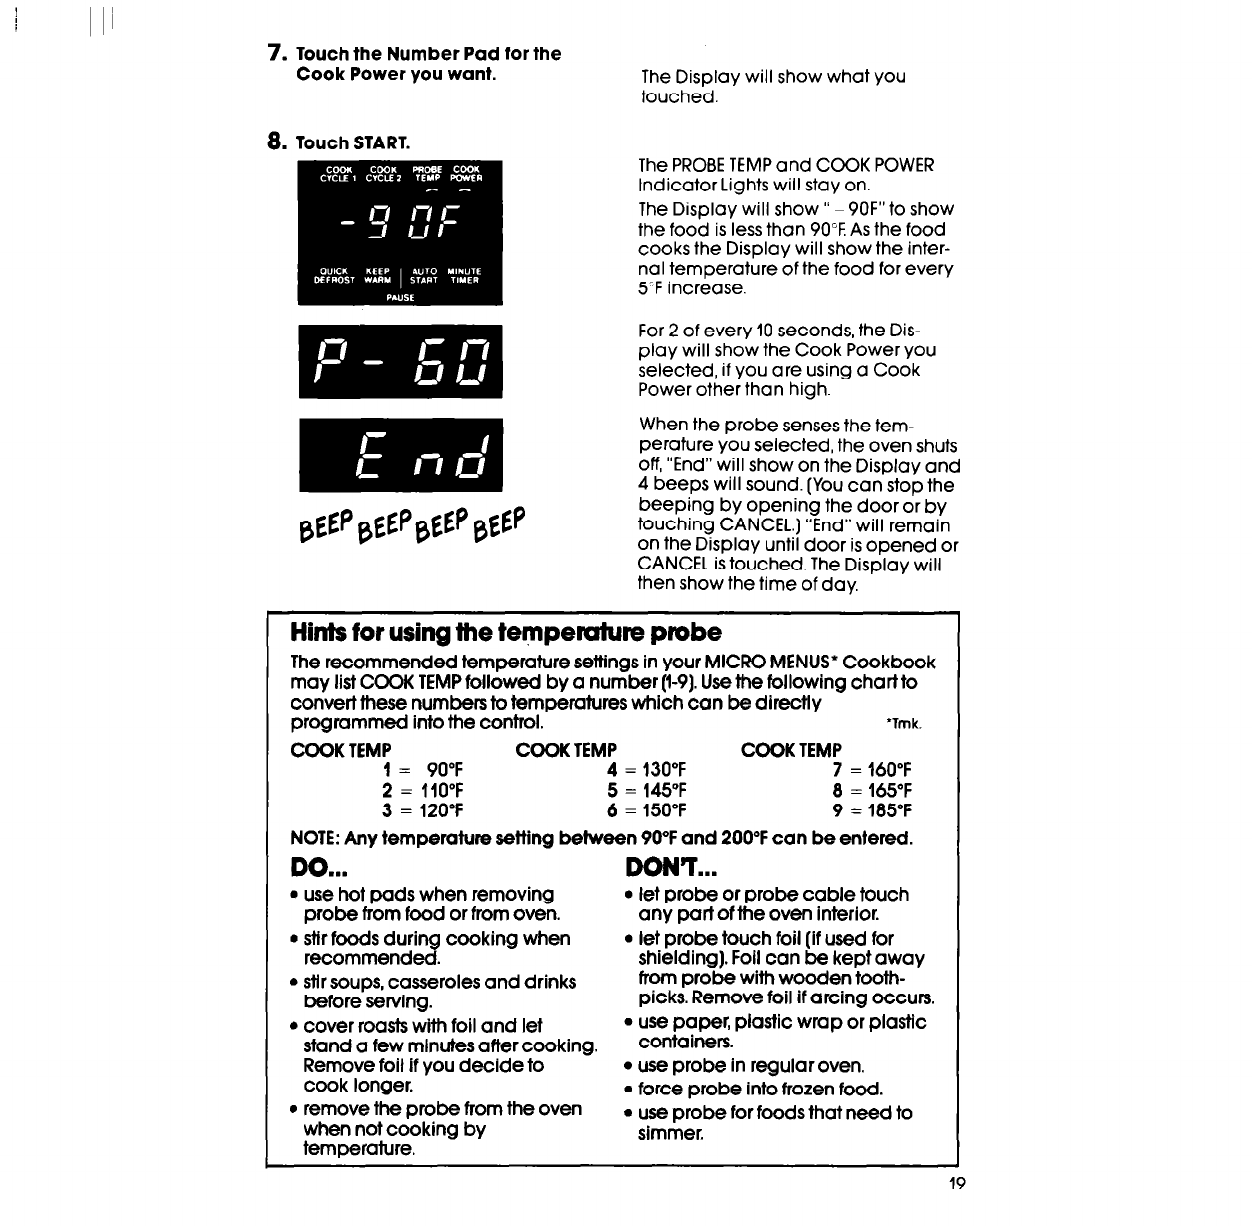
The PROBE TEMP and COOK POWER
Indicator Lights will stay on.
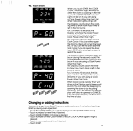
The Display will show ” ~ 9OF” to show
the food is less than 90°F As the food
cooks the Display will show the inter-
nal temperature of the food for every
5-F increase.
For 2 of every 10 seconds, the Dis-
play will show the Cook Power you
selected, if you are using a Cook
Power other than high.
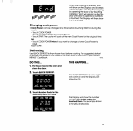
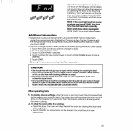
When the probe senses the tem-
perature you selected, the oven shuts
off, “End” will show on the Display and
4 beeps will sound. (You can stop the
beeping by opening the door or by
touching CANCEL.) “End” will remain
on the Display until door is opened or
CANCEL is touched. The Display will
then show the time of day,
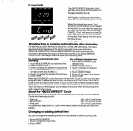
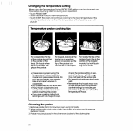
Hints for using the tempemture probe
The recommended temperature settings in your MICRO MENUS*
Cookbook
may
list COOK TEMP followed by a number (l-9). Use the following chart to
convert these numbers to tempemtures which can be directly
programmed into the control.
‘Tmk.
COOK TEMP
COOK TEMP
COOK TEMP
1 = 90°F 4 = 130°F 7 = 160°F
2 = 110°F
5 = 145°F
8 = 165°F
3 = 1209
6 = 150°F 9 = 185°F
NOTE: Any tempemture setting between 90°F and 200°F can be entered.
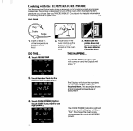
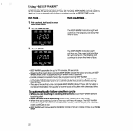
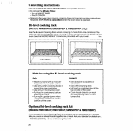
DO...
DONT...
l use hot pads when removing l let probe or probe cable touch
probe from food or from oven. any part of the oven interior.
l stir foods during cooking when l let probe touch foil (If used for
recommended.
shielding). Foil
can be
kept away
l stir soups, casseroles and drinks
from probe with wooden tooth-
before serving.
picks. Remove foil if arcing occurs.
l cover roasts with foil and let
l use paper, plastic wmp or plastic
stand a few minutes after cooking.
containers.
Remove foil if you decide to
l use probe in regular oven.
cook longer.
. force probe into frozen food.
l remove the probe from the oven
when not cooking by
l use probe for foods that need to
simmer.
temperature.


