


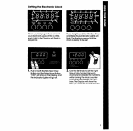

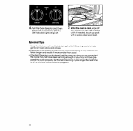
To avoid sickness and food waste when using the MEALTIMER’” control:
l
Do not use foods that will spoil while waiting for cooking to start, such as
dishes with milk or eggs, cream soups, and cooked meats or tlsh. Any
food that has to wait for cooking to start should be very cold or frozen
before it is put in the oven. MOST UNFROZEN FOODS SHOULD NEVER STAND
MORE THAN TWO HOURS BEFORE COOKING STARTS.
l
Do not use foods containing baking powder or yeast when using delay
start. They will not rise properly.
l
Do not allow food to remain in oven for more than two hours after end of
cooking cycle.
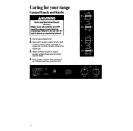
Other Operating Hints
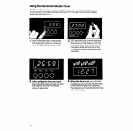
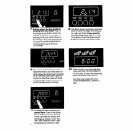
l If you want to check what you have programmed, press the button for the
function you want to check. The Display will show what you have programmed
for that function.
9 If you want to check the time of day, press the Min/Sec Timer and Bake Hours
Buttons. The Display will show the time of day.
l A rapidly flashing indicator light indicates an error in programming. Cancel
any entries and begin again.
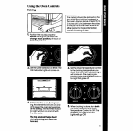
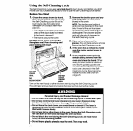
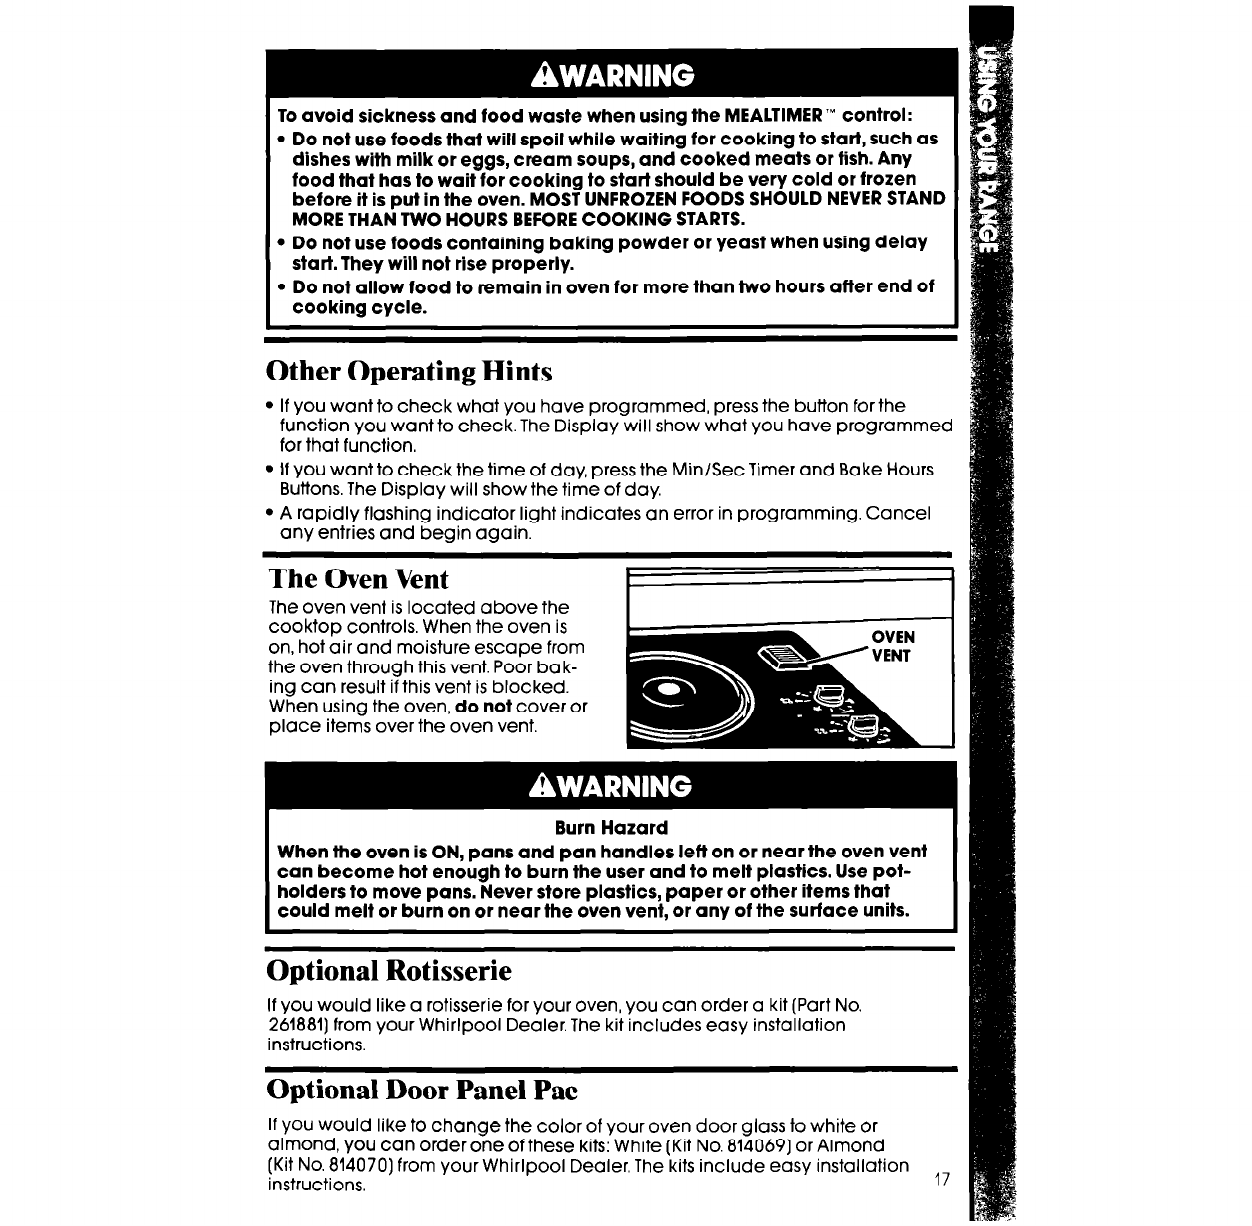
The Oven Vent
The oven vent is located above the
cooktop controls. When the oven is
on, hot air and moisture escape from
the oven through this vent. Poor bak-
ing can result if this vent is blocked.
When using the oven,
do not
cover or
place items over the oven vent.
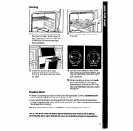
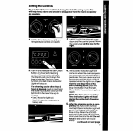
Burn Hazard
When the oven is ON, pans and pan handles left on or near the oven vent
can become hot enough to burn the user and to melt plastics. Use pot-
holders to move pans. Never store plastics, paper or other items that
could melt or burn on or near the oven vent, or any of the surface units.
Optional Rotisserie
If you would like a rotisserie for your oven, you can order a kit (Part No.
261881) from your Whirlpool Dealer. The kit includes easy installation
instructions.
Optional Door Panel Pat
If you would like to change the color of your oven door glass to white or
almond, you can order one of these kits: White (Kit No. 814069) or Almond
(Kit No. 814070) from your Whirlpool Dealer. The kits include easy installation
instructions,
,,