


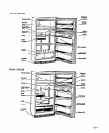

n
Change ice cube size with the dial or
lever on the side of the ice maker.
. Ice crescents are normally attached
at the comer. They break apart
easily.
.
. Normal sounds include water
running when the ice maker is
working and the thud of ice as it falls
into the bin.
. If ice is not being made fast enough
and more ice is needed, turn the
Refi-igerator Control to a higher
Good water quality is important
for good ice quality. It is not
recommended that you connect
the ice maker to a softened water
supply. If a softened water supply
cannot be avoided, it is important to
maintain the water softener so it
operates properly. Water softener
chemicals, such as salt from a
malfunctioning softener, can
damage the ice maker mold and
lead to poor quality ice.
number. Wait 24 hours, and if this
does not increase the ice supply,
Changing the light bulb(s)
(RTZOCK and RTZOAK have two bulbs)
turn the Freezer Control to A.
n
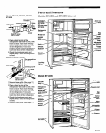
Raise the signal arm before you
remove the ice bin. When you
replace the bin, push it in all the
way. Then lower the arm to the ON
ElectricaI Shock Hazard
position.
. Cubes left in the bin for long periods
of time may develop an off-flavor,
like stale water. Throw old cubes
away. Cubes may also become
smaller if stored for a long time.
Unplug the refrigerator or discon-
nect the main electric power
supply to the refrigerator. Failure
to do so can result in electrical
shock or injury.
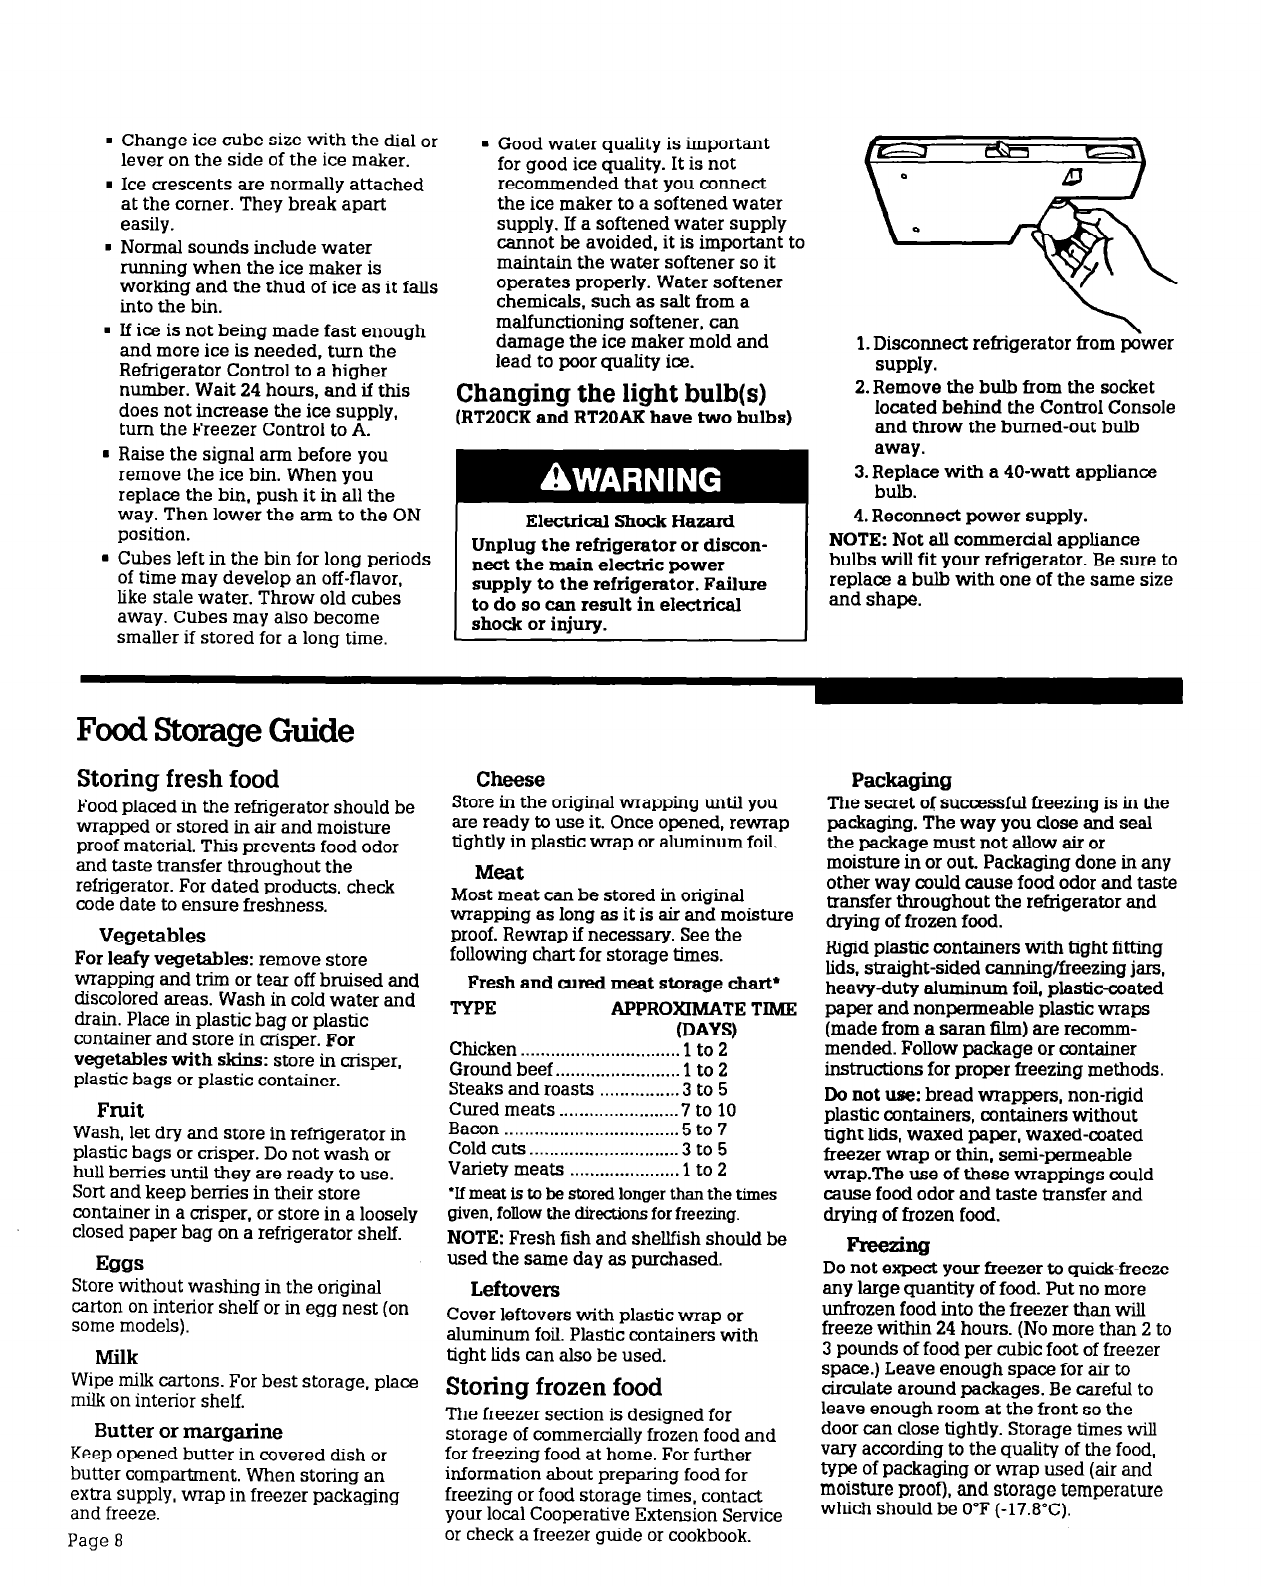
1. Disconnect refrigerator from
gwer
supply.
2.
Remove the bulb from the socket
located behind the Control Console
and throw the burned-out bulb
away.
3. Replace with a 40-watt appliance
bulb.
4. Reconnect power supply.
NOTE: Not aU commercial appliance
bulbs wiU fit your refrigerator. Be sure to
replace a bulb with one of the same size
and shape.
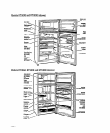
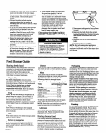
Food Storage Guide
Storing fresh food
Food placed in the refrigerator should be
wrapped or stored in air and moisture
proof material. This prevents food odor
and taste transfer throughout the
refrigerator. For dated products, check
code date to ensure freshness.
Vegetables
For
leafy vegetables: remove store
wrapping and trim or tear off bruised and
discolored areas. Wash in cold water and
drain. Place in plastic bag or plastic
container and store in crisper. For
vegetables with &ins: store in crisper.
plastic bags or plastic container.
Fruit
Wash, let dry and store in refrigerator in
plastic bags or crisper. Do not wash or
hull berries until they are ready to use.
Sort and keep berries in their store
container in a crisper, or store in a loosely
closed paper bag on a refrigerator shelf.
Store without washing in the original
carton on interior shelf or in egg nest (on
some models).
Milk
Wipe milk cartons. For best storage, place
milk on interior shelf.
Butter or margarine
Keep opened butter in covered dish or
butter compartment. When storing an
exna supply, wrap in freezer packaging
and freeze.
Page 8
Store in the original wrapping until you
Cheese
are ready to use it. Once opened, rewrap
tightly in plastic wrap or aluminum foil.
Meat
Most meat can be stored in original
wrapping as long as it is air and moisture
proof. Rewrap if necessary. See the
following chart for storage times.
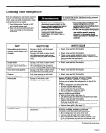
Fresh and cured meat storage chart*
TYPE APPROXIMATE TIME
(DAYS)
Chicken . . . . . . . . . . . . . . . . . . . . . . . . . . . . . . . . 1
to 2
Ground beef . . . . . . . . . . . . . . . . . . . . . . . . . 1
to 2
Steaks and roasts
. . . . . . . . . . . . . . . . 3 to 5
Cured meats _....................... 7 to 10
Bacon . . . . . . .._.......................... 5 to 7
Cold cuts . . . . . . . . . . . . . . . . . . . . . . . . . . . . . . 3
to 5
Variety meats . .._.................. 1 to 2
‘If meat is to be stored longer than the times
given, follow the directions for freezing.
NOTE: Fresh fish and shellfish should be
used the same day as purchased.
Leftovers
Cover leftovers with plastic wrap or
aluminum foil. Plastic containers with
tight lids can also be used.
Storing frozen food
The freezer section is designed for
storage of commercially frozen food and
for freezing food at home. For further
information about preparing food for
freezing or food storage times, contact
your local Cooperative Extension Service
or check a freezer guide or cookbook.
Packaging
The secret of successful freezing is in the
packaging. The way you close and seal
the package must not allow air or
moisture in or out. Packaging done in any
other way could cause food odor and taste
uansfer throughout the refrigerator and
drying of frozen food.
Rigid plastic containers with tight fitting
lids, straight-sided
canning/freezing jars,
heavy-duty ahnninum foil, plastic-coated
paper and nonpermeable plastic wraps
(made from a saran film) are recomm-
mended. Follow package or container
instructions for proper freezing methods.
Do not use: bread wrappers, non-rigid
plastic containers, containers without
tight lids, waxed paper, waxed-coated
freezer wrap or thin, semi-permeable
wrap.The use of these wrappings could
cause food odor and taste transfer and
drying of frozen food.
Free2ing
Do not expect your freezer to quick-freeze
any large quantity of food. Put no more
unfrozen food into the freezer than will
freeze within 24 hours. (No more than 2 to
3
pounds of food per cubic foot of freezer
space.) Leave enough space for air to
circulate around packages. Be careful to
leave enough room at the front so the
door can close tightly. Storage times will
vary according to the quality of the food,
type of packaging or wrap used (au and
moisture proof), and storage temperature
which should be 0°F (-17.8”C).