


8
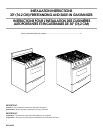
INSTALLATION INSTRUCTIONS
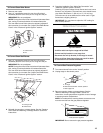
Unpack Range
1. Remove shipping materials, tape and protective film from
range. Keep cardboard bottom under range. Remove oven
racks and parts package from inside oven.
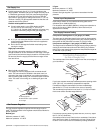
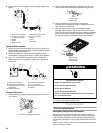
2. To place range on it’s back, take 4 cardboard corners from
the carton. Stack one cardboard corner on top of another.
Repeat with the other 2 corners. Place them lengthwise on
the floor behind the range to support the range when it is laid
on its back. Using 2 or more people, firmly grasp the range
and gently lay it on its back on the cardboard corners.
3. Pull cardboard bottom firmly to remove.
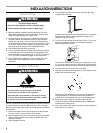
4. Use an adjustable wrench to loosen the leveling legs. Adjust
the leveling legs to the correct height. Leveling legs can be
loosened to add up to a maximum of 1" (2.5 cm). A minimum
of ³⁄₁₆" (5.0 mm) is needed to engage the anti-tip bracket.
5. Place cardboard or hardboard in front of range. Using 2 or
more people, stand range back up onto cardboard or
hardboard.
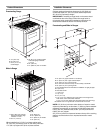
Install Anti-Tip Bracket
Contact a qualified floor covering installer for the best procedure
for drilling mounting holes through your type of floor covering.
Before moving range, slide range onto shipping base, cardboard
or hardboard.
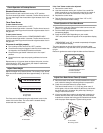
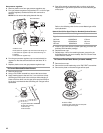
1. Remove template from the anti-tip bracket kit (found inside
the oven cavity) or from the back of this manual.
2. Place template on the floor in cabinet opening so that the left
edge is against cabinet and top edge is against rear wall,
molding or cabinet.
3. Tape template into place.
4. If countertop is not flush with cabinet opening edge, align
template with overhang.
If cabinet opening is wider than that specified in the “Location
Requirements” section, adjust template so range will be
centered in cabinet opening.
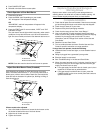
5. To mount anti-tip bracket to wood floor, drill two ¹⁄₈" (3.2 mm)
holes at the positions marked on the bracket template.
Remove template from floor.
To mount anti-tip bracket to concrete or ceramic floor, use a
³⁄₁₆" (4.8 mm) masonry drill bit to drill 2 holes at the positions
marked on the bracket template. Remove template from floor.
6. Tap plastic anchors into holes with a hammer.
7. Align anti-tip bracket holes with holes in floor. Fasten anti-tip
bracket with screws provided.
Depending on the thickness of your flooring, longer screws
may be necessary to anchor the bracket to the subfloor.
Longer screws are available from your local hardware store.
8. Move range close enough to opening to allow for final
electrical connection. Remove shipping base, cardboard or
hardboard from under range.
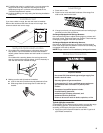
9. Move range into its final location making sure rear leveling leg
slides into anti-tip bracket.
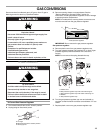
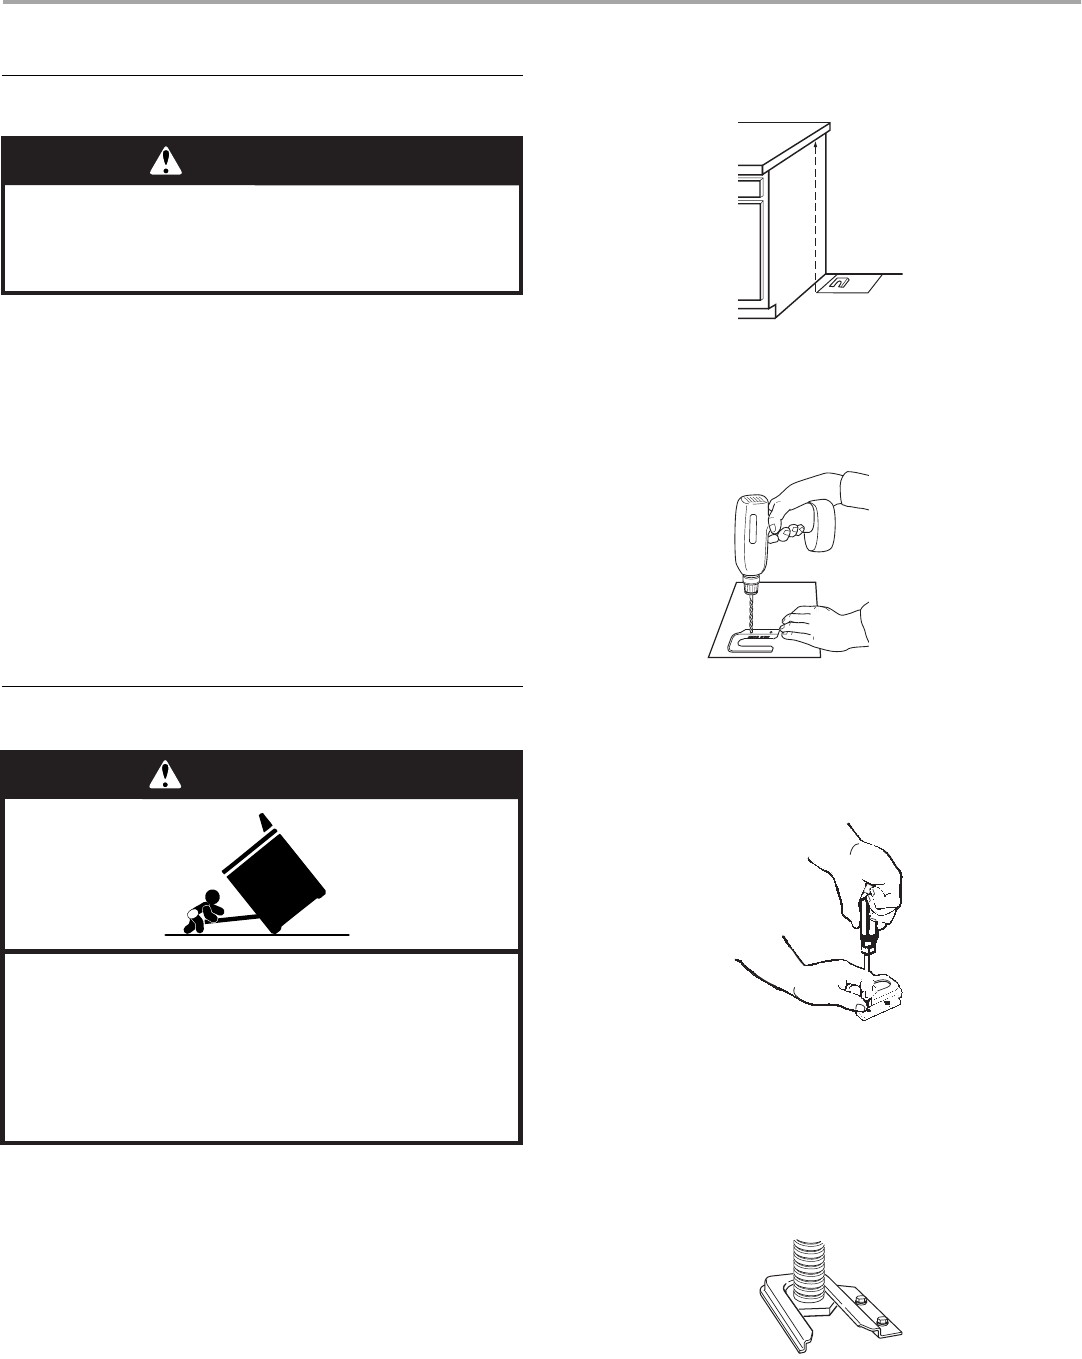
WARNING
Excessive Weight Hazard
Use two or more people to move and install range.
Failure to do so can result in back or other injury.
WARNING
Tip Over Hazard
A child or adult can tip the range and be killed.
Connect anti-tip bracket to rear range foot.
Reconnect the anti-tip bracket, if the range is moved.
Failure to follow these instructions can result in death
or serious burns to children and adults.