10
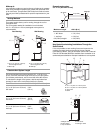
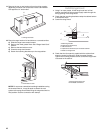
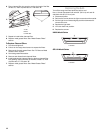
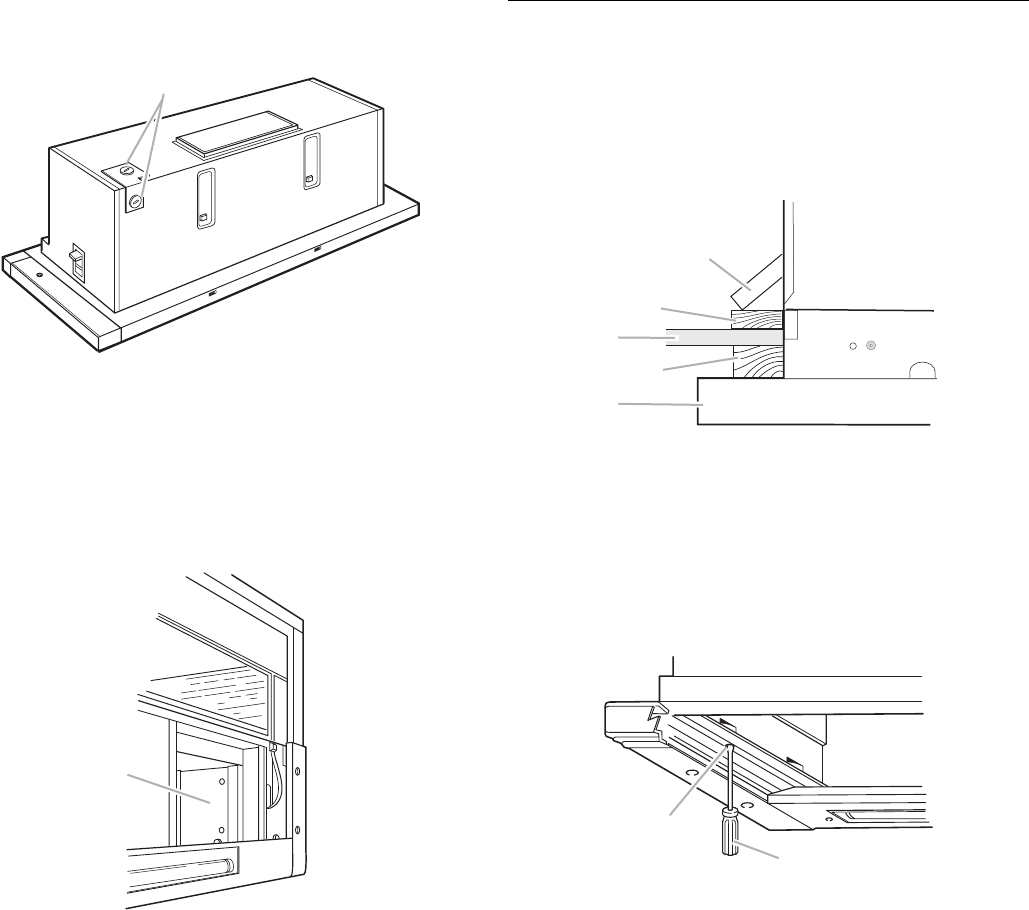
11. Remove the top or rear knockout from the wiring opening,
depending on which one will be used. Install a UL listed or
CSA approved ½" strain relief.
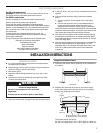
12. Place the range hood on its back side on a covered surface.
a) Slide the range hood screen forward.
b) Remove the metal grease filters. See “Range Hood Care”
section.
c) Remove the terminal box cover.
d) Close the range hood screen.
e) Screw the mounting brackets up to the top position.
NOTE: For some non-vented (recirculating) installations using
the charcoal filter kit, it may be easier to attach the vent
system to the range hood before lifting the range hood into its
final position. Seal the connection with clamps.
Install Range Hood
1. Using 2 or more people, lift the range hood into its final
position and feed the home power supply cable through the
wiring opening in the range hood.
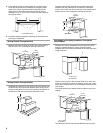
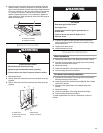
2. Check that the mounting brackets overlap the cabinet bottom
or wood filler strips.
3. Center the range hood.
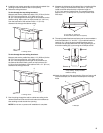
4. Check that the front panel is parallel with the cabinet front
when the screen is pushed in. Slide the screen forward.
Tighten the mounting bracket screws so that the range hood
is secured to the cabinet.
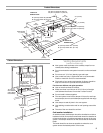
A. Wiring knockouts
A. Terminal box cover
A
A
A. Mounting bracket
B. Optional wood filler strip
C. Cabinet bottom
D. Optional wood filler strip for recessed cabinet
E. Slide-out range hood
A. Mounting bracket screw
B. Flat-blade screwdriver
A
B
C
D
E
A
B


