Page 31
STANDARD CONTROLLER FUNCTIONS
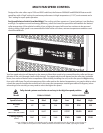
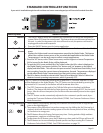
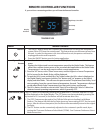
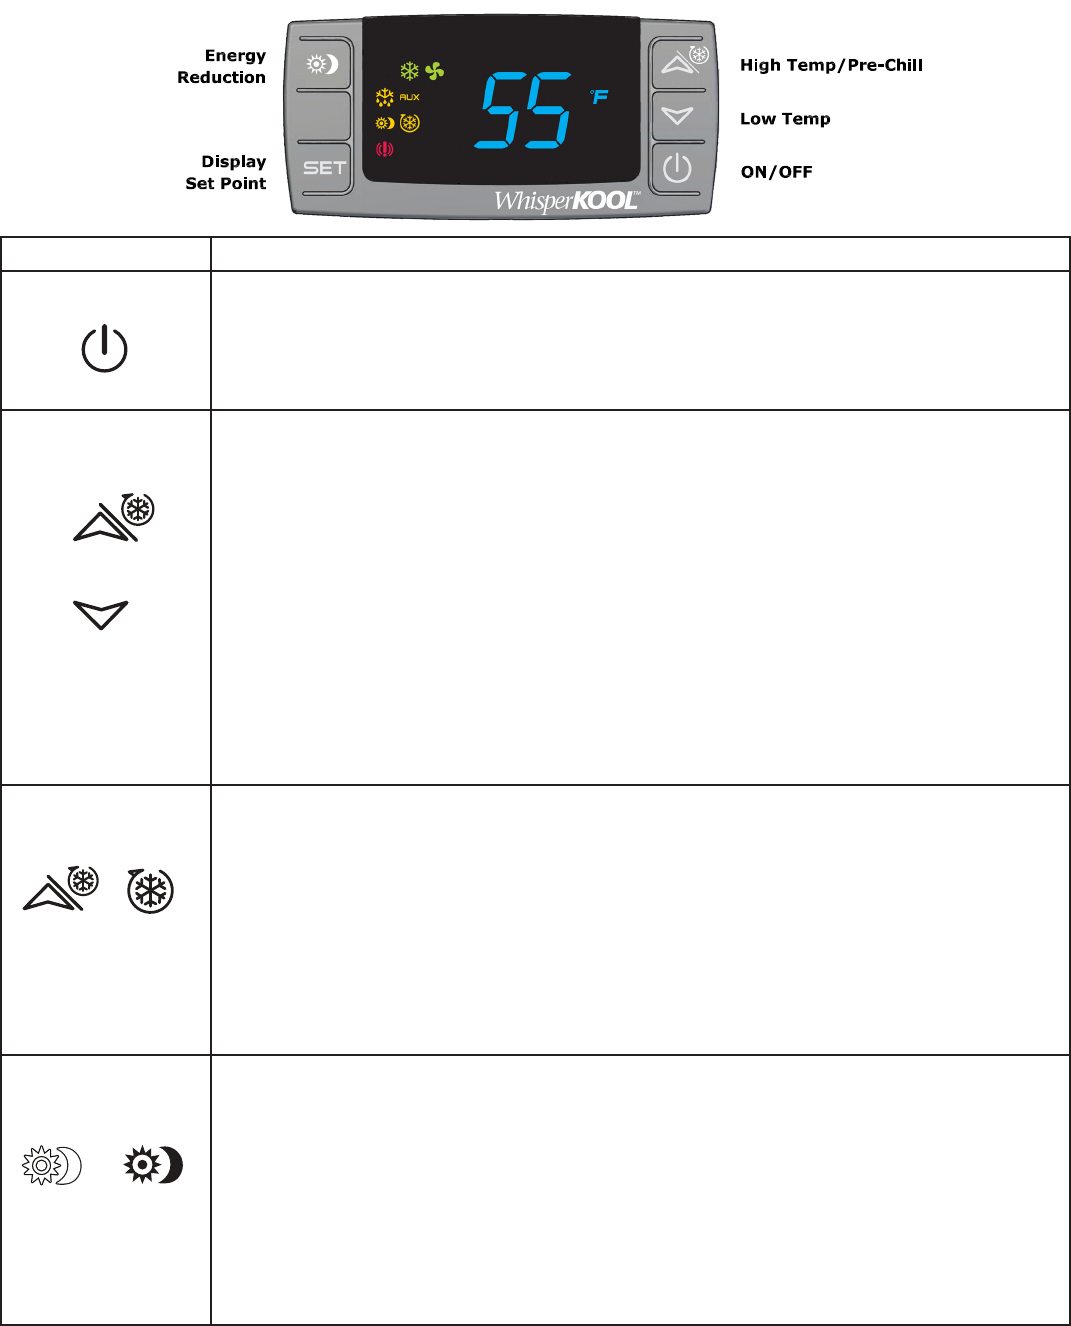
If your unit is installed through the wall and does not have a remote keypad you will have the Standard Controller.
Button/Symbol Normal Functions
ON/OFF • The ON/OFF button allows the customer the convenience of turning the refrigeration
system ON or OFF, from the control panel. This feature does not disconnect power from
the unit. In order for the power to be shut o from the unit, the power cord must be
unplugged from the wall receptacle.
• Press the ON/OFF button once for button application.
Up and Down
Arrows
• Use these buttons to scroll up or down the CPSM (Customer Preference Selection Mode)
menu.
• Displays the Highest and Lowest temperature sensed by the Bottle Probe. This feature
allows the customer instant access to the recorded data applicable to the Bottle Probe
Temperatures, it can be easily reset to reect current temperatures.
1. Press the “UP” arrow, or the “Down” arrow once, and the Highest or Lowest Temperature
(Hi/Lo) sensed by the Bottle Probe, will be displayed.
2. To reset the Hi/Lo, press and hold the “Set” button when the Hi/Lo value is displayed on
the Digital Display, continue to hold the “Set” button until “rst” appears on the digital
display and then blinks. This will erase the past recorded “Temperature Data History” and
start recording, from the current time and temperature, forward. Temperatures displayed
would reect Bottle Probe Temperatures from that point in time, and beyond.
3. The Hi/Lo feature should be reset at initial “Start-Up” and after the Cellar or Cabinet has
obtained normal operating temperatures, which is generally 55°F.
Cellar PreChill (CPC) The CPC Feature is activated by pressing the Up button for 3-5 seconds, and the CPC logo
will be displayed on the digital display. The CPC feature can be terminated by pressing the
Up button for 3-5 seconds, or the feature will self terminate after 6 hrs.
1. The (CPC) Feature may be used to Pre-Chill the Cellar prior to loading it with Warm
Product. The feature will shift the Set Point down to a lower setting of 52°F, for the next 6
hours. After the 6 hour time period, the Set Point will automatically return to the original
Set Point.
2. The CPC feature can be conveniently adjusted to the customer’s specic needs, by ac-
cessing the “Customer Preference Select Mode” (CPSM). See Customer Preference Select
Mode Instructions.
Energy Reduction
(ER)
1. The ER feature is activated by pressing the ER button one time, and the ER logo will ap-
pear on the digital display.
2. The purpose of the ER feature is to reduce energy cost, by shifting the Set Point up by 4
degrees, which will allow the cooling system to run for shorter periods of time, resulting
in a reduction in energy cost.
3. The ER feature allows for Energy Savings at any time - During periods of high ambient
temperatures, vacations or business travel.
4. To deactivate the ER feature, press the ER button one time, and the ER logo will turn o.
5. The ER feature can be conveniently adjusted specic need by accessing the “Customer
Preference Select Mode” (CPSM). See CPSM Instructions on page 32.


