Page 18 PT-EXPL 020111
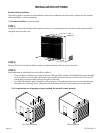
Exterior Grille Installation
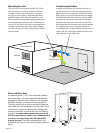
The exterior grille is required on all installations where the condenser side of the unit is exposed to the outside
of the dwelling (i.e. rain and weather).
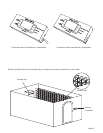
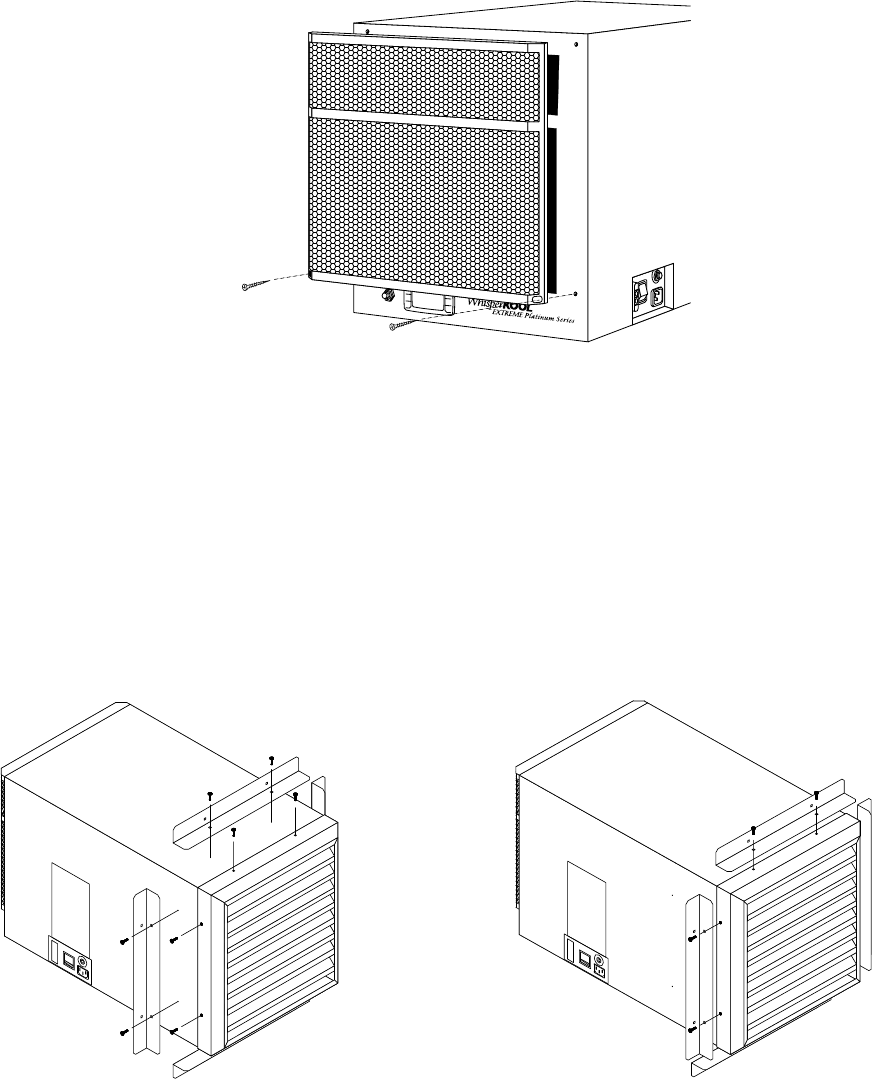
The Condenser Grille must be removed.
STEP 1:
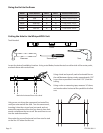
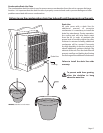
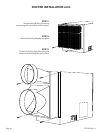
Locate the screws at the bottom of the grille and remove. Using medium force, push the grille upward and lift
the grille away from the unit.
STEP 2:
Remove Filter from Condenser Grille and place inside the Exterior Grille to protect the coils.
STEP 3:
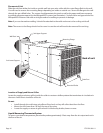
Now determine at what depth the unit will be installed:
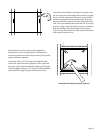
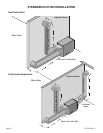
• For a non-ush installation (i.e. holes location #1 WhisperKOOL retrot or #2 Middle Wall), place the grille
on the condenser end and line up the holes on the grille with the holes on unit location #3. Use the 10
self tapping screws provided to fasten the grille to the unit.
• For a ush installation, place the grille on the condenser side and then place the mounting bracket over
the grille sides, “stacking” them. Align the holes and fasten with the 10 self-tapping screws provided.
* It is required to use self tapping screws provided. Do not drill screws into unit.
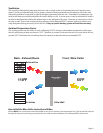
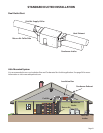
INSTALLATION OPTIONS
Non-Flush Installation Flush Installation
TM


