7
adequate ventilation and access for service. Never install or operate the unit in an enclosed area, such
as a closed cabinet.
Before connecting the upright freezer to the power source, let it stand upright for approximately
4 hours. This will reduce the possibility of a malfunction in the cooling system from handling
during transportation.
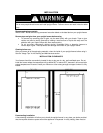
To ensure proper service access and ventilation, allow at least 4” clearance at rear, and 1” at
top and sides. The installation should allow the upright freezer to be pulled forward for servicing
if necessary.
When installing the upright freezer under a counter, follow the recommended spacing
dimensions shown.
This unit MUST be installed in an area protected from the elements, e.g., wind, rain, water
spray or drips. Do NOT use the upright freezer in outdoor setting.
The upright freezer should not be located next to ovens, grills or other high heat resources.
Too much humidity in the air will cause frost to form quickly on the evaporator requiring more
frequent defrosting of the upright freezer.
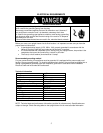
• The upright freezer must be installed with all electrical requirements followed.
• The unit should be located on a hard and level surface that can support the unit when it is full. It
is important for the upright freezer to be level in order to work properly. If needed, you can
adjust the height of the upright freezer by turning the feet. See the “Leveling the Upright
Freezer” section.
• A standard electrical supply (115 VAC only, 60 Hz, 10A), properly grounded in accordance with
National Electrical Code and local codes and ordinances is required.
• IMPORTANT: Do not kink or pinch the power supply cord between the upright freezer and wall
or cabinet.
Leveling the upright freeze
r
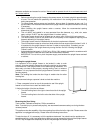
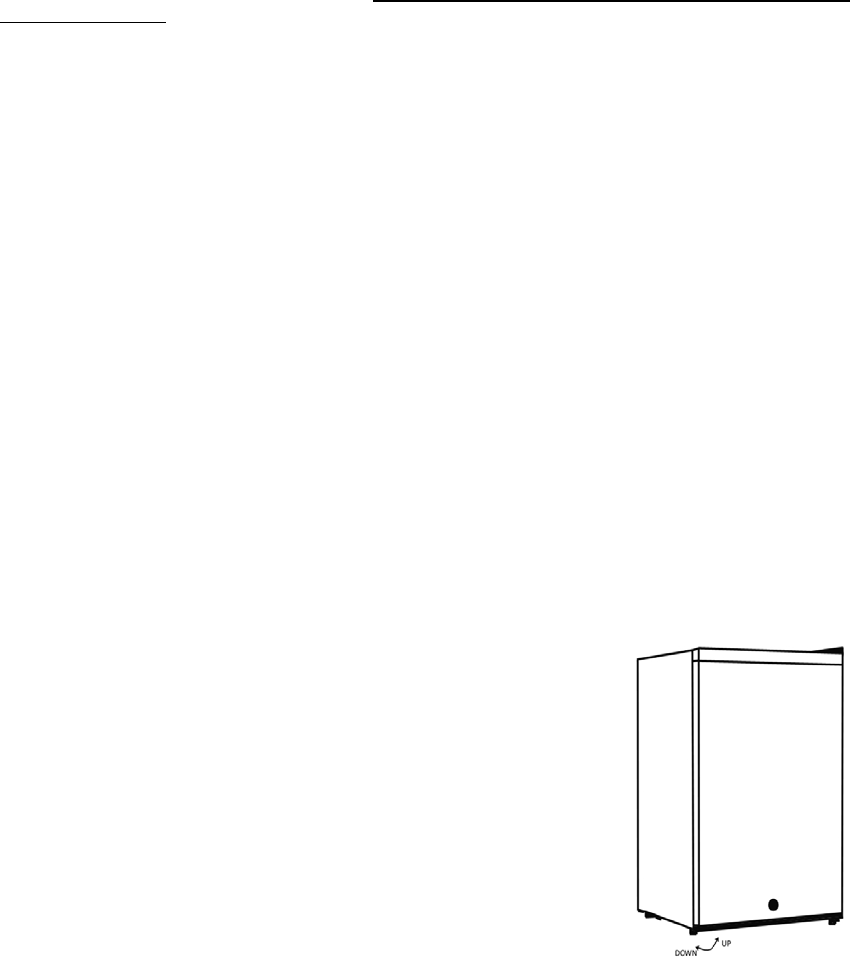
It is important for the upright freezer to be leveled in order to work
properly. It can be raised or lowered by turning the two feet on the bottom
of the machine. If the upright freezer is not leveled during installation. The
doors may not close or seal properly, causing cooling, frost, or moisture
problems. It is very important that the upright freezer is at level in order to
function properly.
Note: The leveling foot under the door hinge is smaller than the other
leveling foot.
We recommend using a carpenter’s level to check the machine.
1. Place a carpenter’s level on top of the product to see if the upright
freezer is level from front to back and side to side.
2. Adjust the height of the feet as follows:
• Turn the leveling feet to the right to lower that side of the upright
freezer
• Turn the leveling feet to the left to raise that side of the upright
freezer.
Reversing the Door Swing
Tools needed: Flathead screwdriver, Phillips screwdriver
Note: To avoid injury to yourself and property, we recommend someone assist you during the door
reversal process
This appliance has the capability of the door opening from either the left or right side. Please ensure the
appliance is unplugged and empty. Please follow the following instructions:
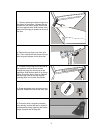
To take the door off, it is necessary to tilt the appliance backward. You should rest the appliance on
something solid (e.g. chair) just below the top panel so you can access the bottom of the upright freezer.
DO NOT lay the appliance completely flat as this may damage the coolant system.


