- 10 -
ADJUSTMENTS
LEVELING
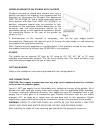
1. Place a level on the griddle.
2. Adjust legs by turning the bullet feet at the bottom of each leg. Using pliers or a
crescent wrench, turn the feet counter-clockwise to increase height, and clockwise to
decrease height until leveling is achieved. Do not extend the legs more than 1-¾”.
CALIBRATION (AGT Models only)
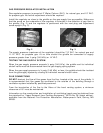
1. Each thermostat controls a 12” zone of the griddle. Using a suitable temperature
measurement device (i.e. – Surface Probe), observe the temperatures at the center
points of the cooking zones. These points are located by starting 6” from either side
and every 12” across the width of the griddle, with all points located 12” back from the
front edge of the griddle plate.
2. Set thermostats to 350°F and allow the temperature to stabilize.
3. Measure the temperature for that zone. The temperature should be 350°F ±35°F. If
not, continue to Step 3.
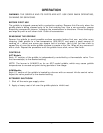
4. Carefully loosen the knob set screw. DO NOT allow the knob to turn. Carefully remove
the knob from the thermostat shaft, exposing the temperature dial. Loosen screws on
the temperature dial and adjust to that the temperature indicated by the knob arrow
matches the griddle plate temperature reading. Knob will have to be placed back on
the shaft to verify adjustment.
IMPORTANT: NEVER ADJUST THE SCREW IN THE CENTER OF THE THERMOSTAT
SHAFT. This will ruin the factory calibration; the thermostat will no longer
operate properly and will need to be replaced.
5. Once calibration is achieved, tighten the temperature dial screws and knob set screws.
PILOT ADJUSTMENT
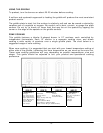
Using a flathead screwdriver, turn the slotted hex-head pilot adjustment screw clockwise
to decrease the flame, and counterclockwise to increase the flame. Pilot adjustments
should only be performed by Service Personnel.


