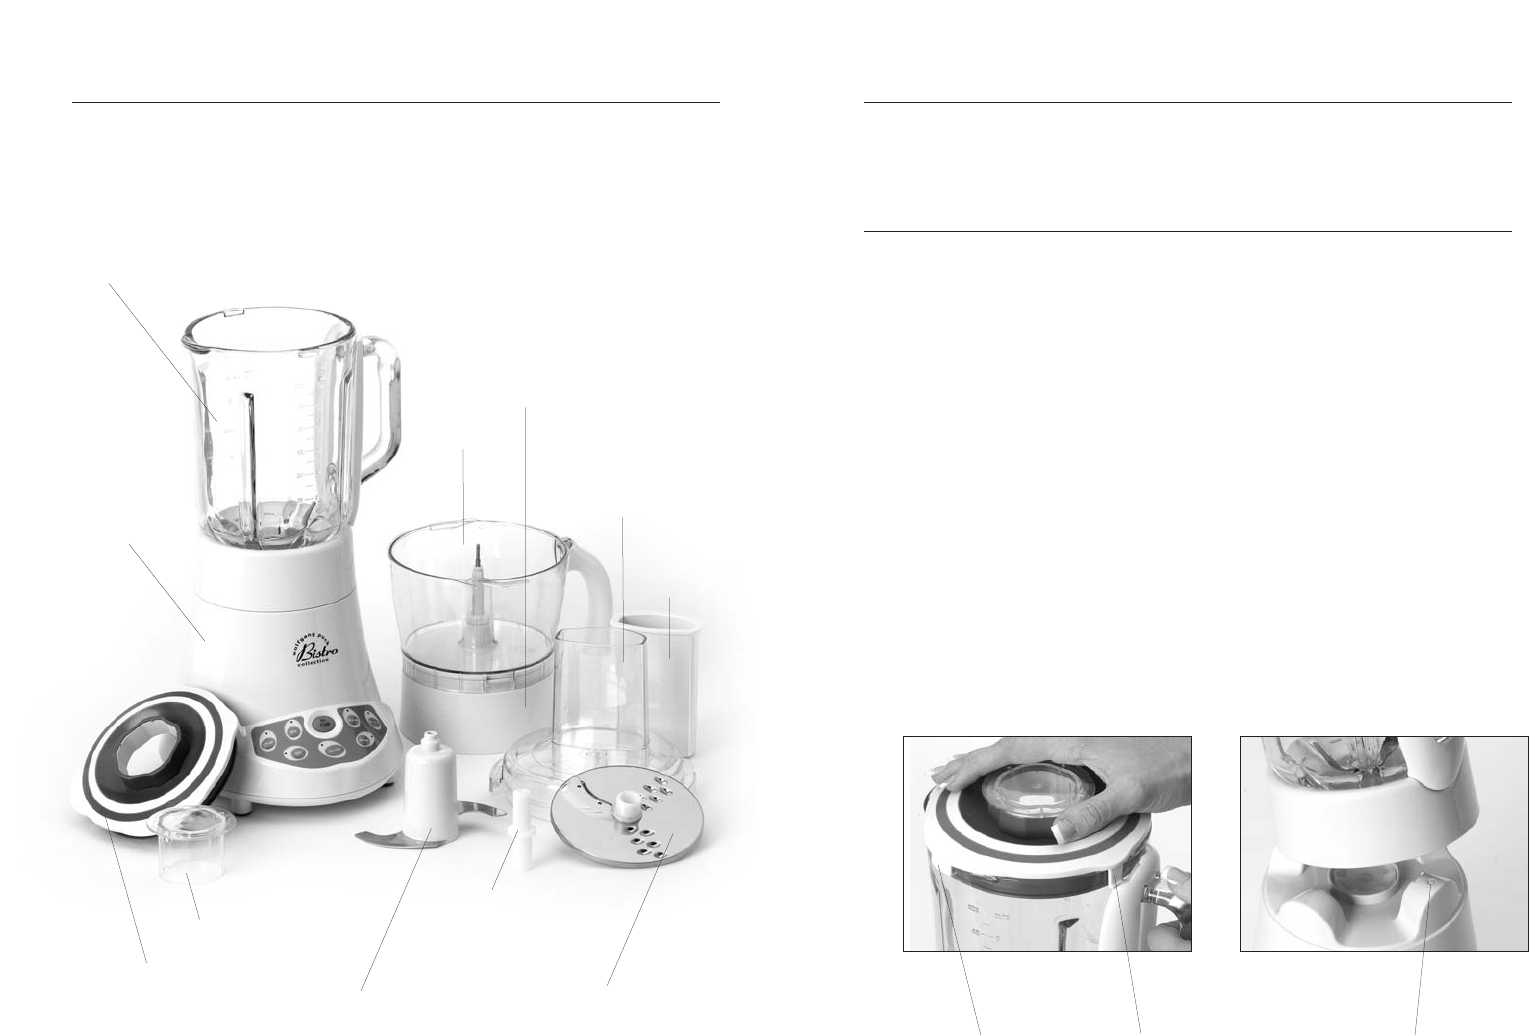
Know Your
Blender / Food Processor
5 6
Before Your First Use
Wash all parts, except motor base and food processor gearbox, in warm soapy water.
Never immerse motor base or gearbox in water as this will damage the unit.
Assembling
Your Blender
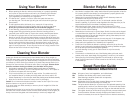
1 For safety purposes your blade assembly is designed to not fully remove from
your blender jar.
2
Your blender lid is designed to defeat operation of the blender unless the lid is
properly in place. You will notice three tabs on your blender lid, and two tabs on
your blender jar. The straight tab on the blender lid is used to engage the safety
interlock in the handle (Figure 1). Place the blender jar in front of you with the
handle facing to the right. Place the lid on the jar with the lid tabs to the left of
the tabs on the glass. Turn the lid counter clockwise until the straight tab is fully
engaged in the handle interlock above the handle and you cannot turn the lid
any further.
3
Place the filler cap into the lid and place the blender jar on the motor base with
the handle facing to the right of the control panel. This will engage the safety
activator pin as referenced in Figure 2.
4
Plug the blender into a 120-volt 60 Hz AC only outlet. Your blender is now ready
for use.
5
Before removing the blender jar from the motor base after use, always unplug the
unit first and make sure all lights on the control panel are out.
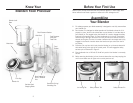
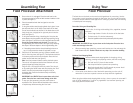
Filler Cap
Blender Jar &
Base
Motor base
Work Bowl
Stainless Steel
Chopping Blade
Reversible Slicing /
Shredding Disc
Stem Adapter for
Slicer / Shredder
Disc
Food
Pusher
Food Processor
Cover with
Feed Tube
Food Processor Gearbox
Blender Lid
Safety Interlock Tab
Jar Locking Tab
Figure 1
Figure 2
Safety Activator Pin


