


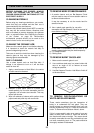
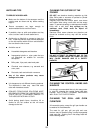

3. Hold the door panel securely in place with one
hand before removing the screws completely with
the other hand.
4. Using both hands, gently tilt the top of the door
panel towards you, lift slightly to disengage the
locators from the two bottom brackets.
5. Clean the outer and inner glass using hot soapy
water or Hob Brite may be used with care. DO
NOT use Hob Brite on the Stainless Steel or
painted finishes. DO NOT try to clean the foil
which is inside the door. The foil is there to help
keep the door cool, if it is damaged it will not
work. Ensure that all parts are well rinsed and
thoroughly dried before attempting to replace the
outer door panel.
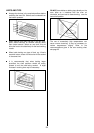
TO REPLACE THE OUTER PANEL
1. Holding the door panel with both hands, gently
place the locators into the holes of the brackets
at the bottom of the oven door.
2. Push the top of the oven door panel towards the
oven door, ensuring the screw location holes line
up.
3. Hold the panel in place with one hand and insert
the cross head screws into the location holes
with the other hand. Give the screws one turn to
ensure the glass is secure.
4. Tighten the screws positively with a Pozidrive
screwdriver before closing the oven door.
Do not attempt to use the oven without the
outer panel being in place.
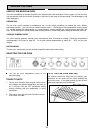
TO CLEAN THE INNER GLASS DOOR
PANELS
Clean the inner door glass panels using a soft cloth
and hot water to which a little washing up has been
added. If the inner panel is heavily soiled, Hob Brite
may be used. Do not use abrasive cleaning
materials on the door glass. Ensure that all parts are
well rinsed and thoroughly dried before attempting to
replace the glass.
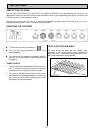
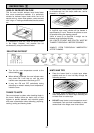
REPLACING AN OVEN LIGHT BULB
The type of bulb required is a 300°C 25 watt small
Edison Screw. Part number 572 491 5431-00/1.
(Available through your local Service Force Centres).
CAUTION: Disconnect the appliance from the
electricity supply before replacing the bulb.
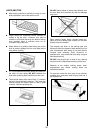
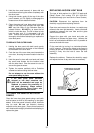
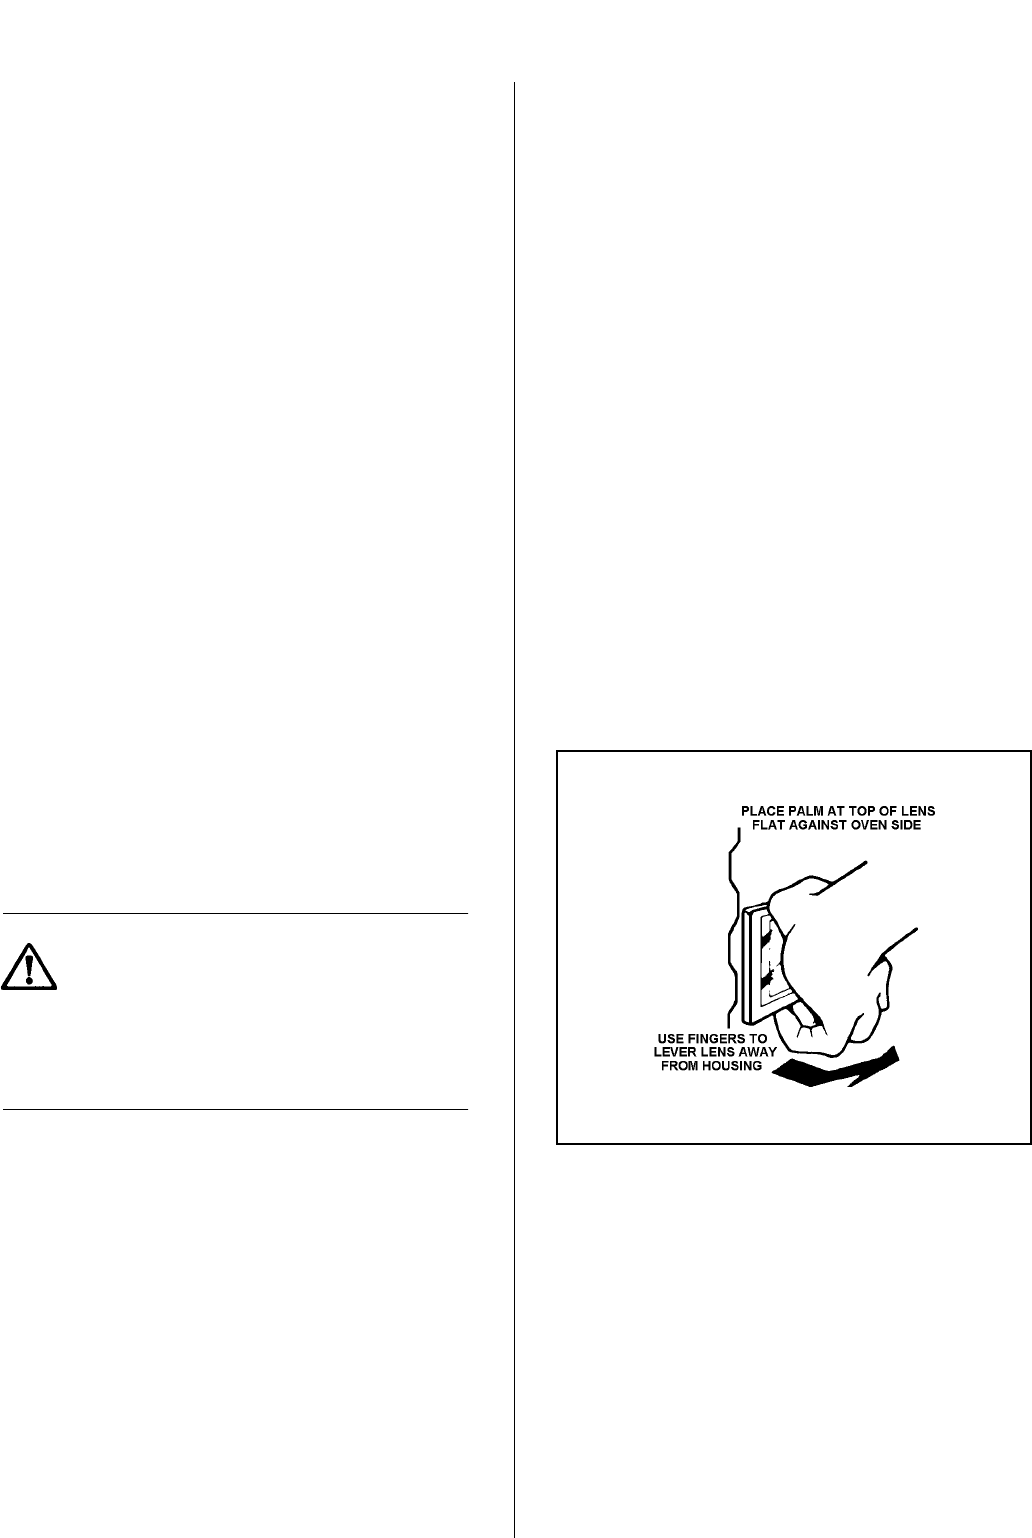
Open door and remove the shelves to enable easy
access to the oven light assembly. Insert a flat blade
screwdriver between the oven side and the glass
which covers the bulb.
Support the glass with your hand and prise out
sufficiently to release the glass cover. Unscrew the
bulb in an anticlockwise direction until it is possible to
remove the bulb with ease.
Fit the new bulb by turning in a clockwise direction
until it is secure. Ensuring the indent to the flange is
pointing to the rear of the oven, replace the glass by
pushing it firmly into the hole to cover the bulb
assembly.
Replace the shelves. Restore the electricity supply
and adjust the time of day and clock as necessary.
If the door glass panel becomes
chipped or has deep scratches the
glass will be weakened and must be
replaced to prevent the possibility of
the panel shattering. Please contact
your local Service Force Centre who
will be pleased to advise further.
31