


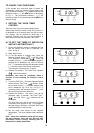
9
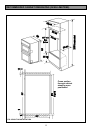
HOW TO FINISH UNPACKING
· Place appliance next to the cabinet in which it will
be installed.
· Remove the appliance packing except for bottom
tray which should be left in position until the
appliance is ready to be fitted into its cabinet.
· Ensure the owner is given these operating
instructions.
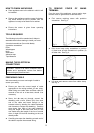
TOOLS REQUIRED
The following tools will be needed and it helps to
assemble them before starting to install your oven:
A terminal screwdriver (3mm wide blade)
A pozidrive screwdriver
Pliers
Wirestrippers
Knife
Sidecutters
Adhesive tape
Tape Measure
MAKING THE ELECTRICAL
CONNECTIONS
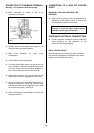
PREPARING CABLE
We recommend you use a new length of cable to
ensure your safety.
· Ensure you have the correct length of cable
appropriate to the wiring method you are using.
When fitting new cable allow sufficient cable for
removal of the unit at a later date, should it be
necessary.
· Score, but do not cut through, around the
sheathing with a knife 100mm (4in) from each
end of the cable and break through to the
encased wires by bending the cable backwards
and forwards to fatigue the sheathing. Carefully
score down from each of the cable sheathing
along the length of the bare earth wire (if a cut
was made along the length of the live or neutral
wires, it might cut into their sheathing) to the cuts
already made.
· Carefully prise open the sheathing at each end of
the cable to expose the encased wiring.
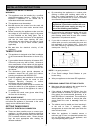
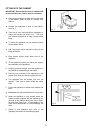
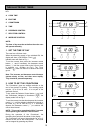
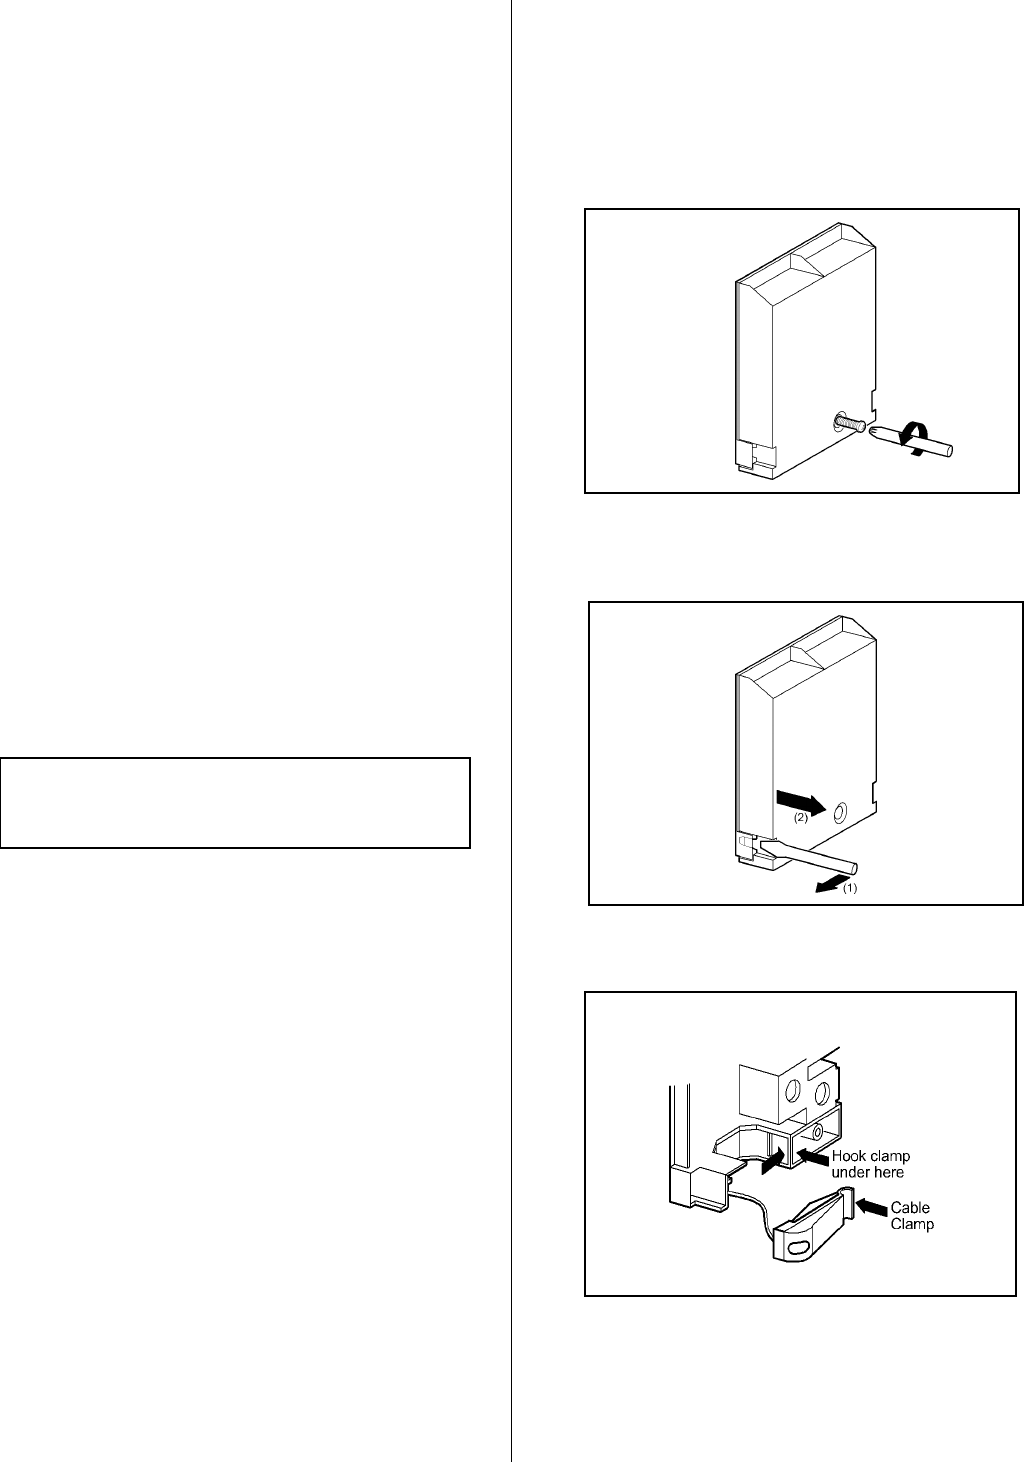
TO REMOVE COVER OF MAINS
TERMINAL
From the rear of the appliance, remove mains input
terminal cover to gain access to terminal block.
· First remove retaining screw with pozidrive
screwdriver. See Fig. 3.
· Prise cover loose using screwdriver in position
(1) then lever off with screwdriver in position (2)
at either side. See Fig. 4.
· Lift cover and remove screw from cable clamp.
See Fig. 5.
Important: Switch off at mains, miniature circuit
breaker and if appropriate, remove fuse before
commencing any electrical work.
Fig. 3
Fig. 4
Fig.5