MEGAPOWER CPU 8200-0421-03, REV. G
ADMINISTRATOR’S GUIDE
51 of 82
The screen is split into two sections:
• The upper screen displays existing camera
definitions and has an Add button in the upper
right corner to add new camera definitions. It also
has a reset button that allows you to reset camera
pseudo numbers to the system default. The range
for pseudo numbers is 1-9999.
Further, the upper screen allows you to change
(add or delete) monitor access in the Monitor
Access column.
• The lower screen has two tabs: Calling Contacts
and Salvo Callups, which allow you to set alarm
contacts and view salvo callups.
− Calling contacts must first be defined in the
Alarms – Contact Definitions screen. Calling
contact changes can be made directly in the
Calling Contacts tab’s fields.
− Salvos must first be defined in the Switching –
Salvos screen before they can be viewed in
this screen. No changes to Salvos can be
made within this tab and is for information
only.
Note: Changes made in this screen are also
reflected in the Partitions – Monitors to Cameras
screen (
Figure 131 on page 59). Also, when pseudo
numbers are changed, the changes are reflected
wherever the pseudo numbers are referenced, such
as alarm contact, salvo, and tour definitions.
Adding Camera Definitions
1. Click on the Partitions – Cameras to Monitors link
in the Explore menu to begin. The following
screen appears.
Figure 110. Partitions – cameras to monitors
screen
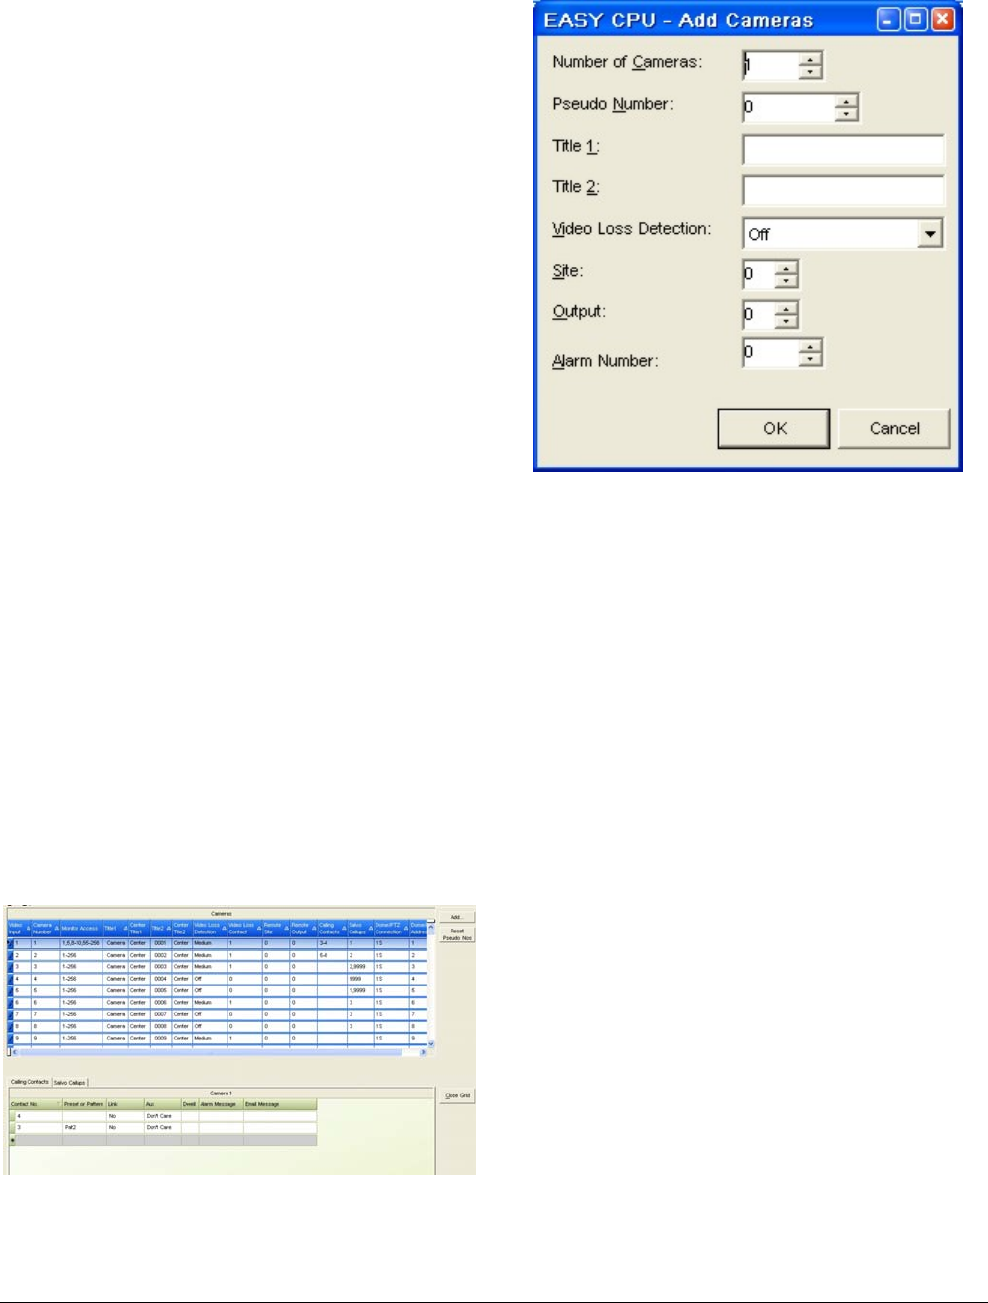
2. Click Add on the right side of the upper screen.
The Add Cameras dialog box appears.
Figure 111. Add Cameras dialog
3. To partition cameras to monitors, complete the
following fields:
• Number of Cameras – Allows you to enter the
number of cameras you want to define. The
system will number these cameras
consecutively starting with the next highest
available number. Camera numbers identify
the video input connection number on the
switcher.
Note: If multiple cameras are defined at the
same time, they share the same video loss
detection, site, output, pan/tilt, alarm number
and location. You can edit each camera’s
definition after they have been created.
• Pseudo Number. – Unique identifiers you can
give cameras to help identify their location or
purpose. For example, you could number the
cameras on the first floor of a building starting
with 1000, such as: 1001, 1002, 1003, etc.
You could use 2000 for second floor cameras,
3000 for third floor cameras and so on.
The pseudo number is assigned starting with
the first camera you specify and is
incremented by 1 for each additional camera
specified.
Note: By default, pseudo numbers in this
dialog box match the physical camera
numbers (also known as Video Input
numbers). In all other screens and dialogs,
references to camera numbers are actually
references to the defined pseudo numbers.


