Chapter 2 Get started 22
Migrate your data
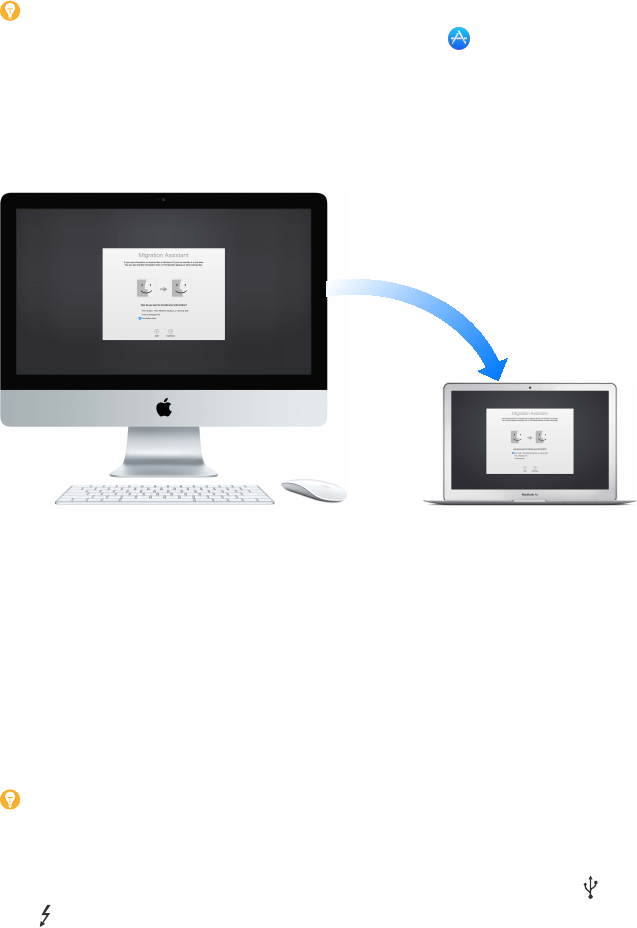
It’s easy to move your les and settings from another Mac or PC to your MacBook Air. To transfer
the data when you rst set up your MacBook Air, use Setup Assistant. To transfer data later, you
can use Migration Assistant. If both computers are connected to the same Wi-Fi network, you can
transfer the data wirelessly.
Tip: For best results, make sure your MacBook Air is running the latest version of OS X. To
check for software updates, choose the App Store icon in the Dock, then click Updates in the
App Store toolbar.
If you used Time Machine to back up your les from another Mac to a storage device
(such as an AirPort Time Capsule or an external disk), you can copy the les from the device
to your MacBook Air.
Use Migration Assistant. Open a Finder window, go to Applications > Utilities, then double-click
Migration Assistant. Follow the onscreen instructions. For more information, see the Apple Support
articles support.apple.com/HT204350 and support.apple.com/HT204087.
You can transfer data from a Thunderbolt-equipped Mac to your new MacBook Air using a
Thunderbolt cable. Put the Mac you want to migrate data from in Target Disk Mode by restarting
it while holding down the T key. Then connect the two computers using a Thunderbolt cable,
and open Migration Assistant on your MacBook Air. Select “From a Mac, Time Machine backup, or
startup disk” when asked how you want to transfer your information, click Continue, then select
the disk you want to transfer information from.
Tip: For fastest migration, connect your old computer to MacBook Air with a cable
(for example, a Thunderbolt cable). If you migrate wirelessly, you’ll get best results if you keep
both computers near each other throughout the migration process.
Copy les from a storage device.
Connect the device to the USB 3 port or Thunderbolt 2
port on your MacBook Air, then manually drag les to your MacBook Air.
74% resize factor


