17
Basic Operations
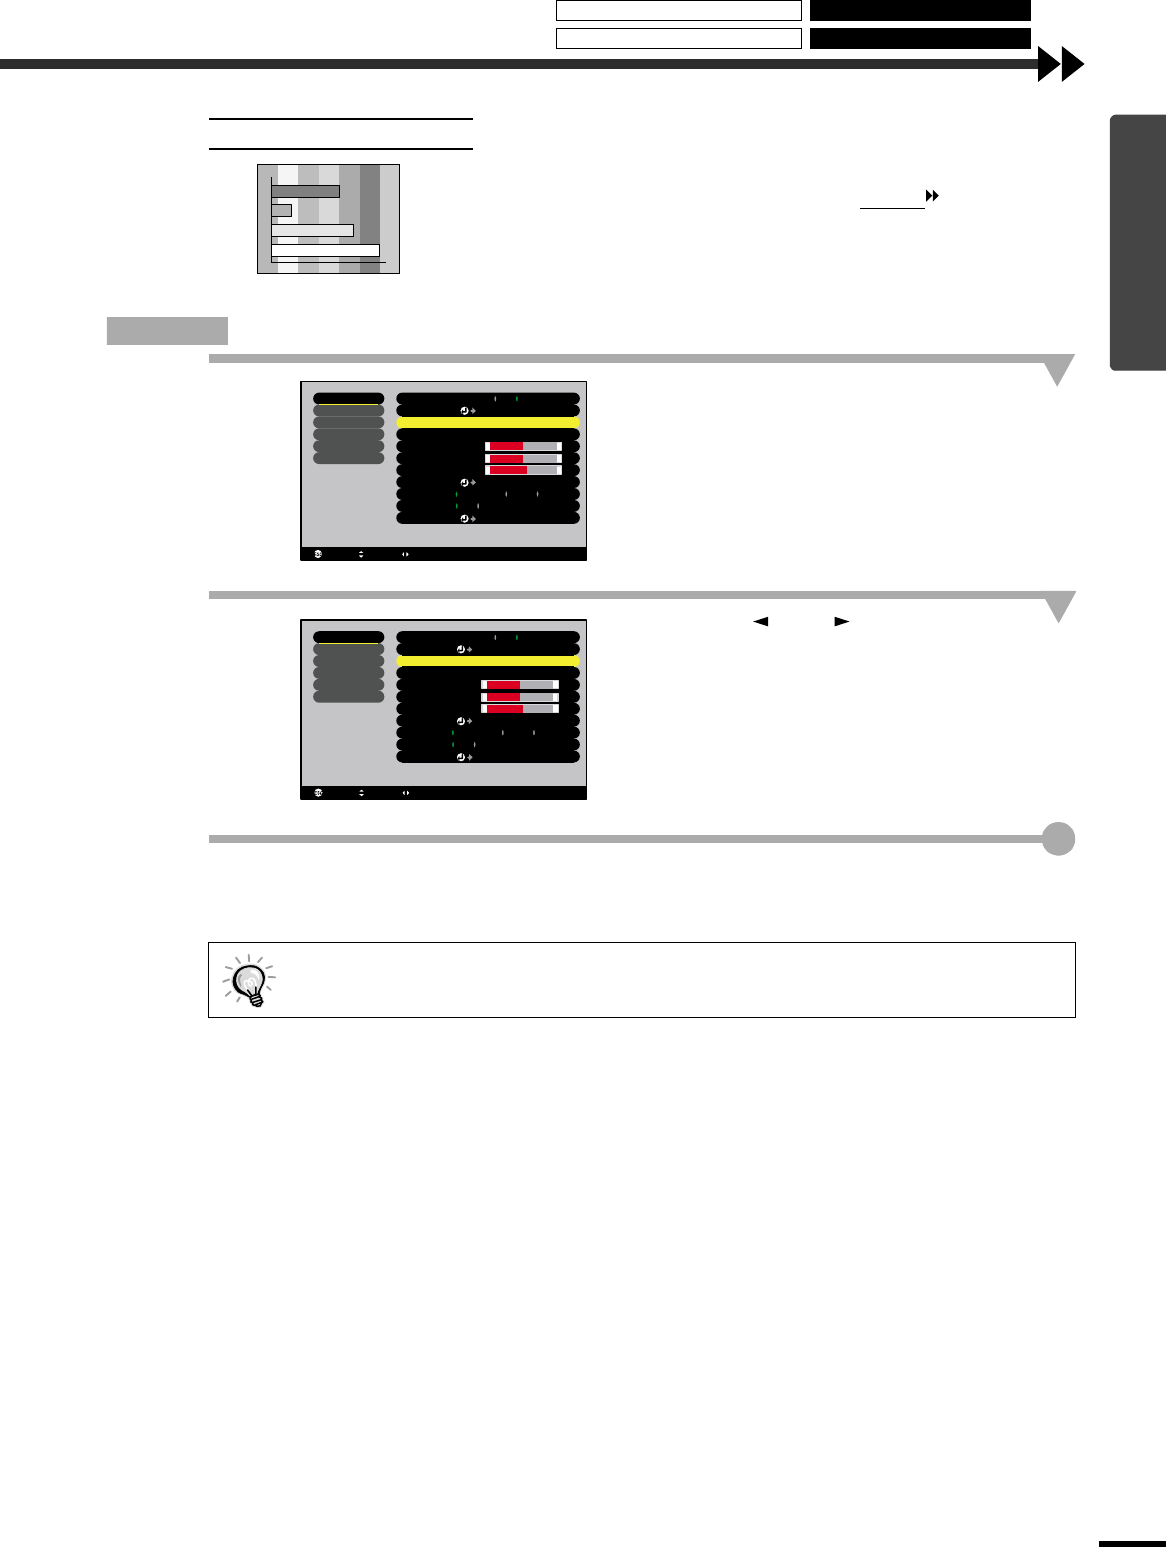
If vertical stripes appear in the projected images, and this cannot be fixed
using automatic setup, you will need to adjust the tracking
manually using
the following procedure.
Procedure
1
Press the [Menu] button on the remote
control, and then select "Tracking" from
the "Video" menu.
For details on this operation, refer to "Using the
Configuration Menus". (p.27)
2
Press the [ ] and [ ] buttons to set the
tracking value.
The tracking value increases or decreases each
time a button is pressed.
3
After making the adjustment, press the [Menu] button to exit the configuration
menu.
Adjusting the Tracking
The image will flash when continuous tracking adjustment is carried out, but this is normal.
Input Signal
Color Mode Select
Video
Audio
Setting
Advanced
About
Position
Adjust
Tracking
0000
Sync . 0
Brightness 0
Contrast
Sharpness 0
RGB
YUV( YCbCr YPbPr)
Auto Setup
Reset
Execute
: Select: Return : Adjust
Reset All
+
-
+
-
0
+
-
ON OFF
:
:
:
:
:
:
:
[Normal ]
:
ON OFF
EPSON Cinema Filter
+
-
+
-
+
-
Video
Audio
Setting
Advanced
About
Reset All
Input Signal
Color Mode
Position
Tracking
Sync .
Brightness
Contrast
Sharpness
Auto Setup
Reset
:
:
:
:
:
:
:
Select [Normal ]
0
0
0
0
1000
Adjust
Execute
RGB
YUV( YCbCr YPbPr)
ON OFF
: Select: Return
: Adjust
:
ON OFF
EPSON Cinema Filter
Using the EPSON Cinema Filter Changing the Aspect Ratio
Selecting the Colour Mode
Adjusting Computer Images


